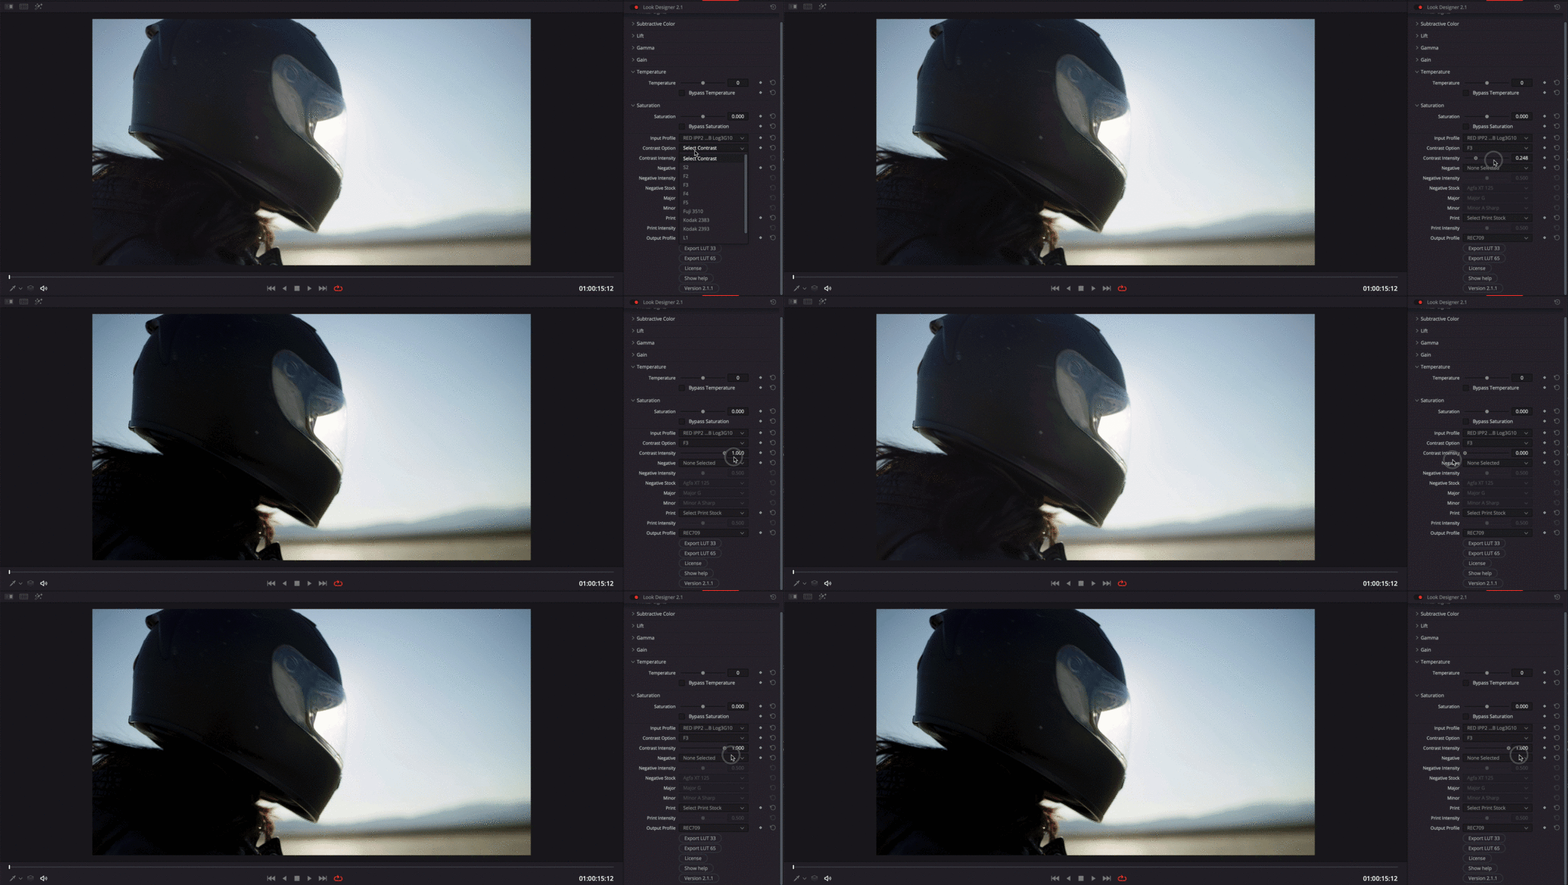
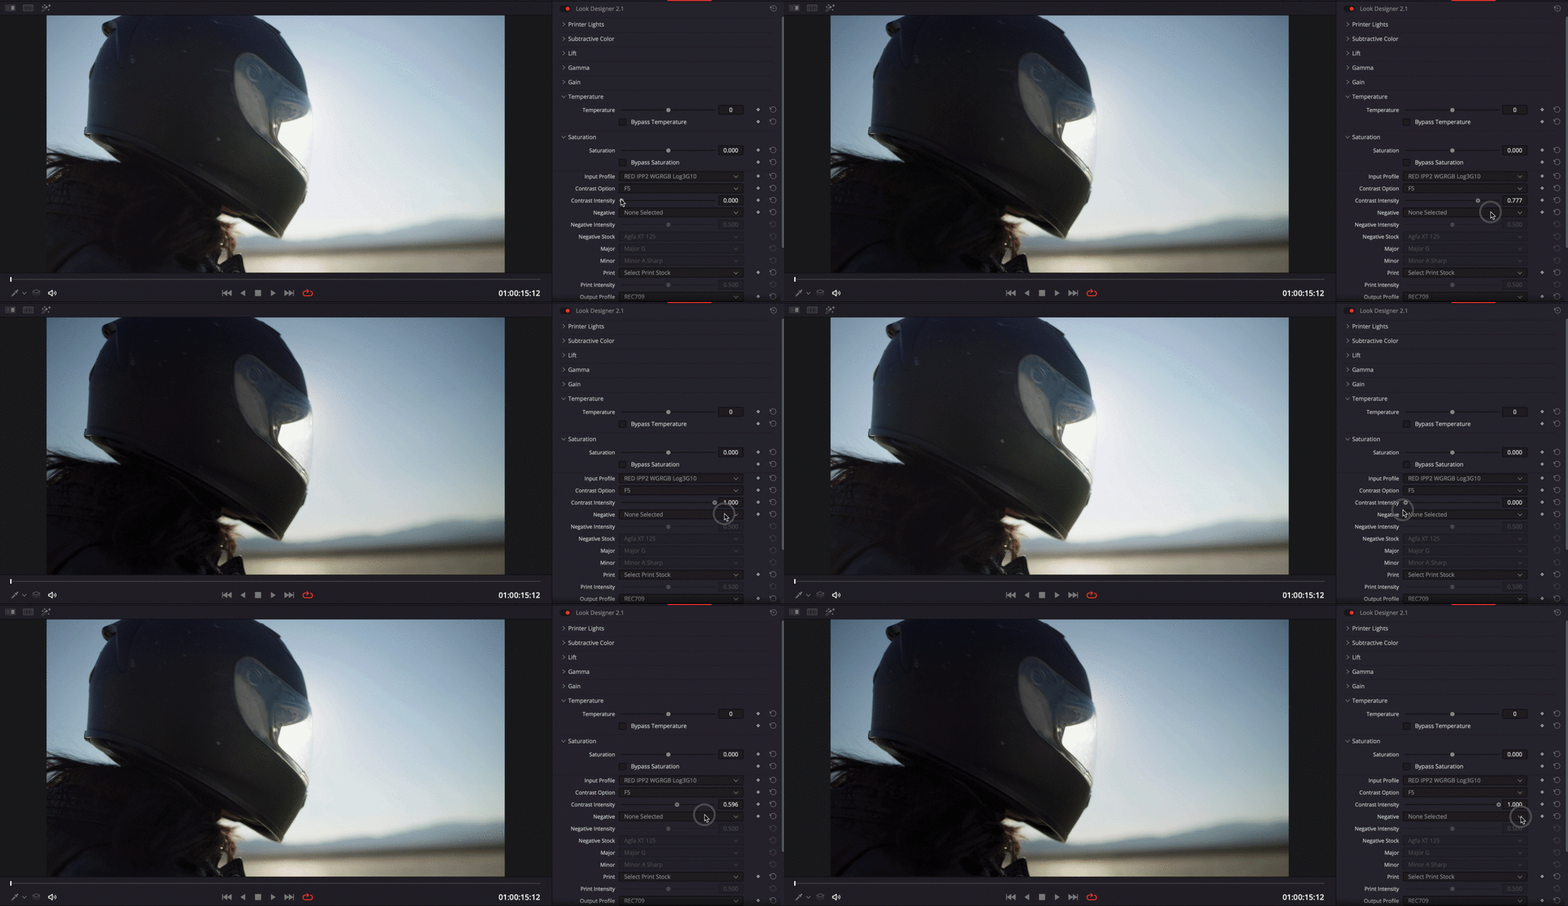
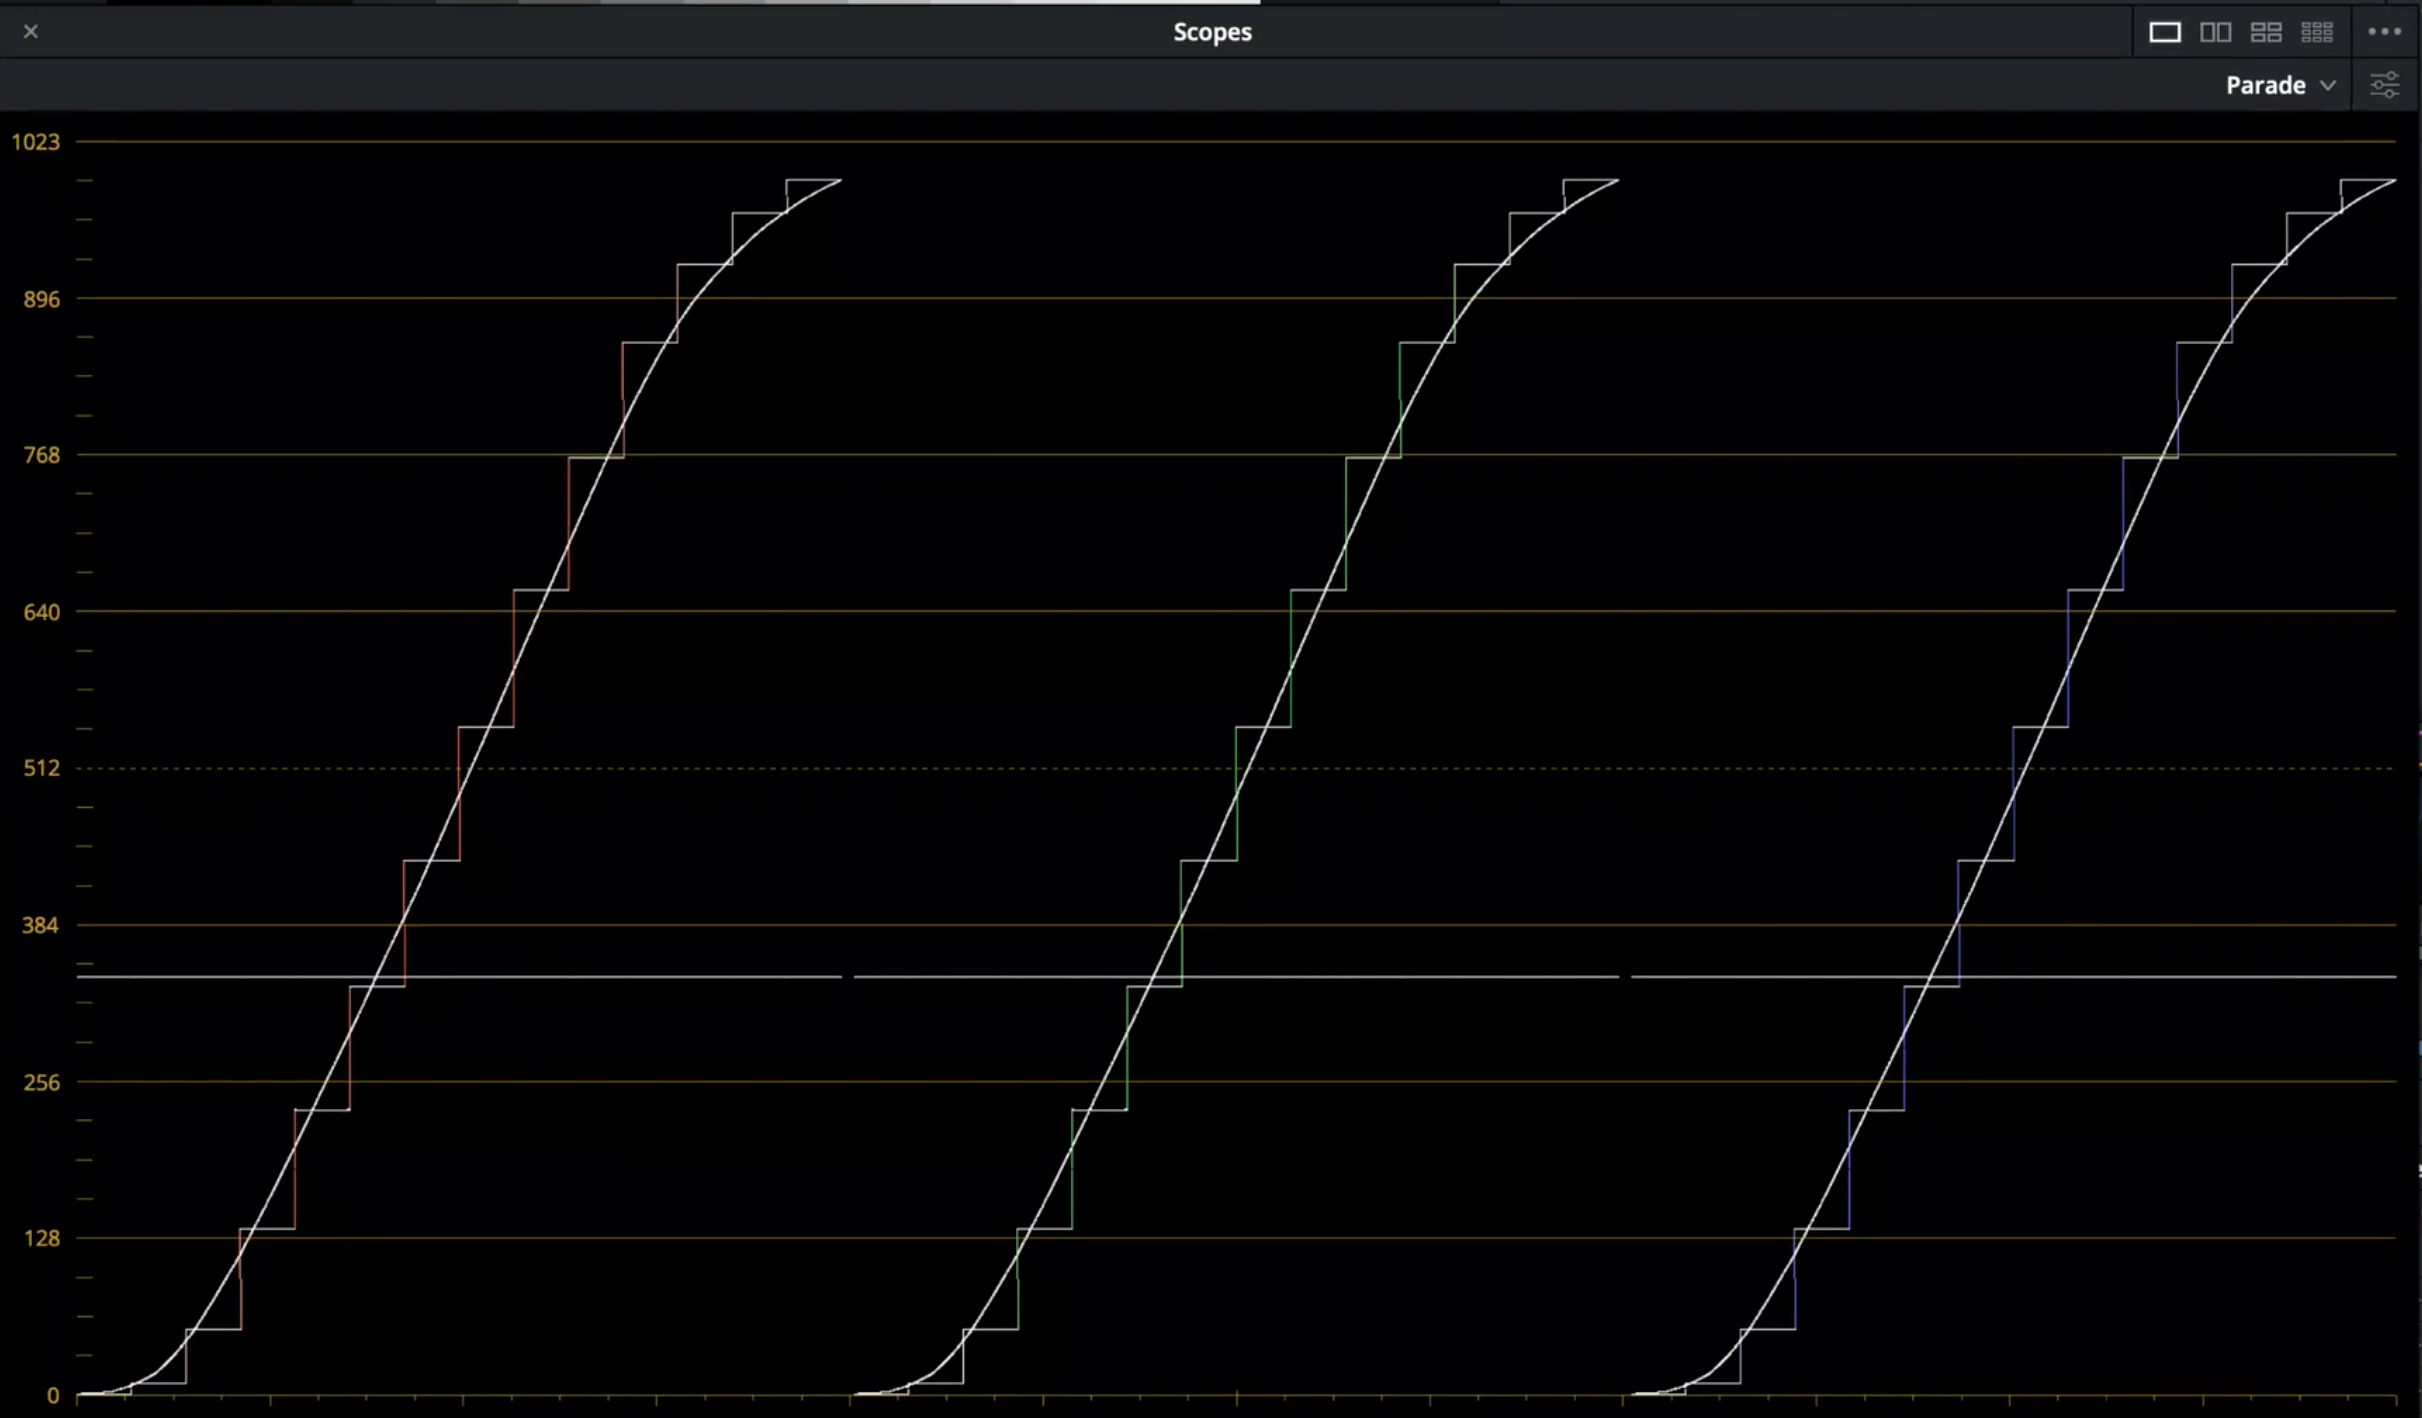
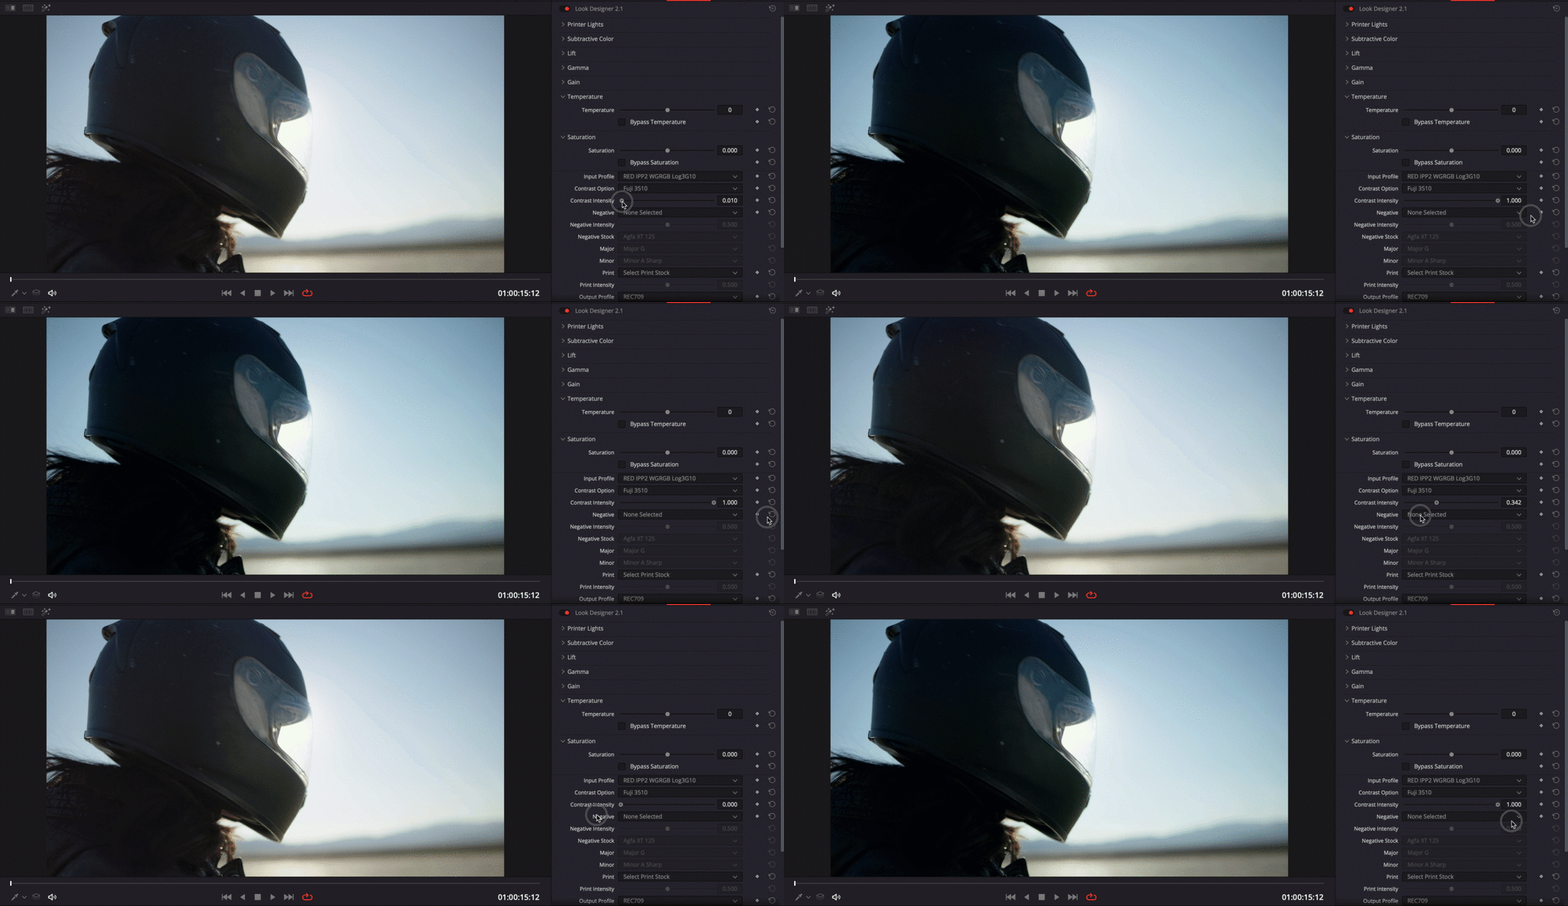
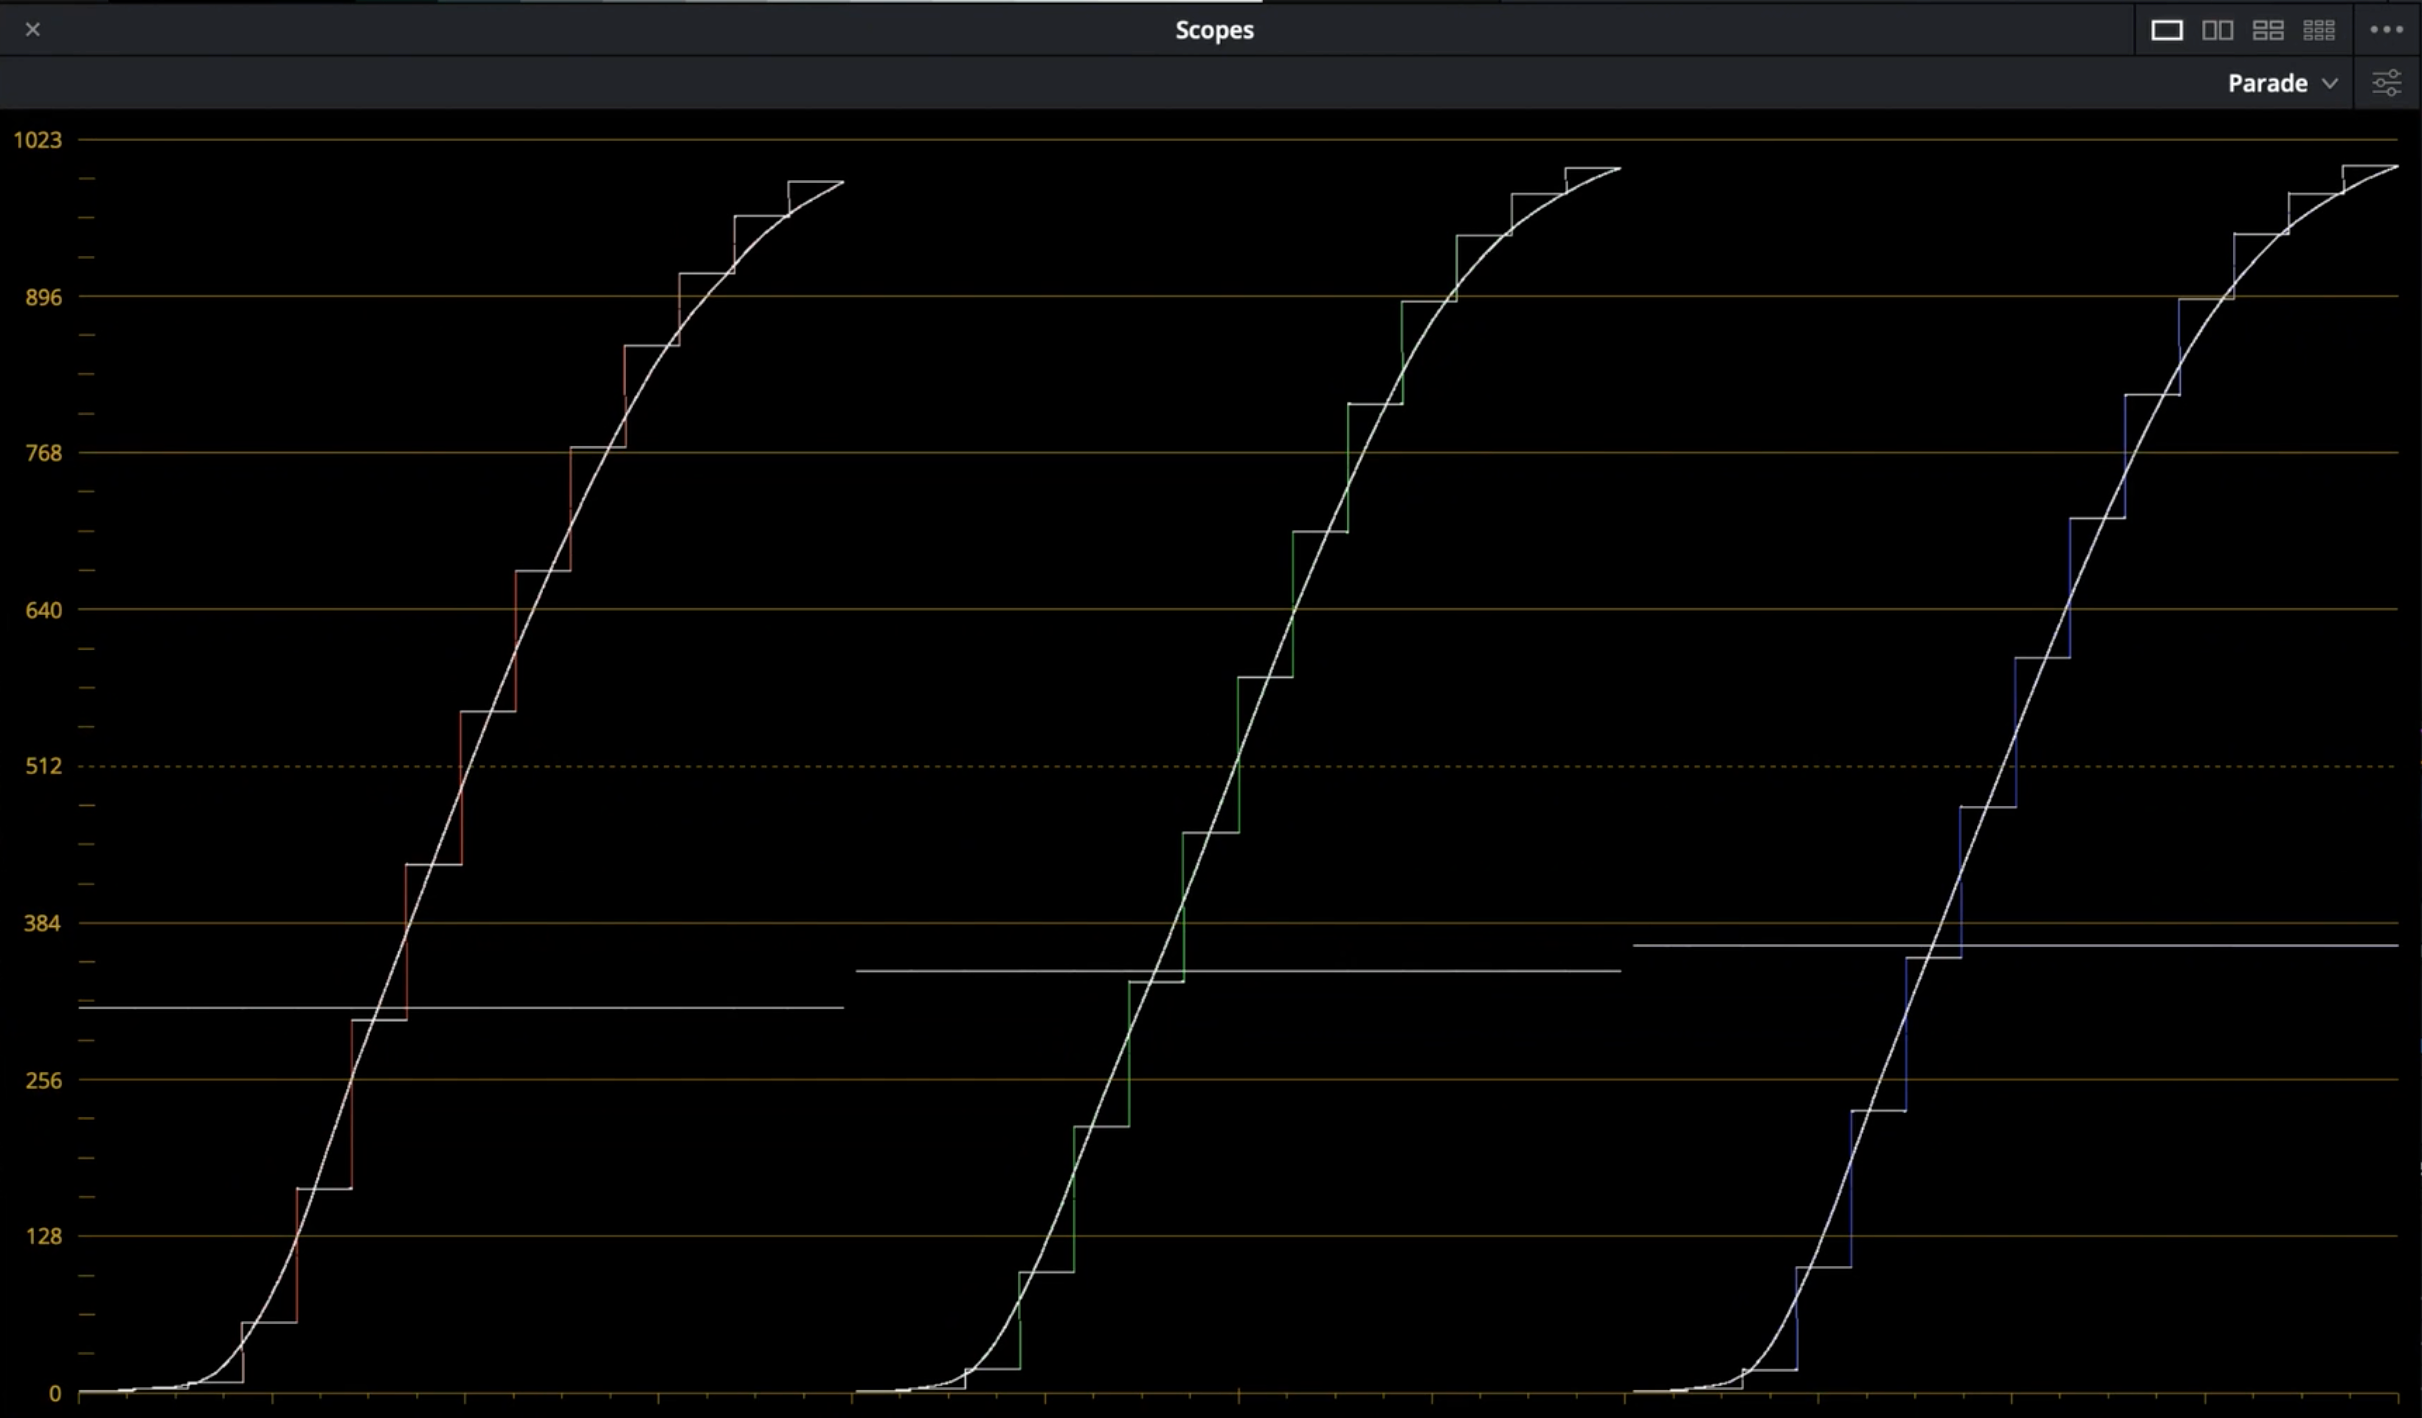
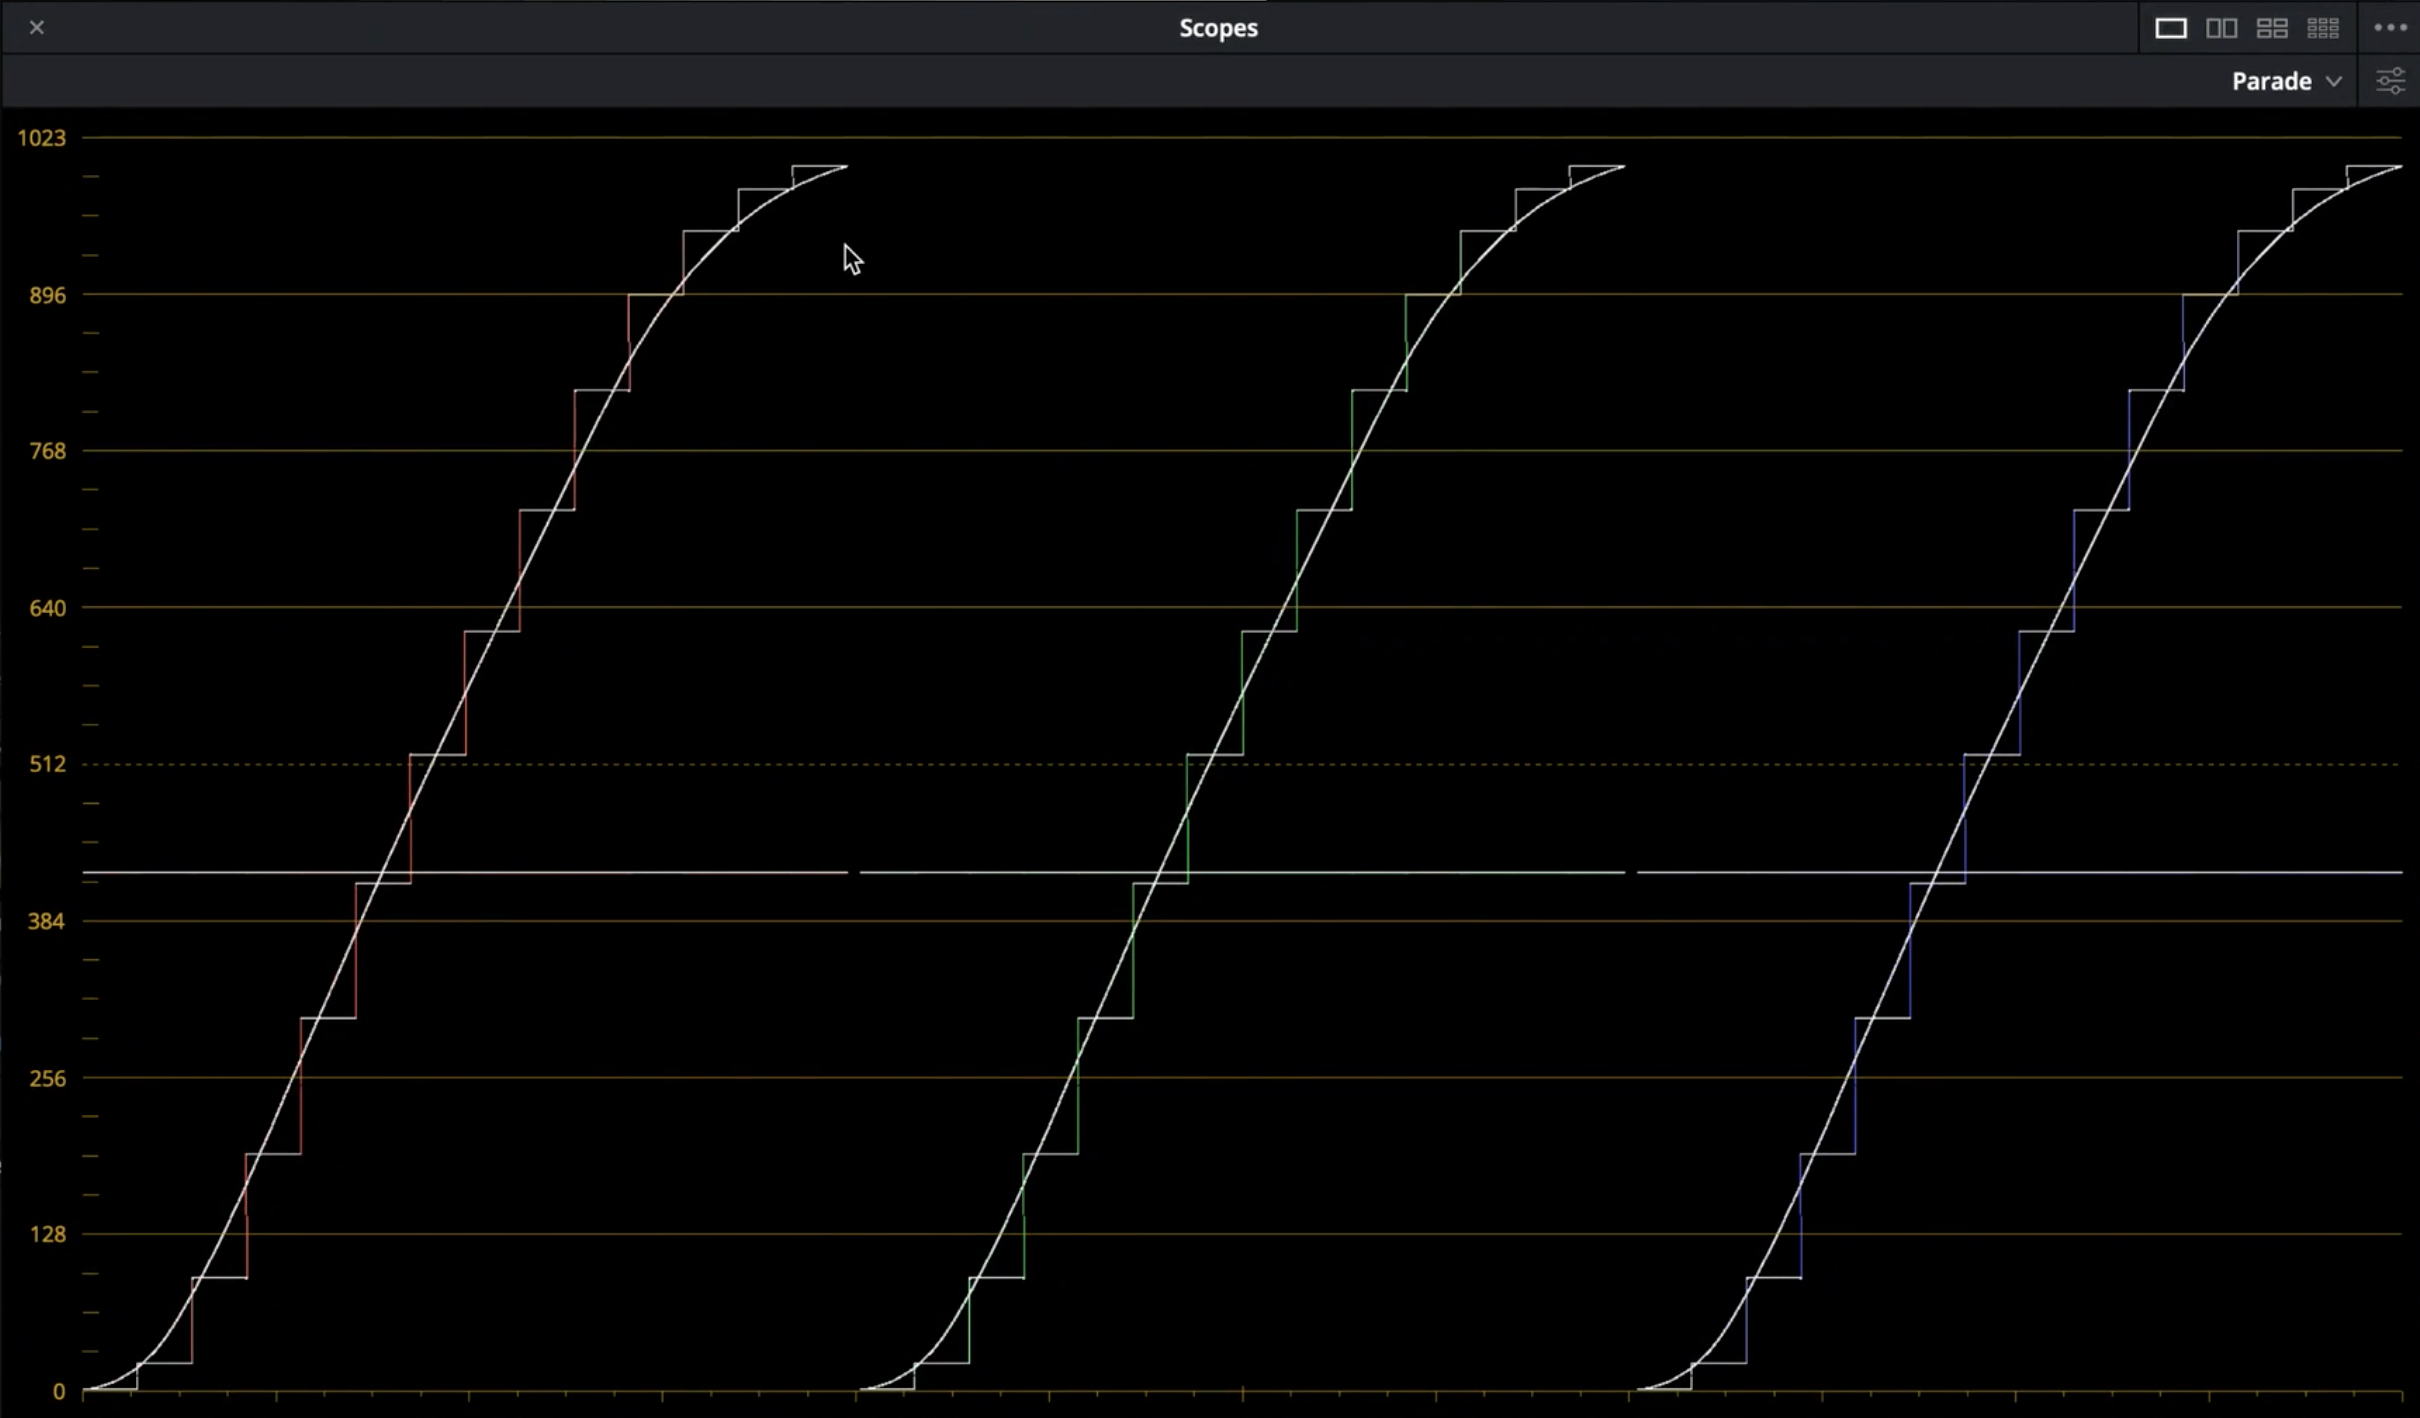
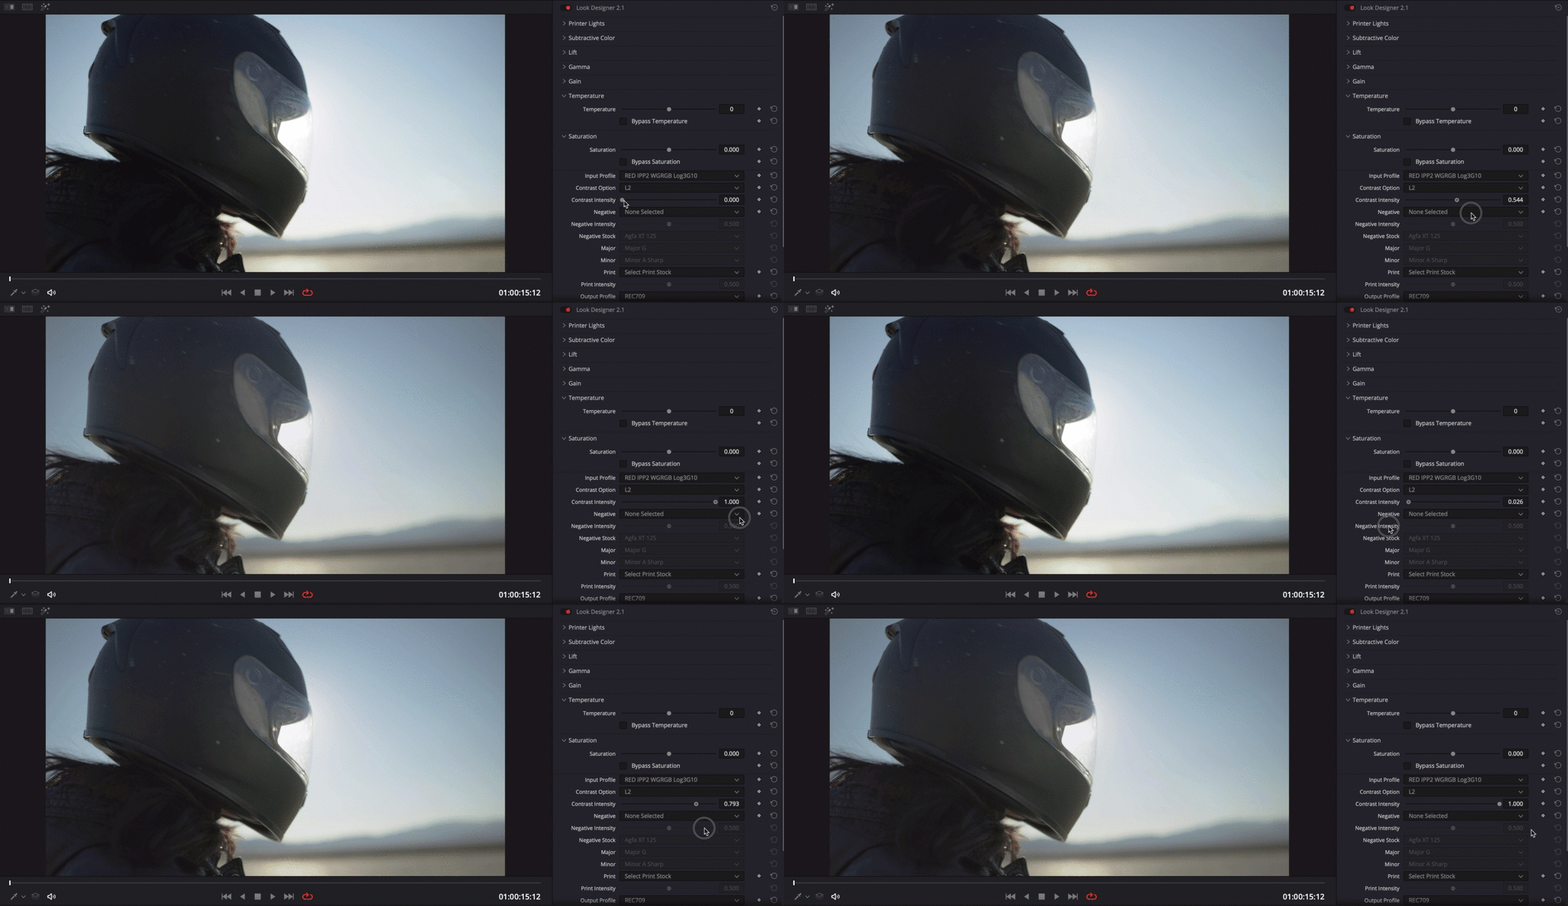
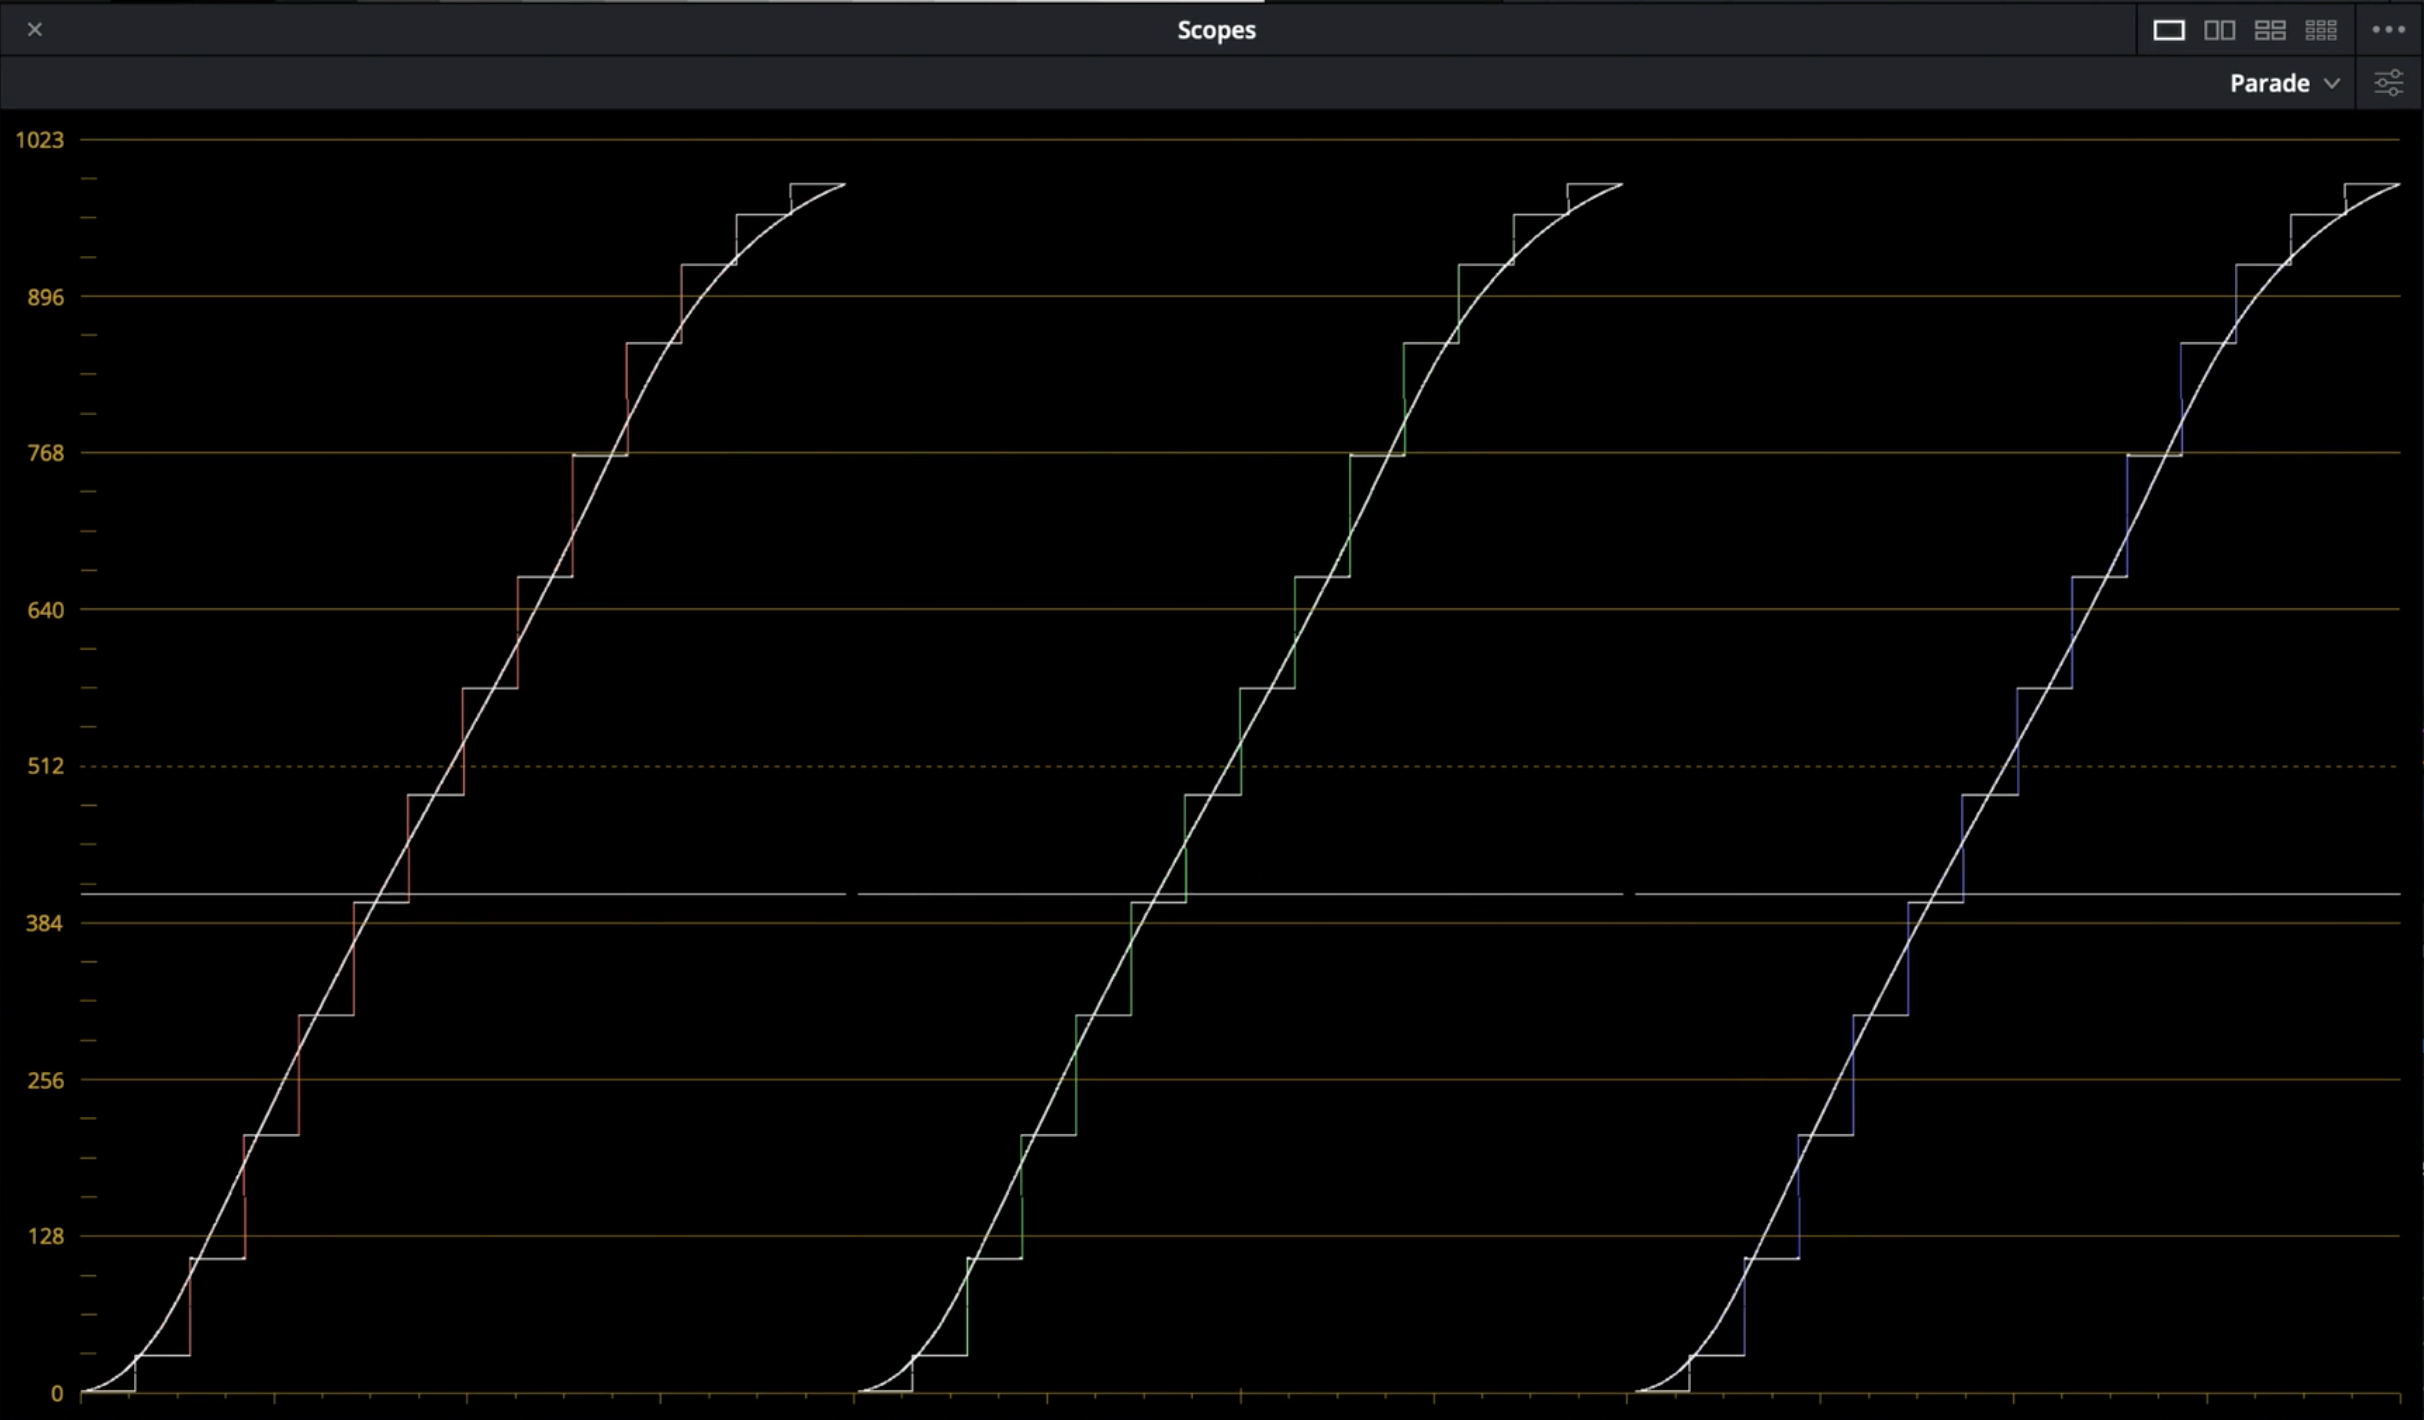
Look Designer 2.6 gives you a wide variety of contrast curves,
here you will learn all about them from their characteristics to the way they work.
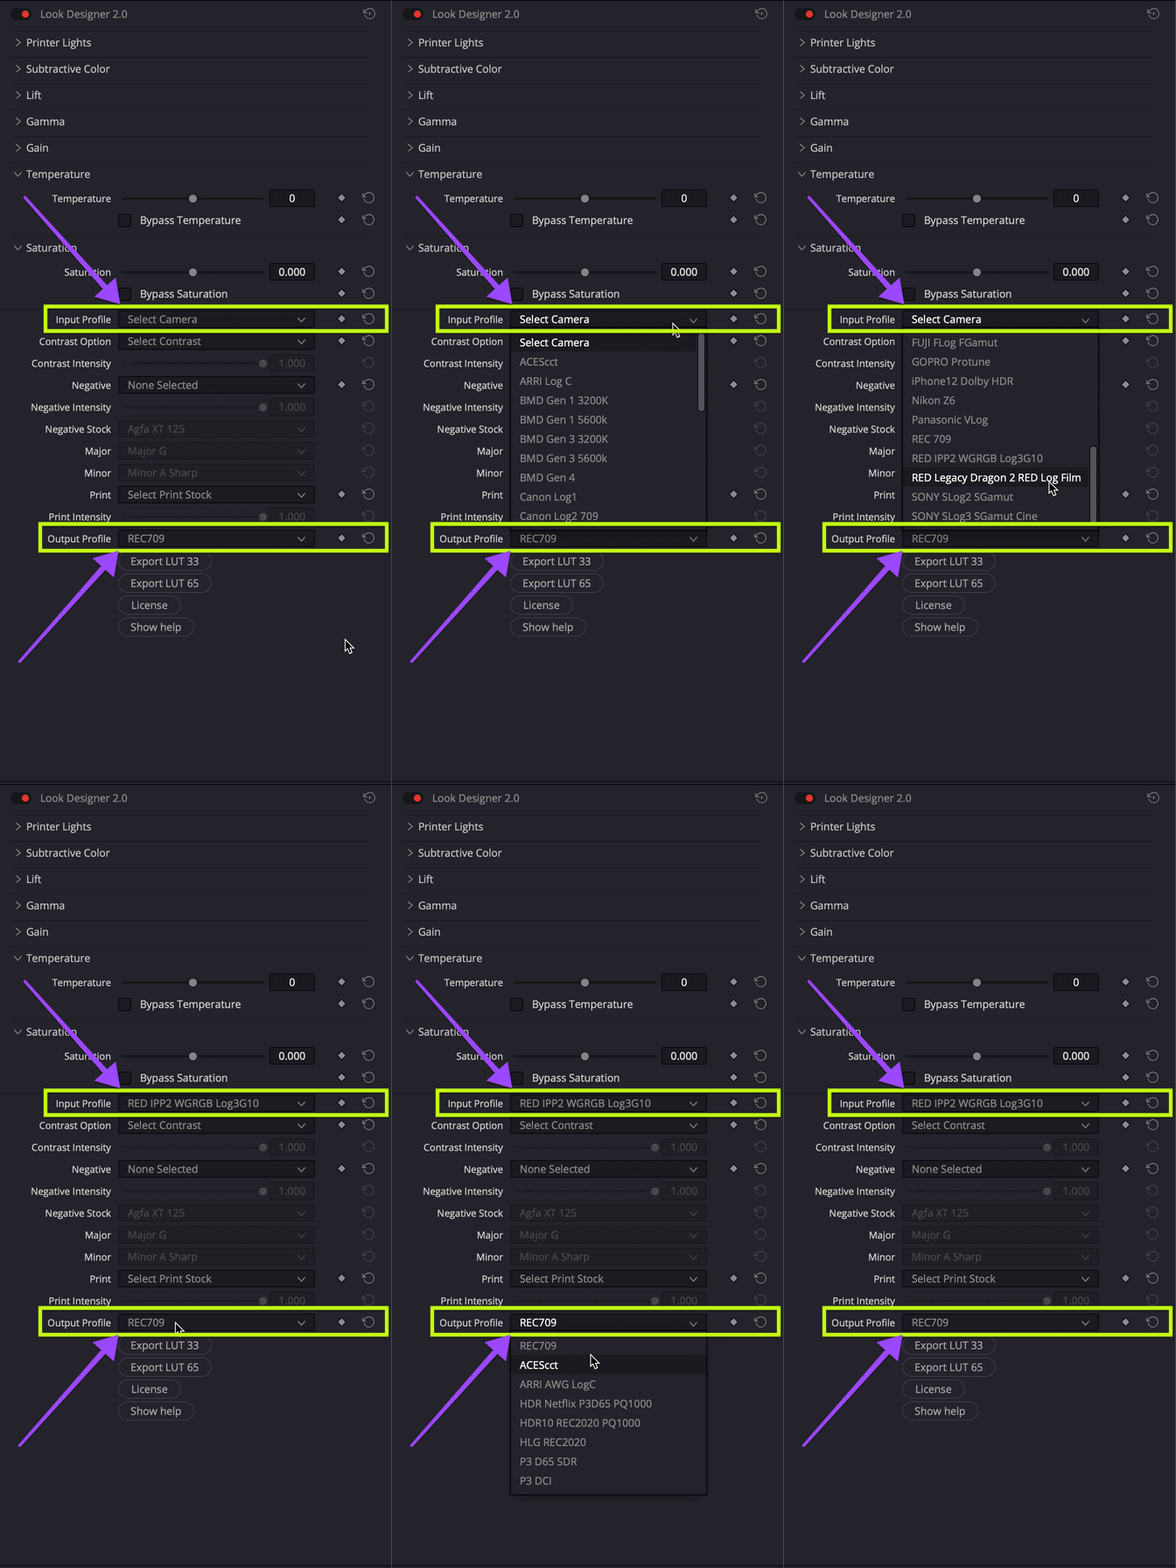
1. Select Your Camera and your Output
First of all, you need to select the right Camera Input Profile for your footage, and then select the Output Profile you want to use.
Camera Profile is determined by the type of camera that was used to record.
Output Profile by default is set to REC709, but you can change it according to your needs.
For the Complete List of Input Profile and Output Profile, please take a look at points 2.1 and 2.2 of the QuickStart article.
https://help.colourlab.ai/help/look-designer-2-0-a-quick-start
2. Contrast Curves: How do they work
Now, we will show the different Contrast Curves you can use on Look Designer 2.4, their characteristics and how do they transform your image.
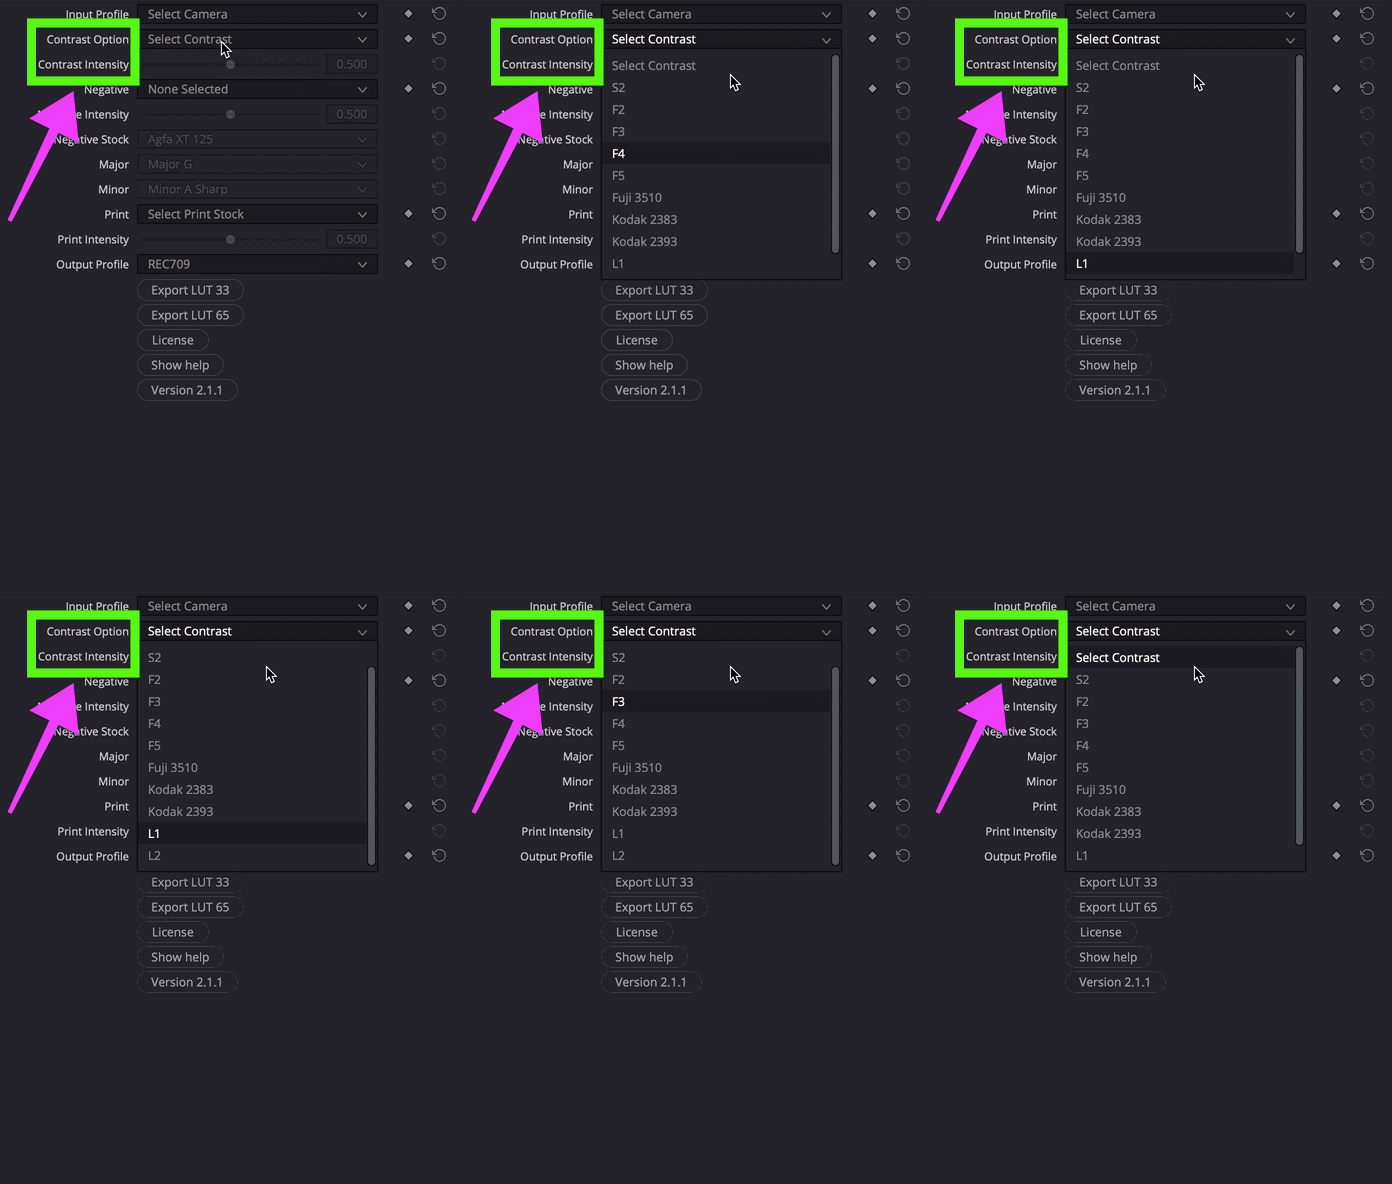
The Contrast Option menu can be found between the Input Profile and Output Profile.
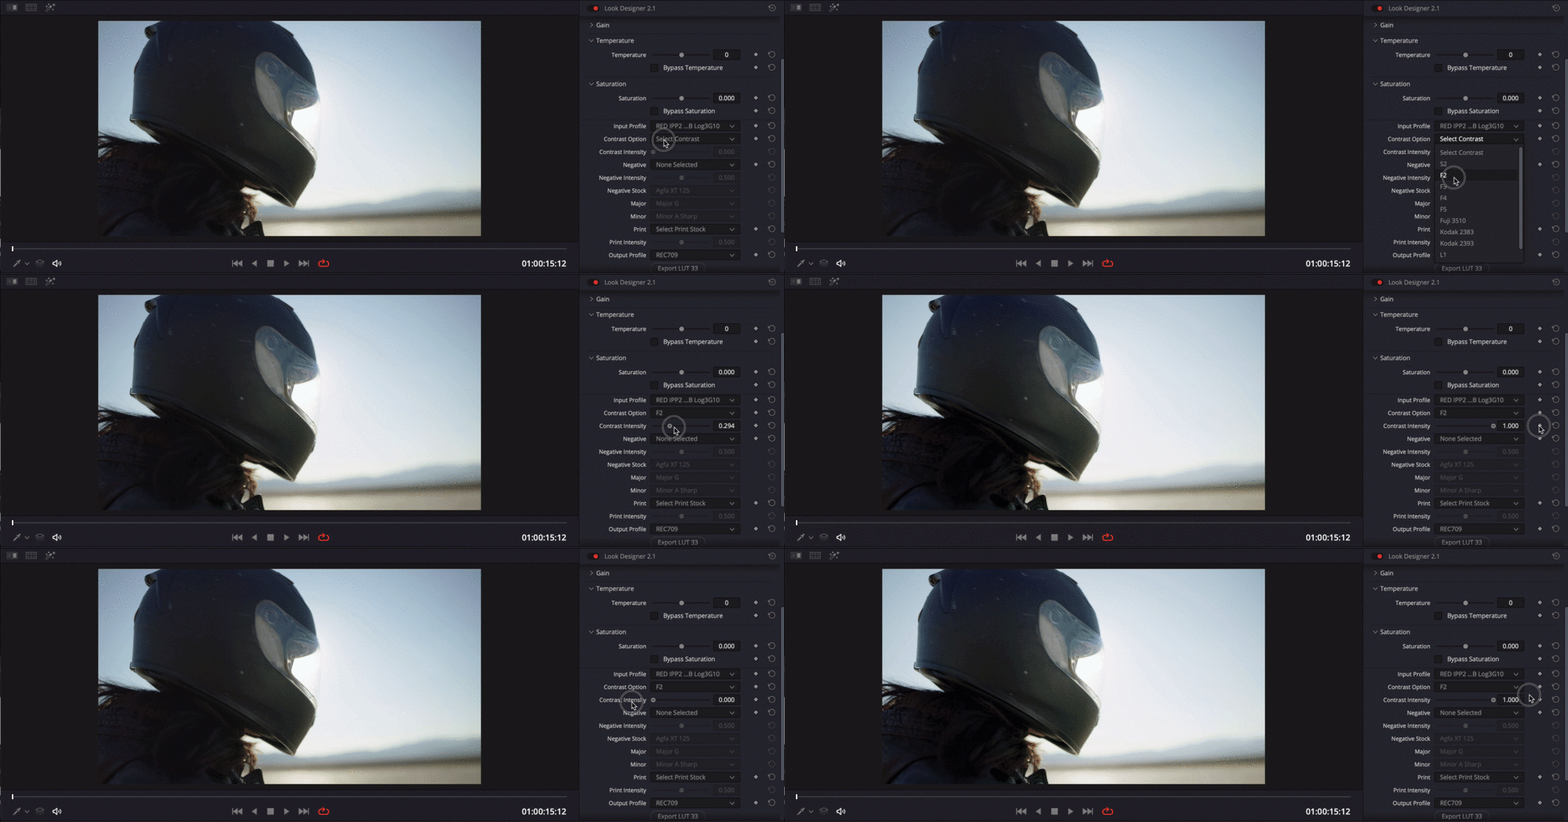
The Contrast Option allows you to choose one of the many Contrast Curves available on LD 2.4, and with the Contrast Intensity, you can control the amount of the Contrast you want to apply to your image, be gentle because it's very sensitive control.
2.1 S2 Contrast Curve
In the Contrast Option drop-down menu, select S2.
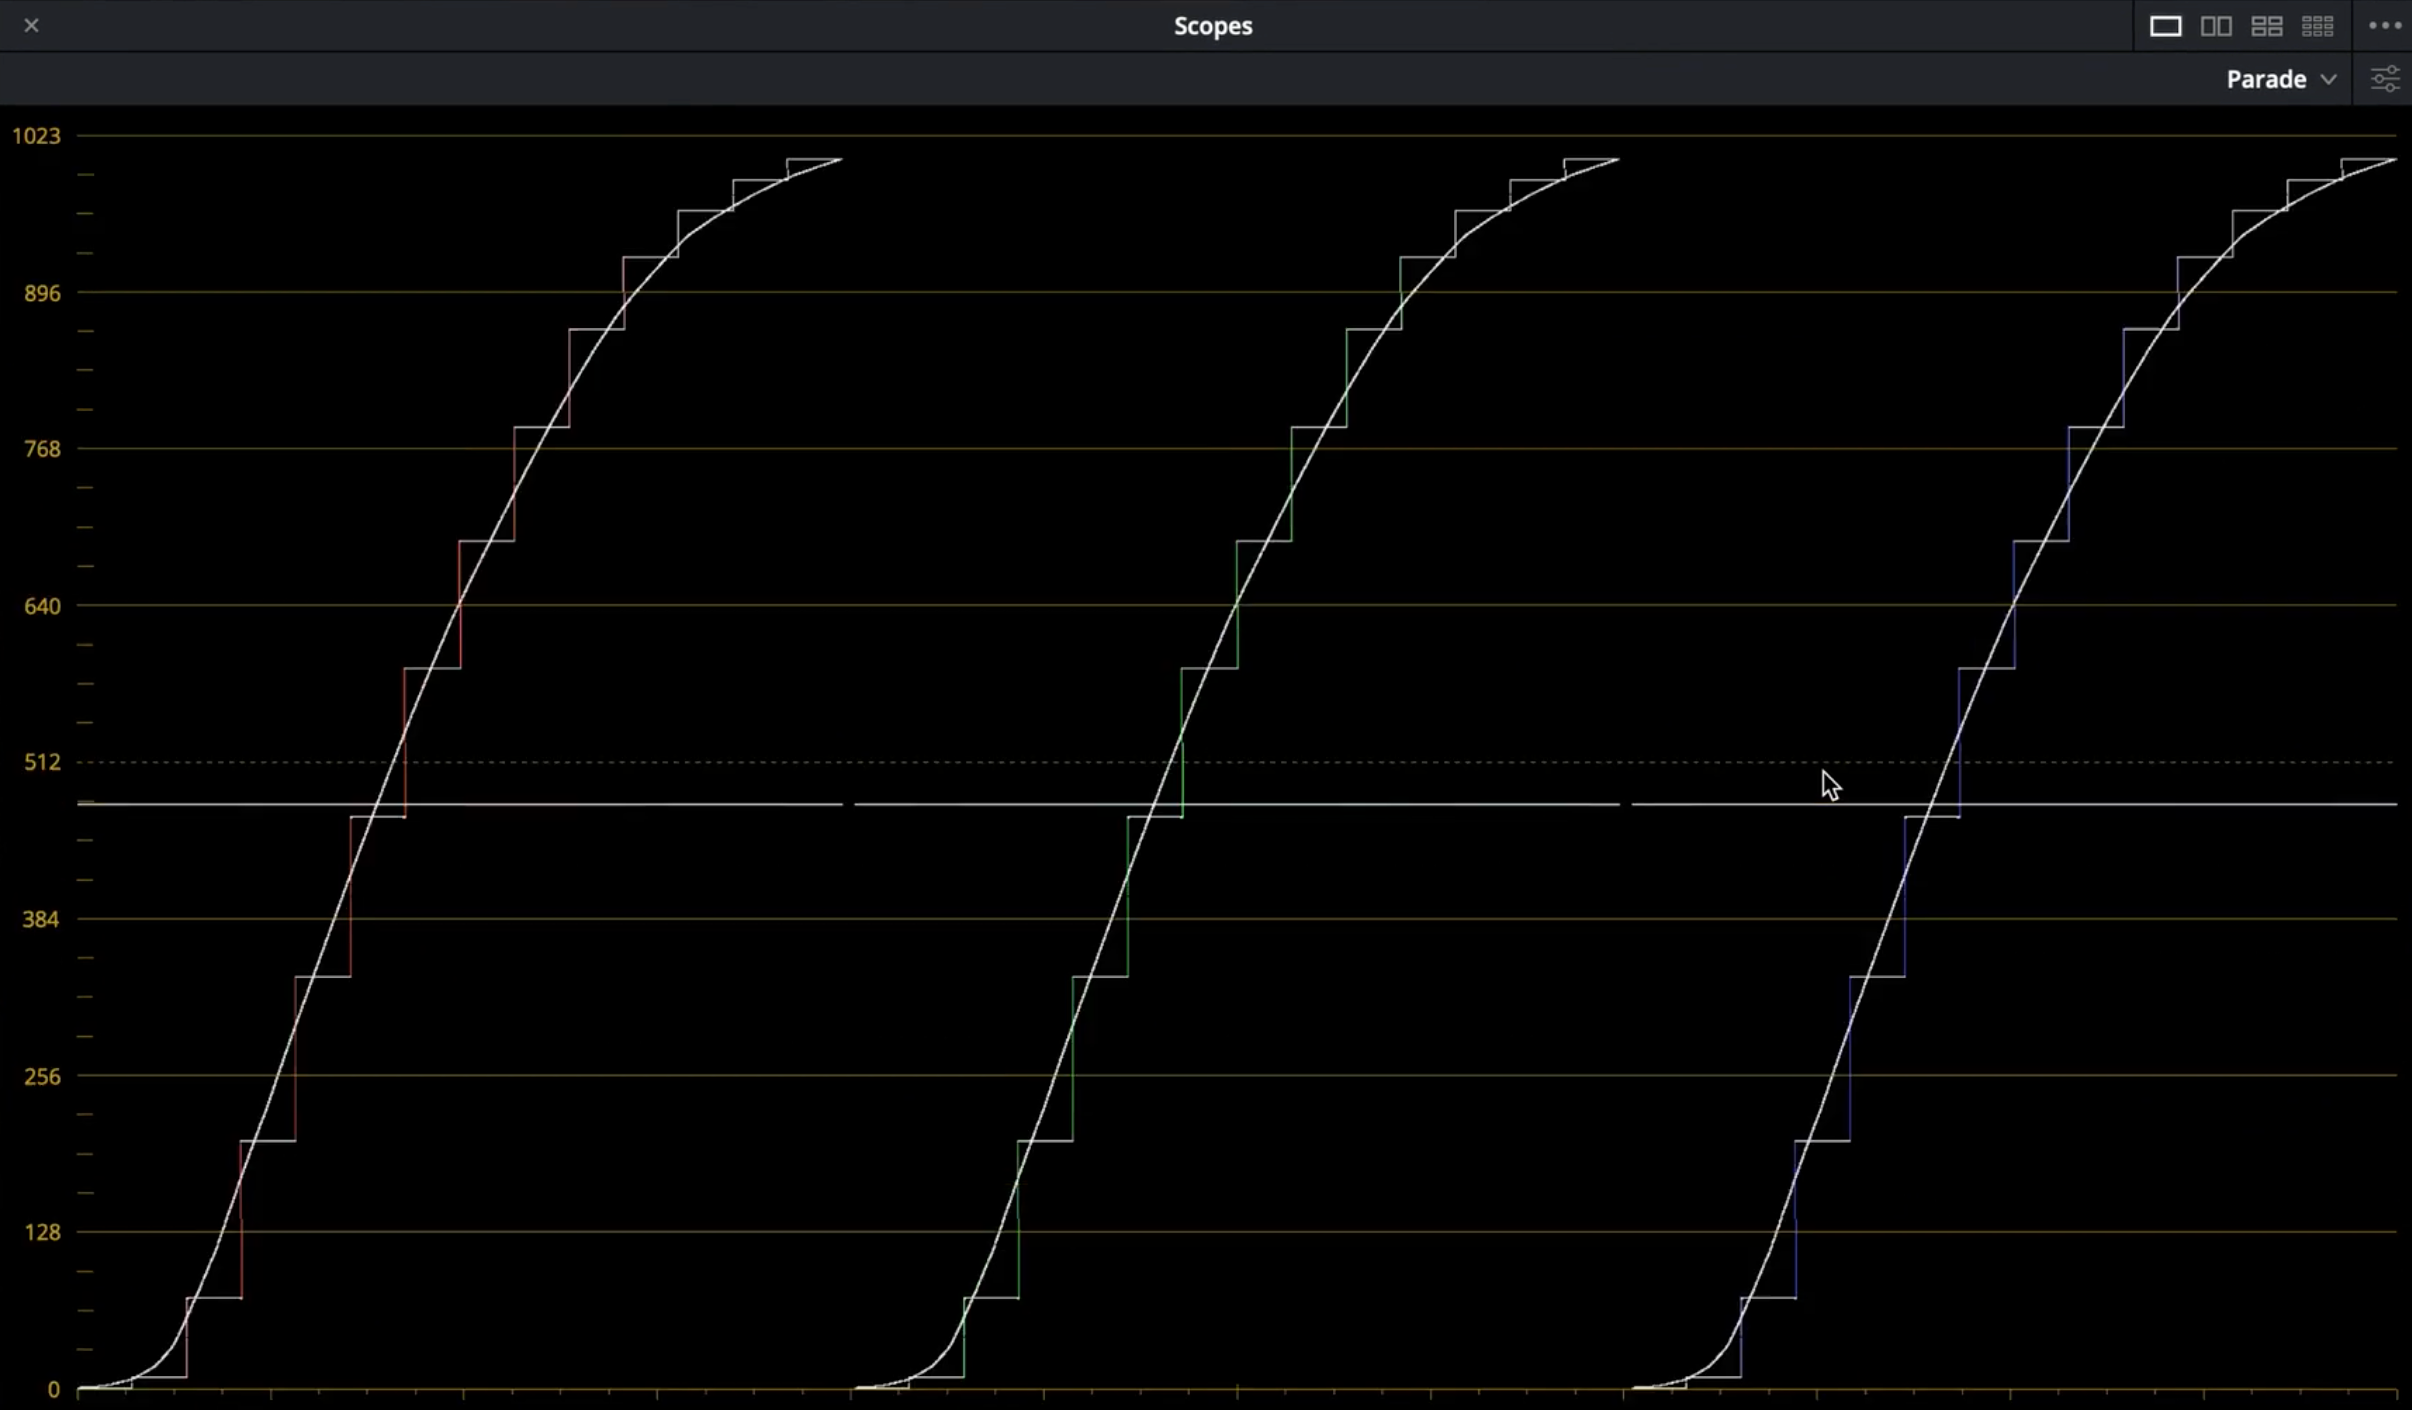
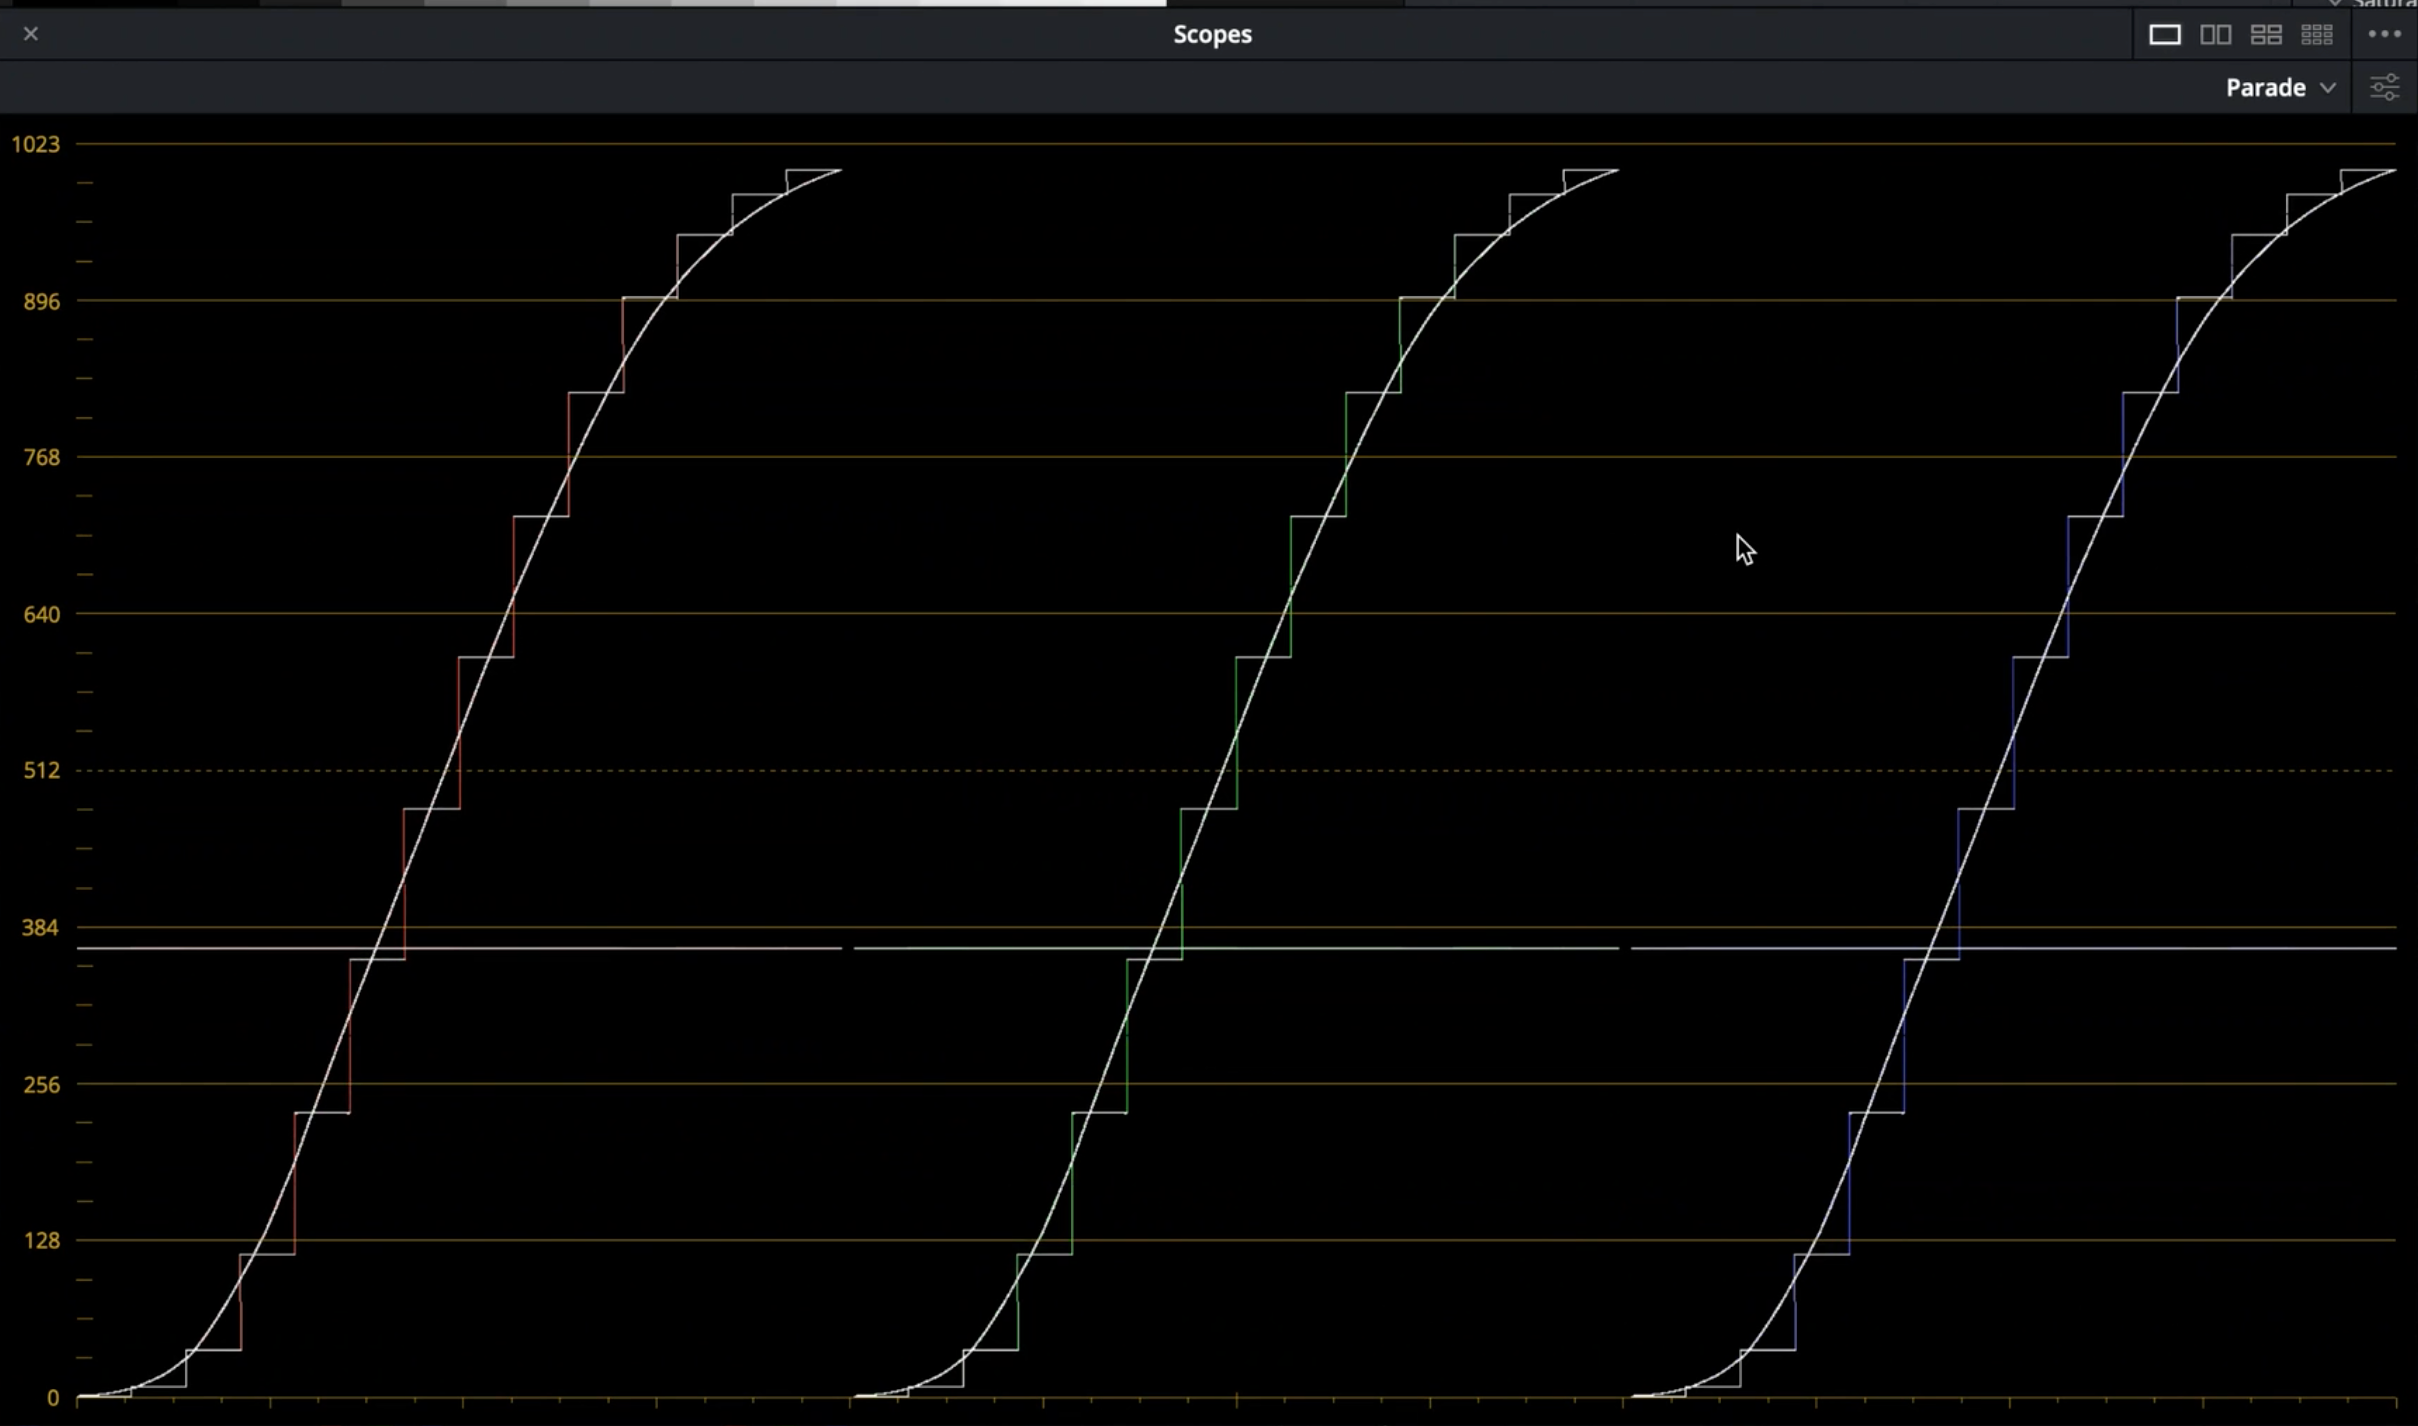
The S2 contrast has the same shape as the REC709 contrast curve, but it increases the contrast slightly than the 709.
When you go on full, the maximum you get with the S2 is basically really just a little bit more crunchiness in the Shadows and push the highlights at the maximum, but the characteristic of the curve is exactly the same as what you would normally with REC709.
2.2 F2 Contrast Curve
In the Contrast Option drop-down menu, select F2.
The F2 contrast is a sample from 16mm Film and has a strong edge on the Shadows and it has a smoother roll-off; this curve allows you to push a little bit high, but you need to be very careful to use it because this curve push your midtone
2.3 F3 Contrast Curve
In the Contrast Option drop-down menu, select F3.
The F3 is a typical kind of Print Stock contrast. It's recommended the use it when you want to achieve a result that made footage darker and crunchier
2.4 F4 Contrast Curve
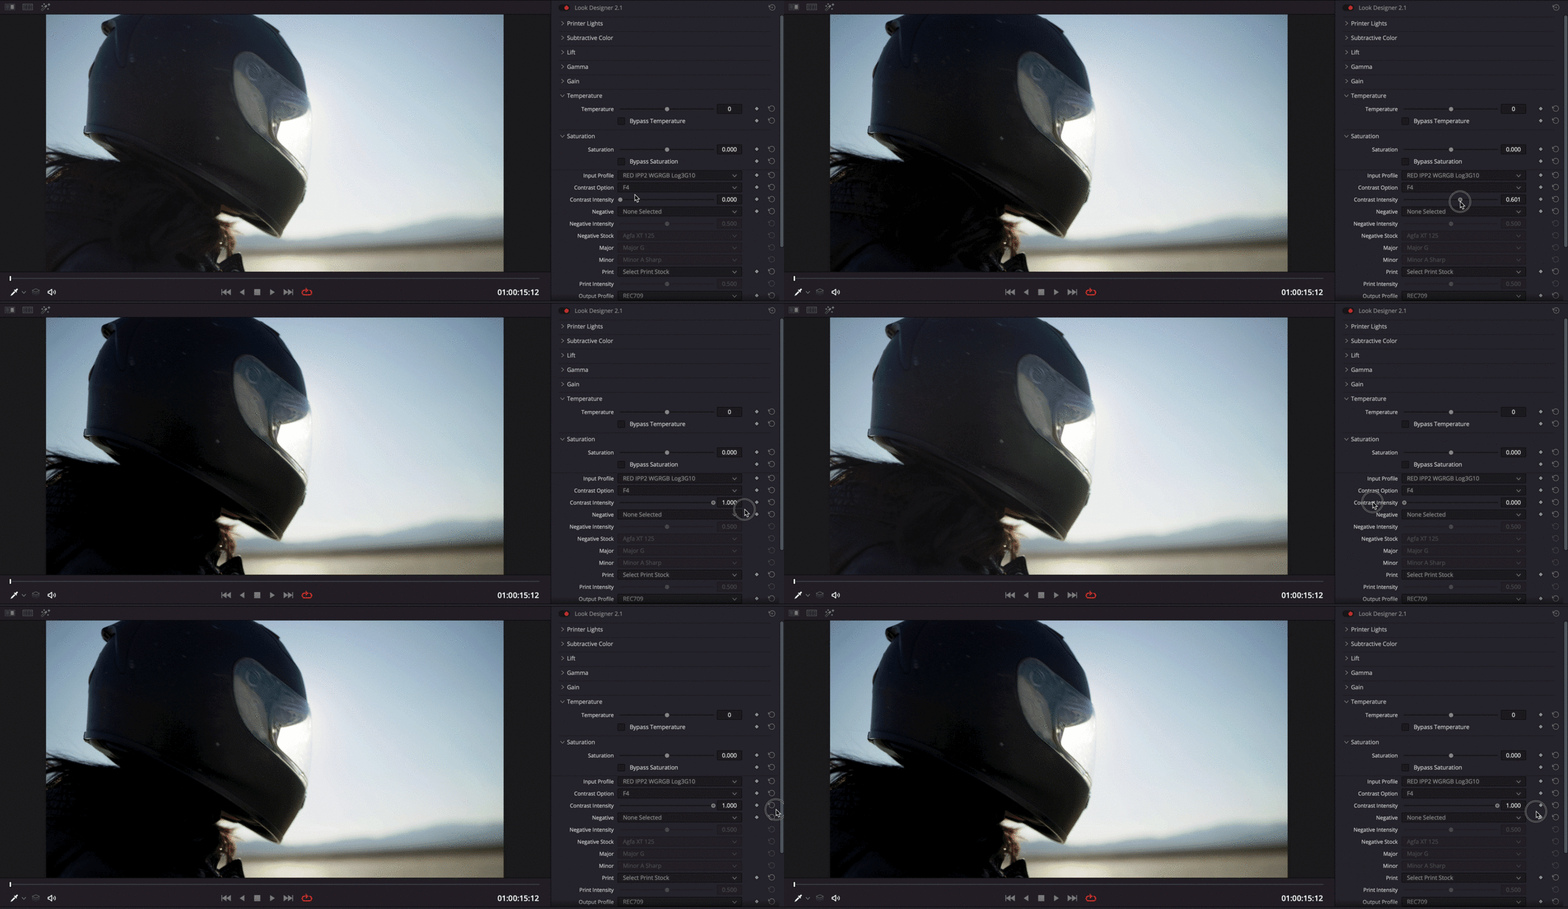
In the Contrast Option drop-down menu, select F4.
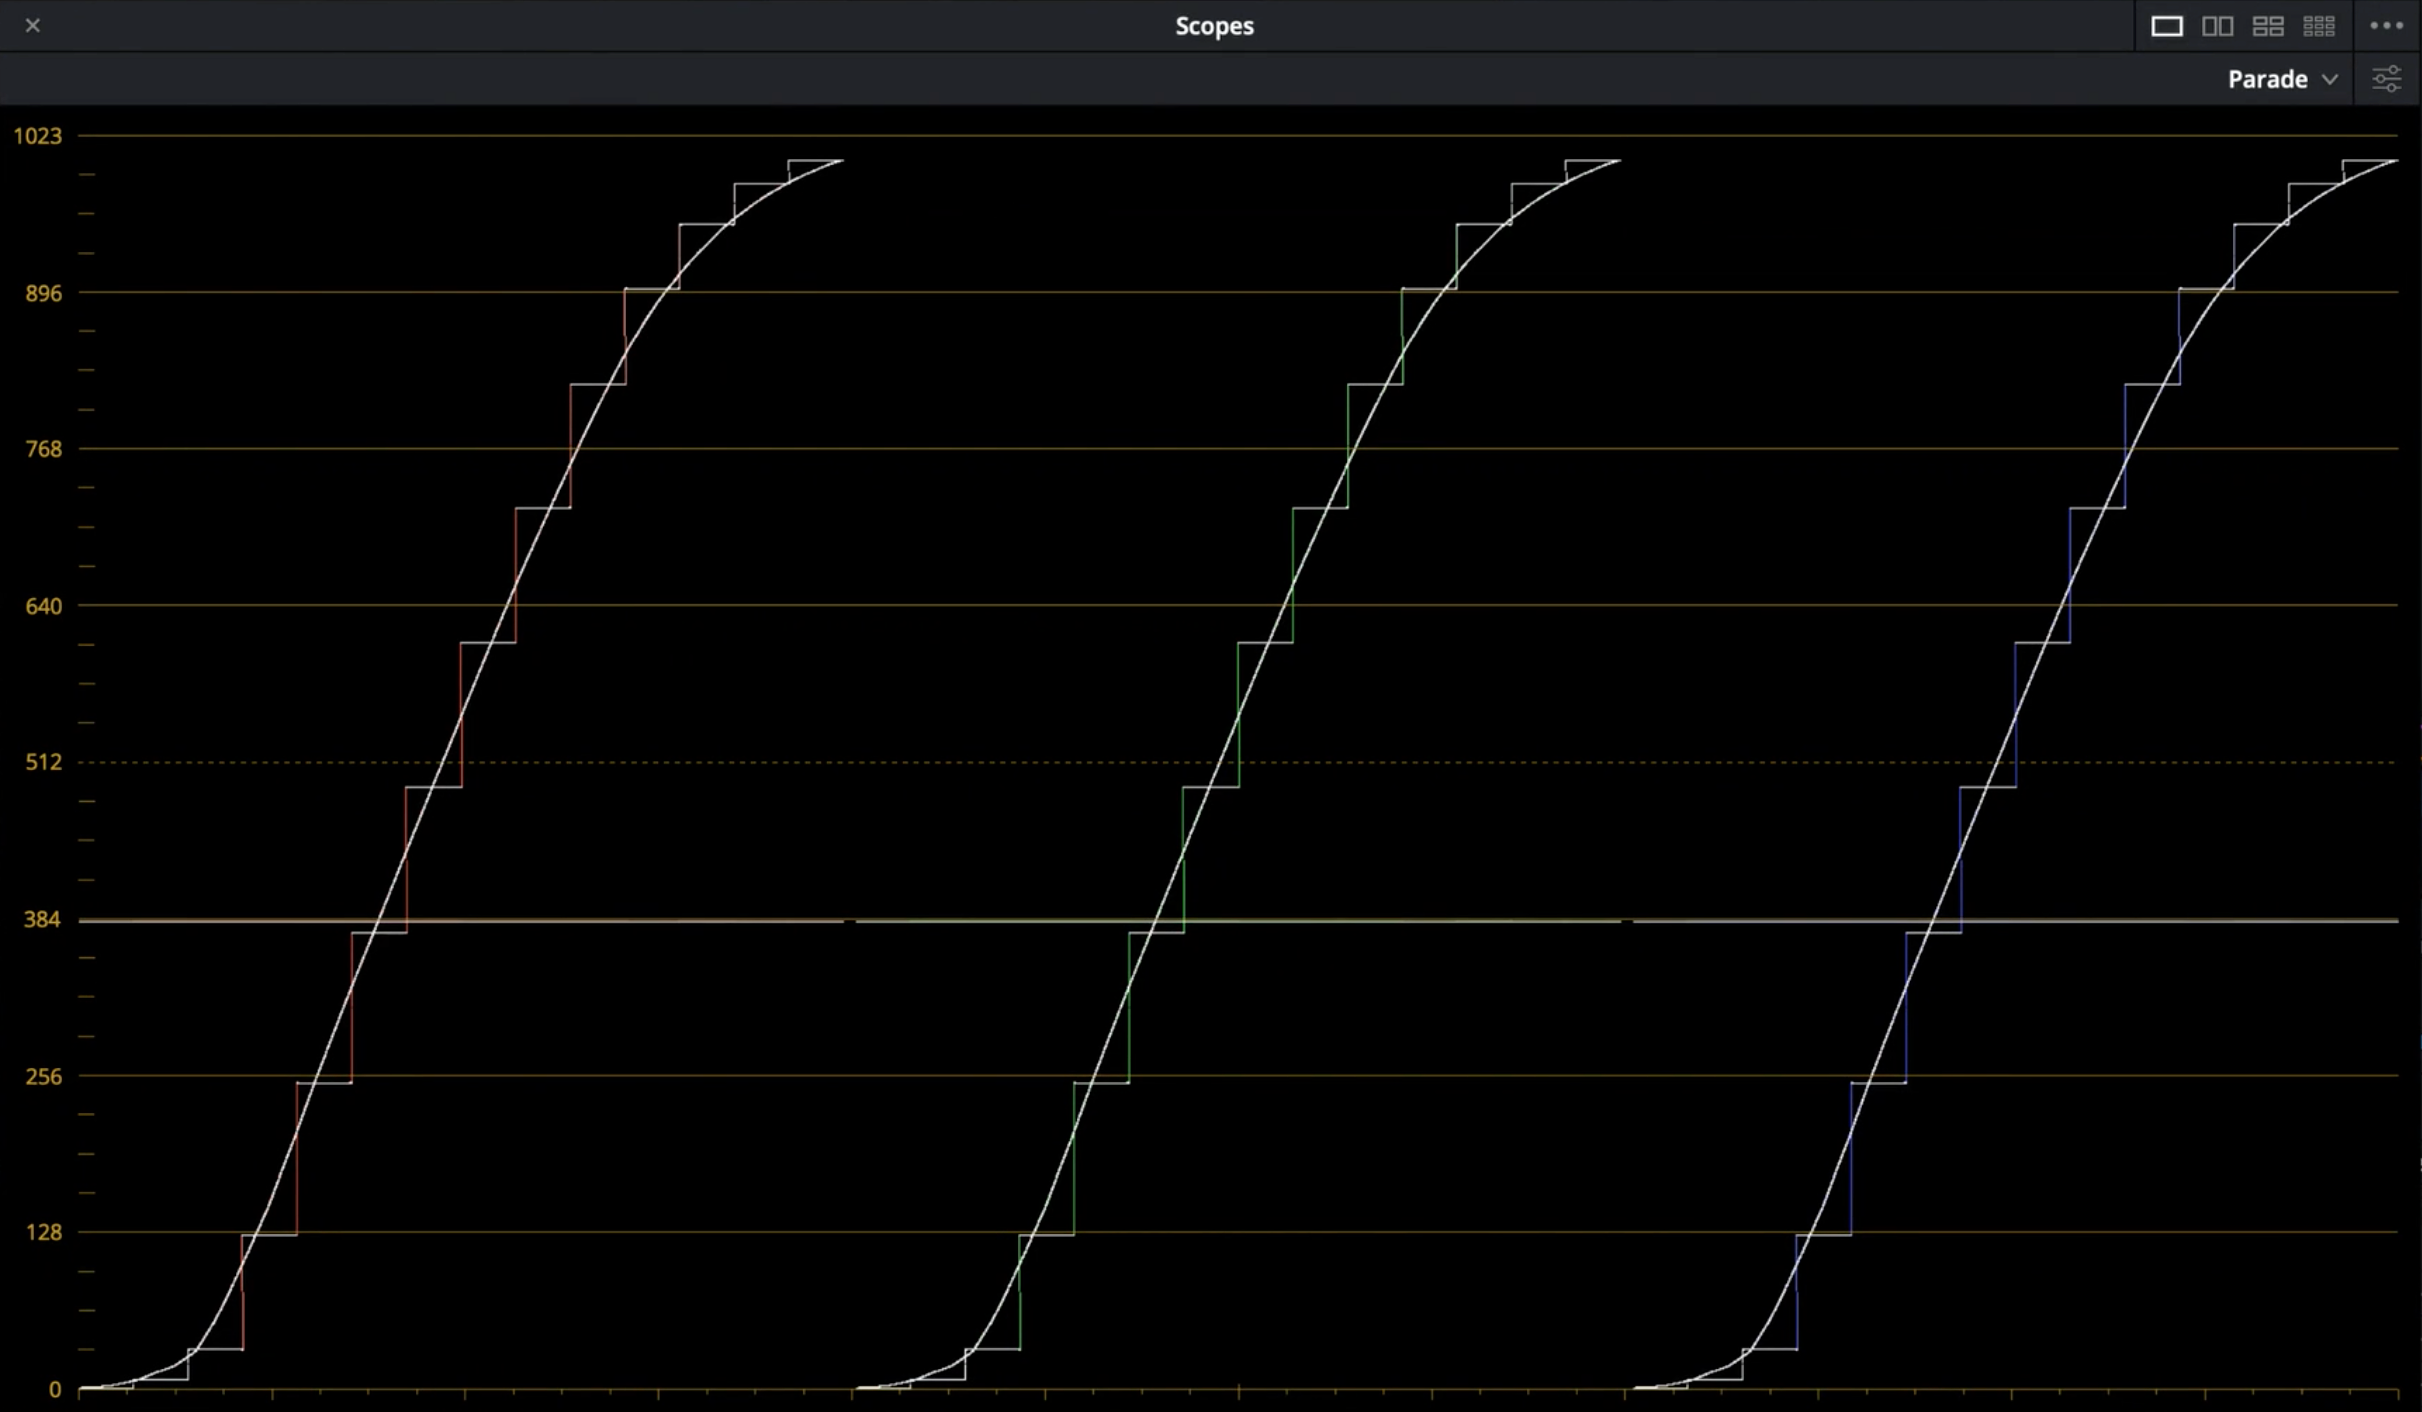
The F4 is a Film Negative and it is the most neutral that we have and it has a particular curve.
2.5 F5 Contrast Curve
In the Contrast Option drop-down menu, select F5.
The F5 is another negative print stock
2.6 Fuji 3510 Contrast Curve
In the Contrast Option drop-down menu, select Fuji 3510
The Fuji 3510 will modify the way how your image feels, because of its specific print characteristic which completely disbalance your image
2.7 Kodak 2383 Contrast Curve
In the Contrast Option drop-down menu, select Kodak 2383.
The Kodak 2383 is another print stock.
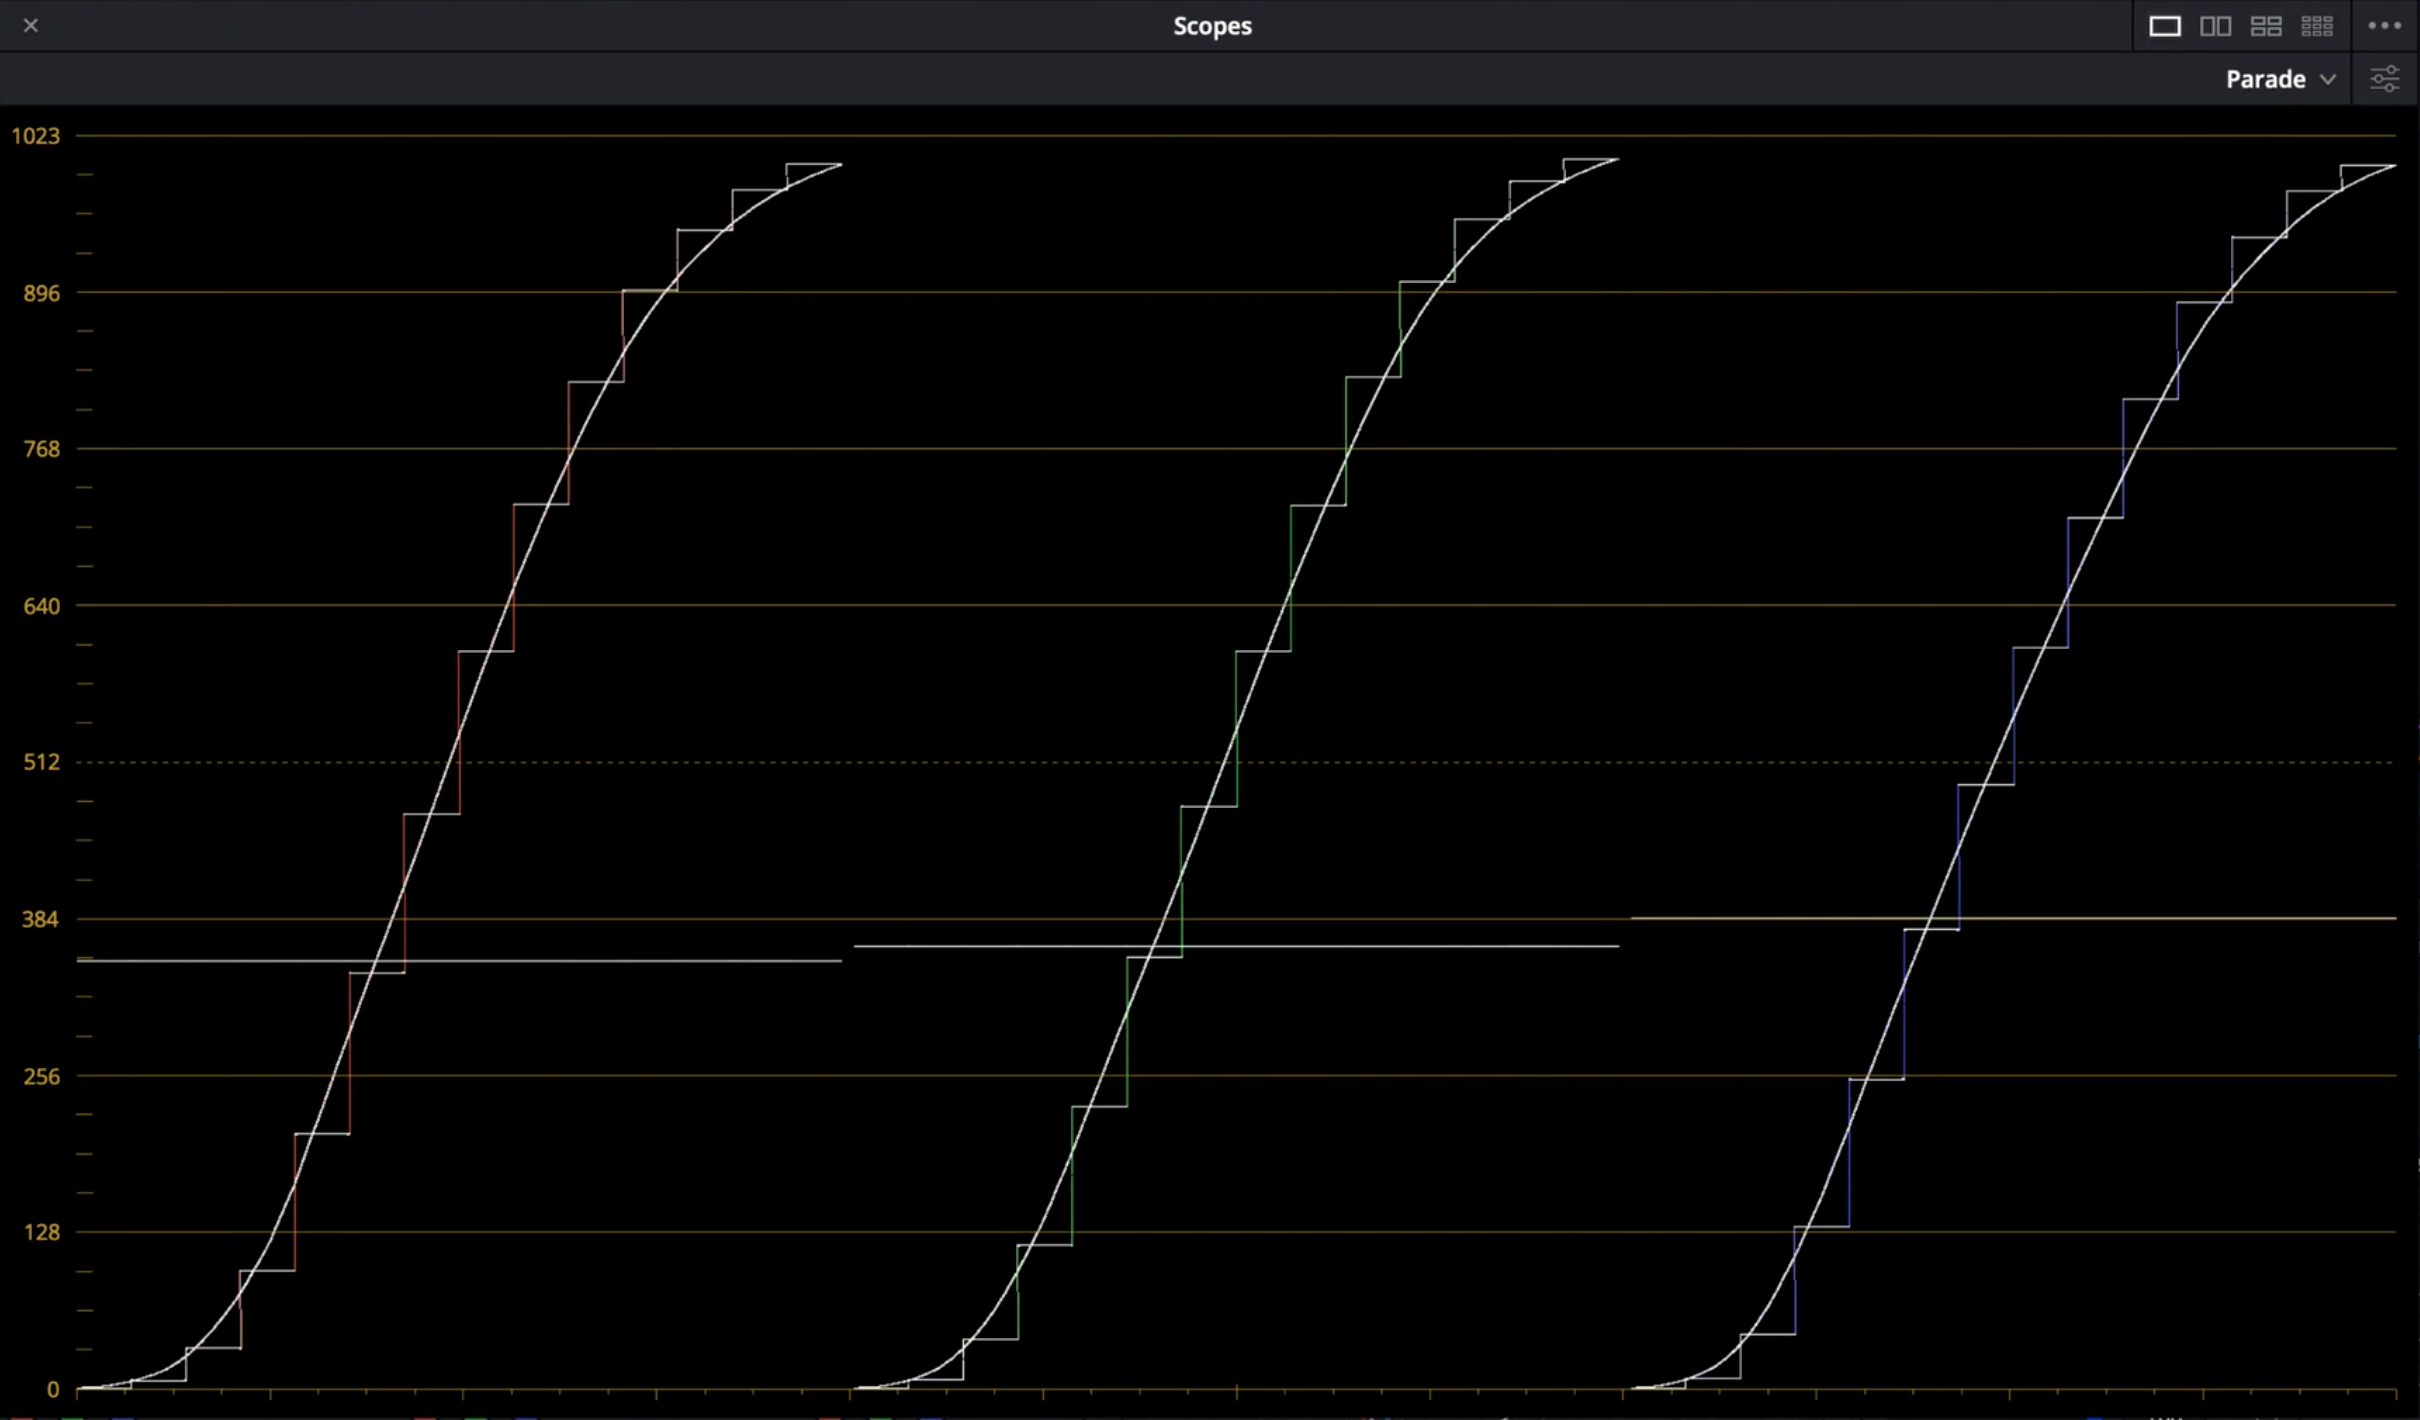
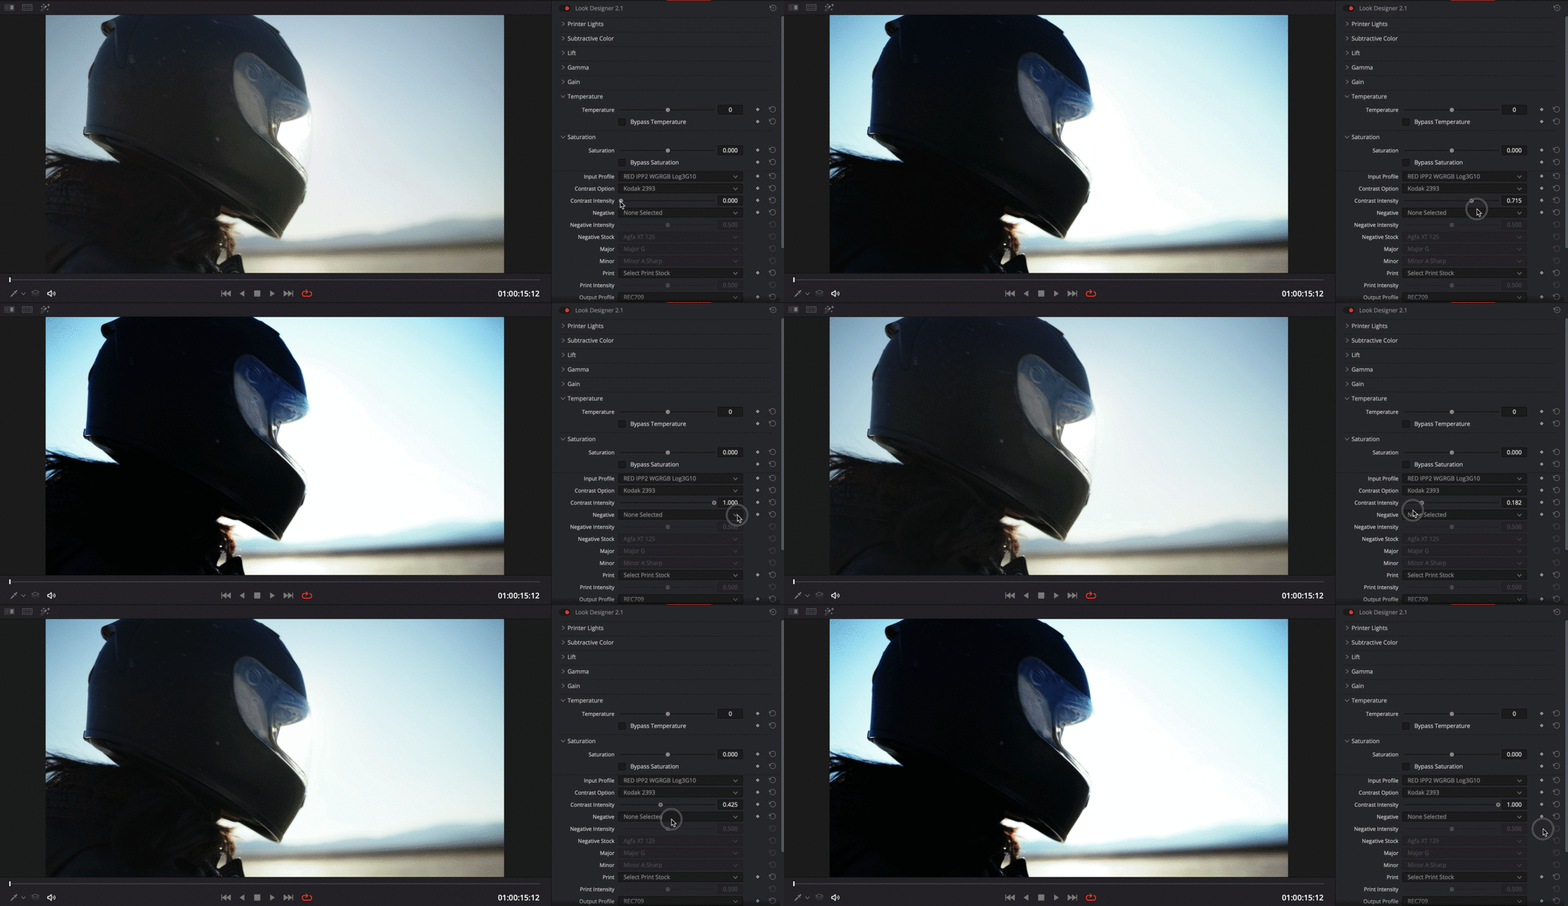
2.8 Kodak 2393 Contrast Curve
In the Contrast Option drop-down menu, select Kodak 2393.
The Kodak 2393 it's a premium print stock that has a very strong contrast which is working very well in HDR.
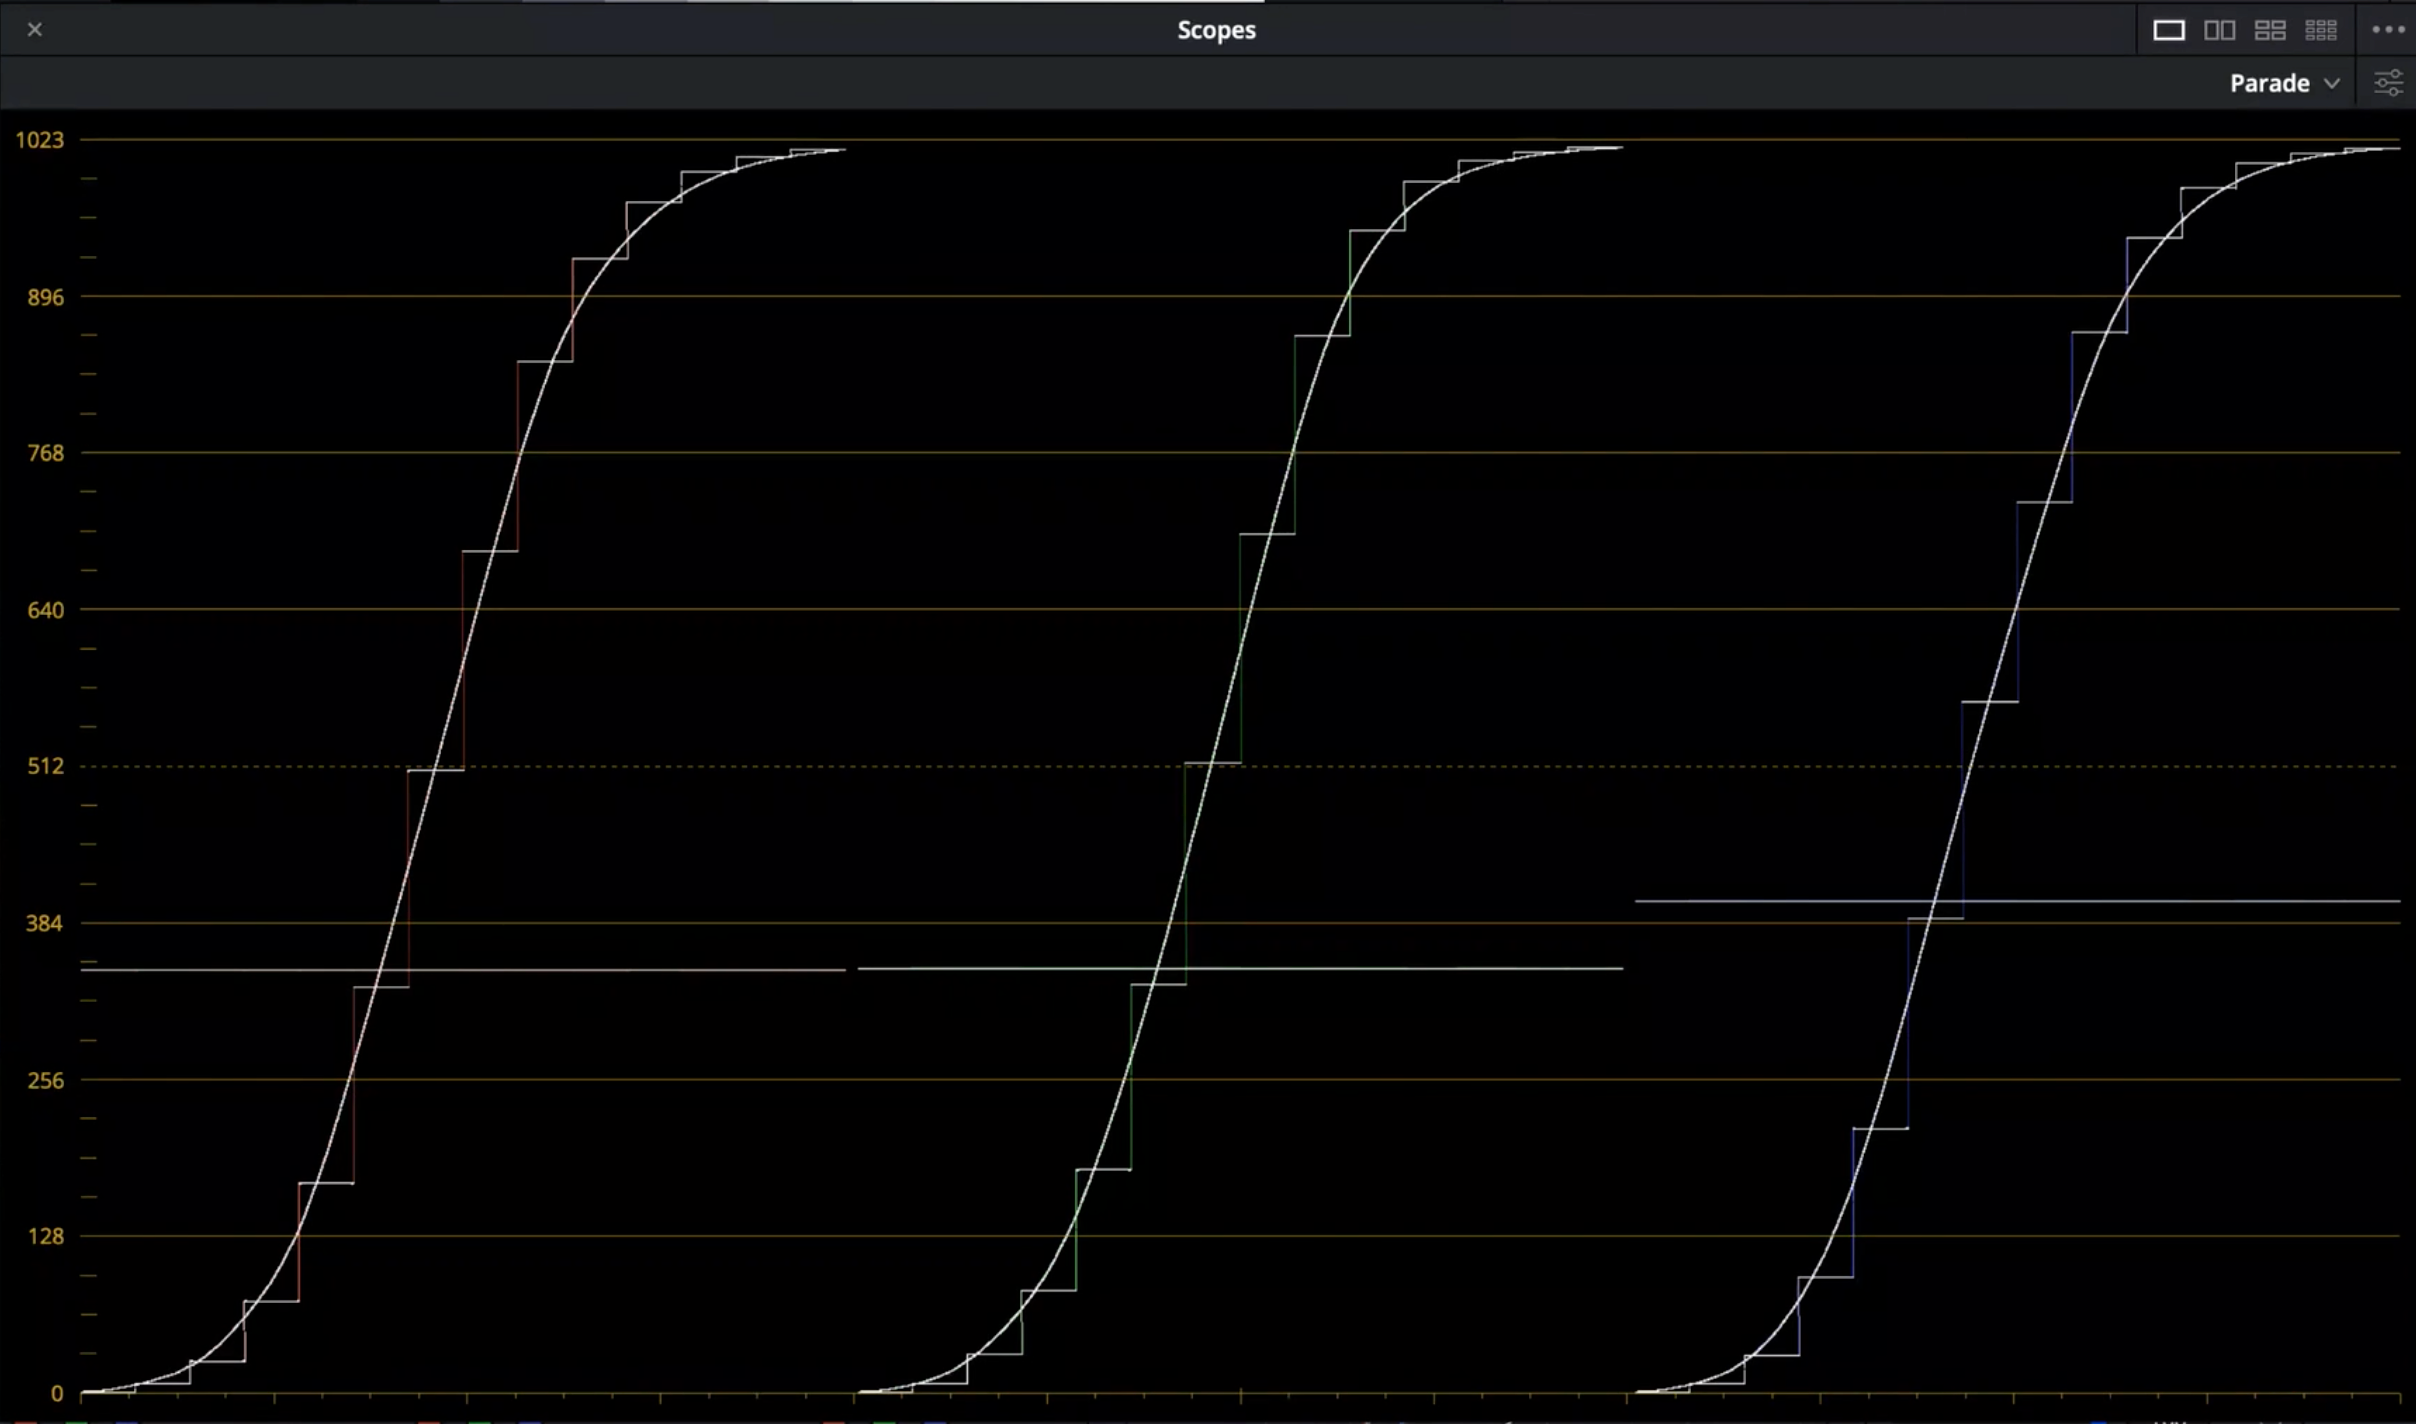
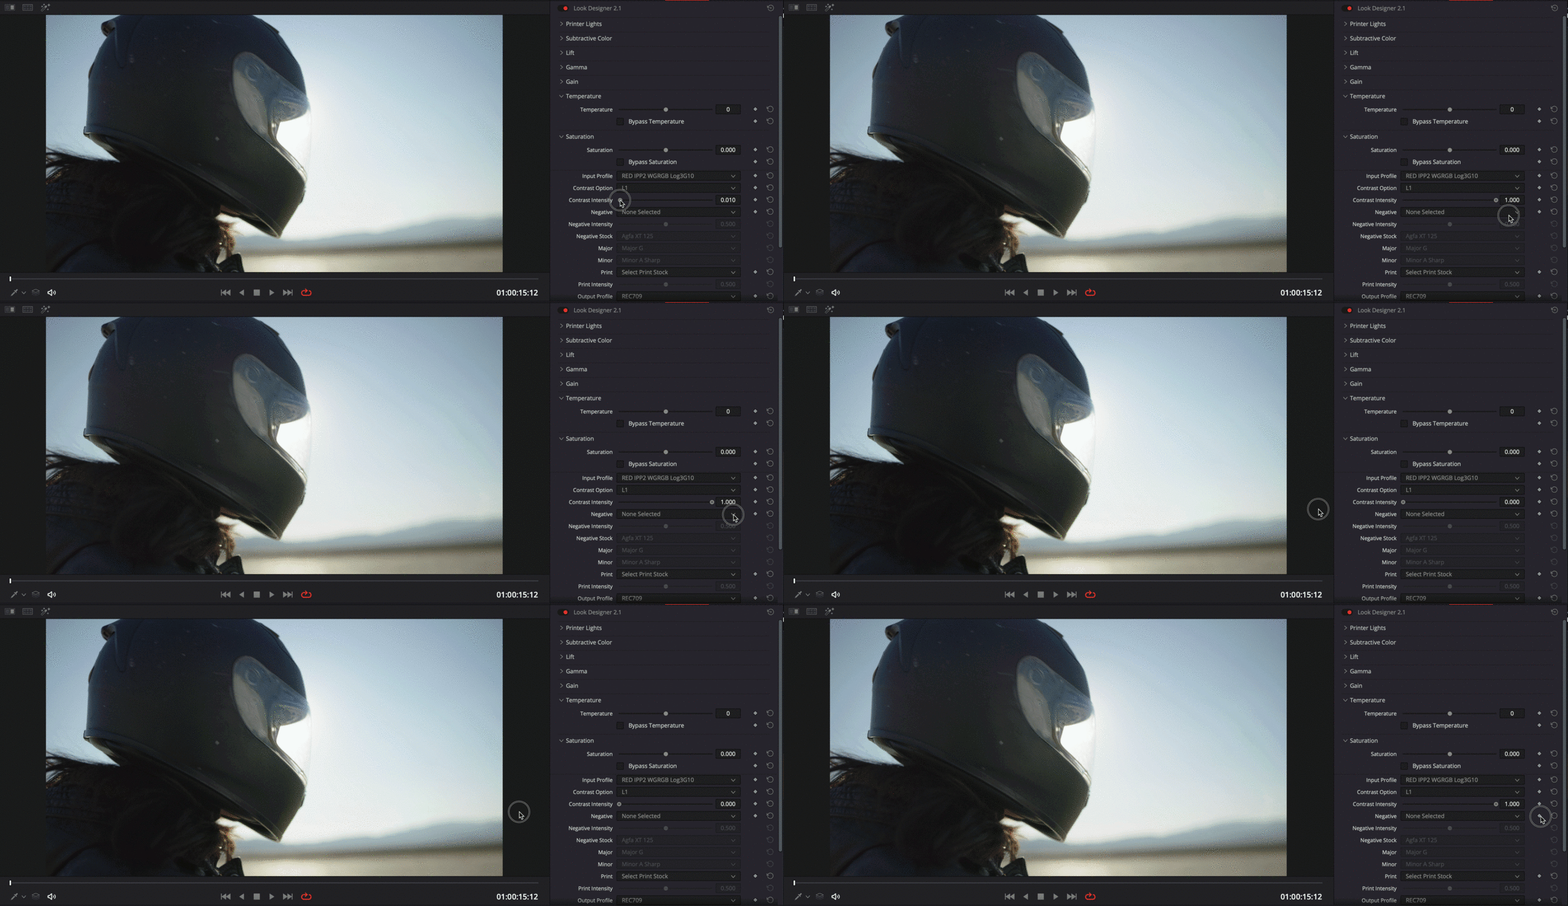
2.9 L1 Contrast Curve
In the Contrast Option drop-down menu, select L1.
The L1 is a very Flat Contrast and gives you the ability to achieve a perfect Nordic Look.
You will use this option when you want to reduce the contrast of your image.
2.10 L2 Contrast Curve
In the Contrast Option drop-down menu, select L2.
The L2 is another Flat Contrast.
Like the L1 contrast, you will use this option when you want to reduce the contrast of your image.
We hope this tutorial has been helpful to you.
If you have other questions please contact


