

Here to download the Video Tutorial:
https://drive.google.com/file/d/1ehdzJnR92AqqGSZW3W3XZAv0esGTJpkS/view?usp=sharing
1.You need to save your node tree using Grab Still Command in DaVinci Resolve.
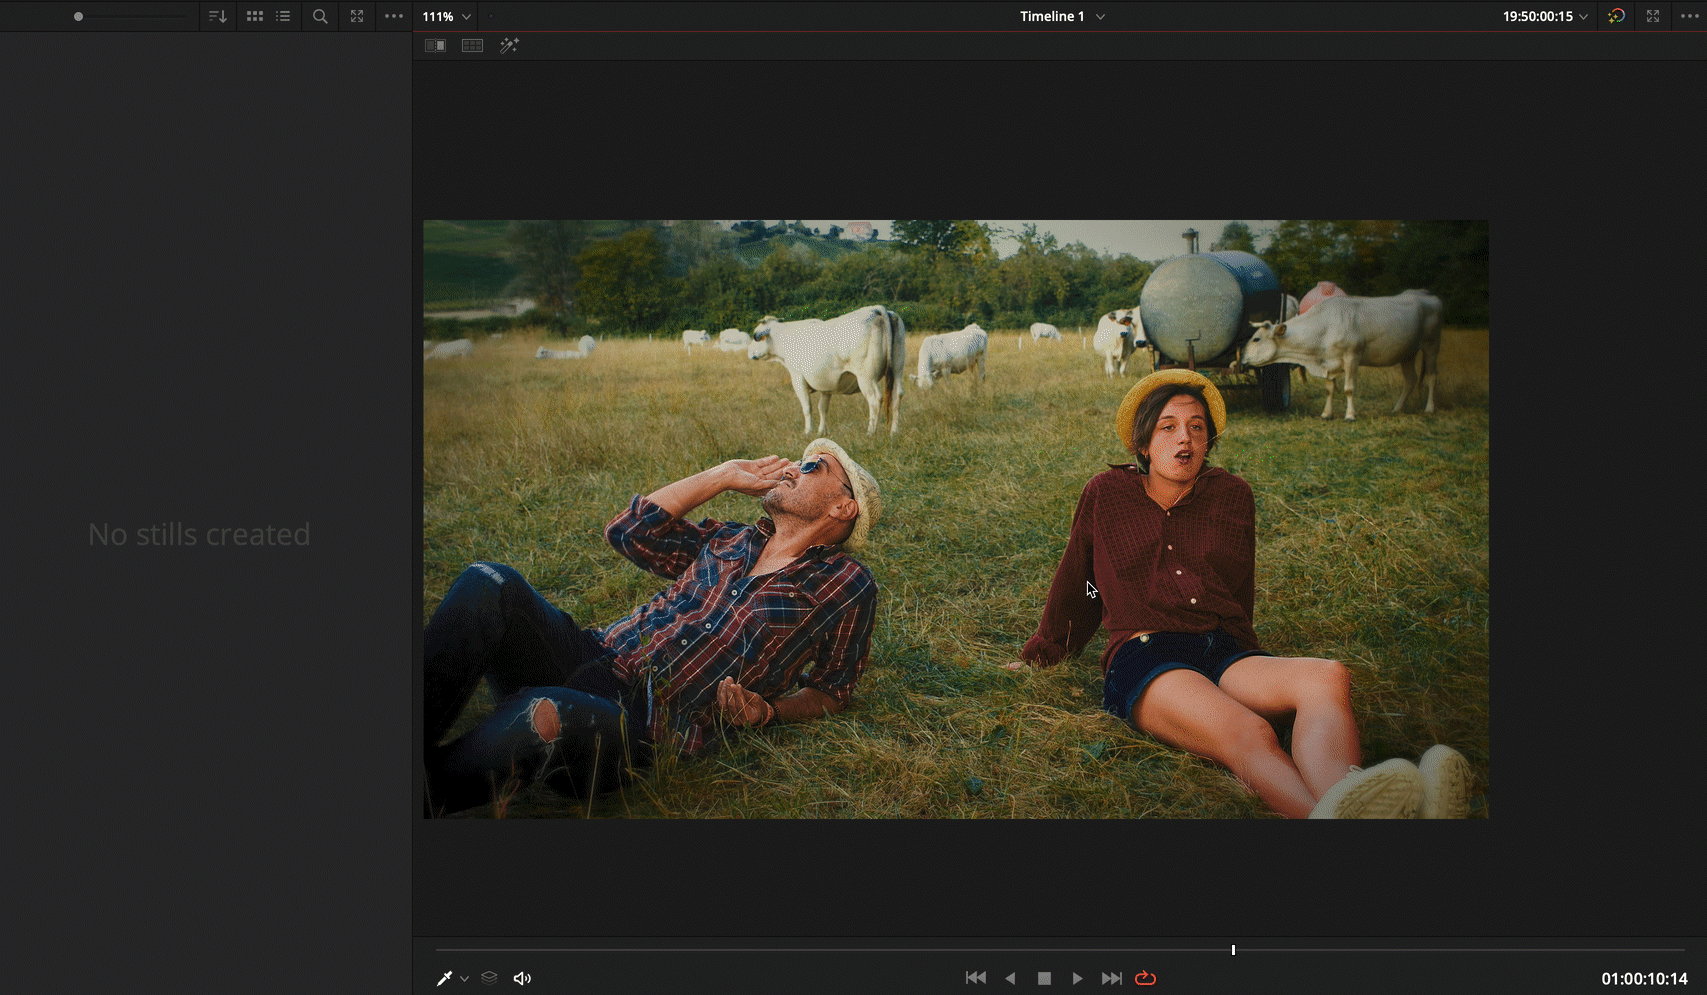
In DaVinci Resolve go to COLOR PAGE, right-click on the image in the Viewer in the Color page and select ‘Grab Still’, or press Command-Option-G.
2.Export Still as a DRX file.
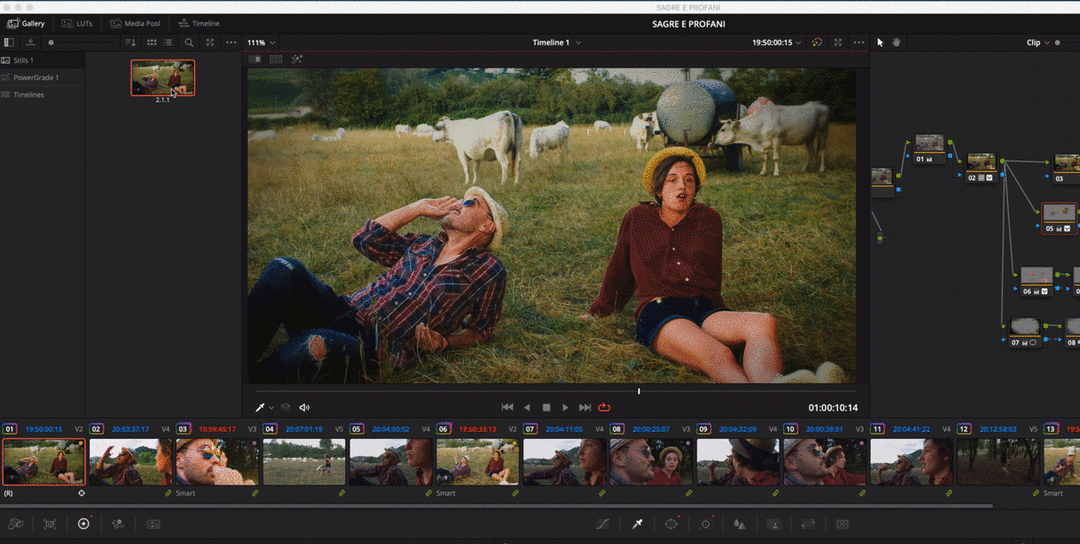
From DaVinci Resolve select the grade in the Gallery and right-click on it, then choose Export. Name it, choose the file type you prefer, and press Export.
Go to Gallery Section => “Your Still Folder” => Right Click on the Grade=> Export => Select any file type and then press EXPORT
3.Import Custom Node Tree to Colourlab AI
Now in Colourlab AI we need to
open Project Setting menu,
select DRX Node Tree
and then choose Select Custom DRX Node Tree
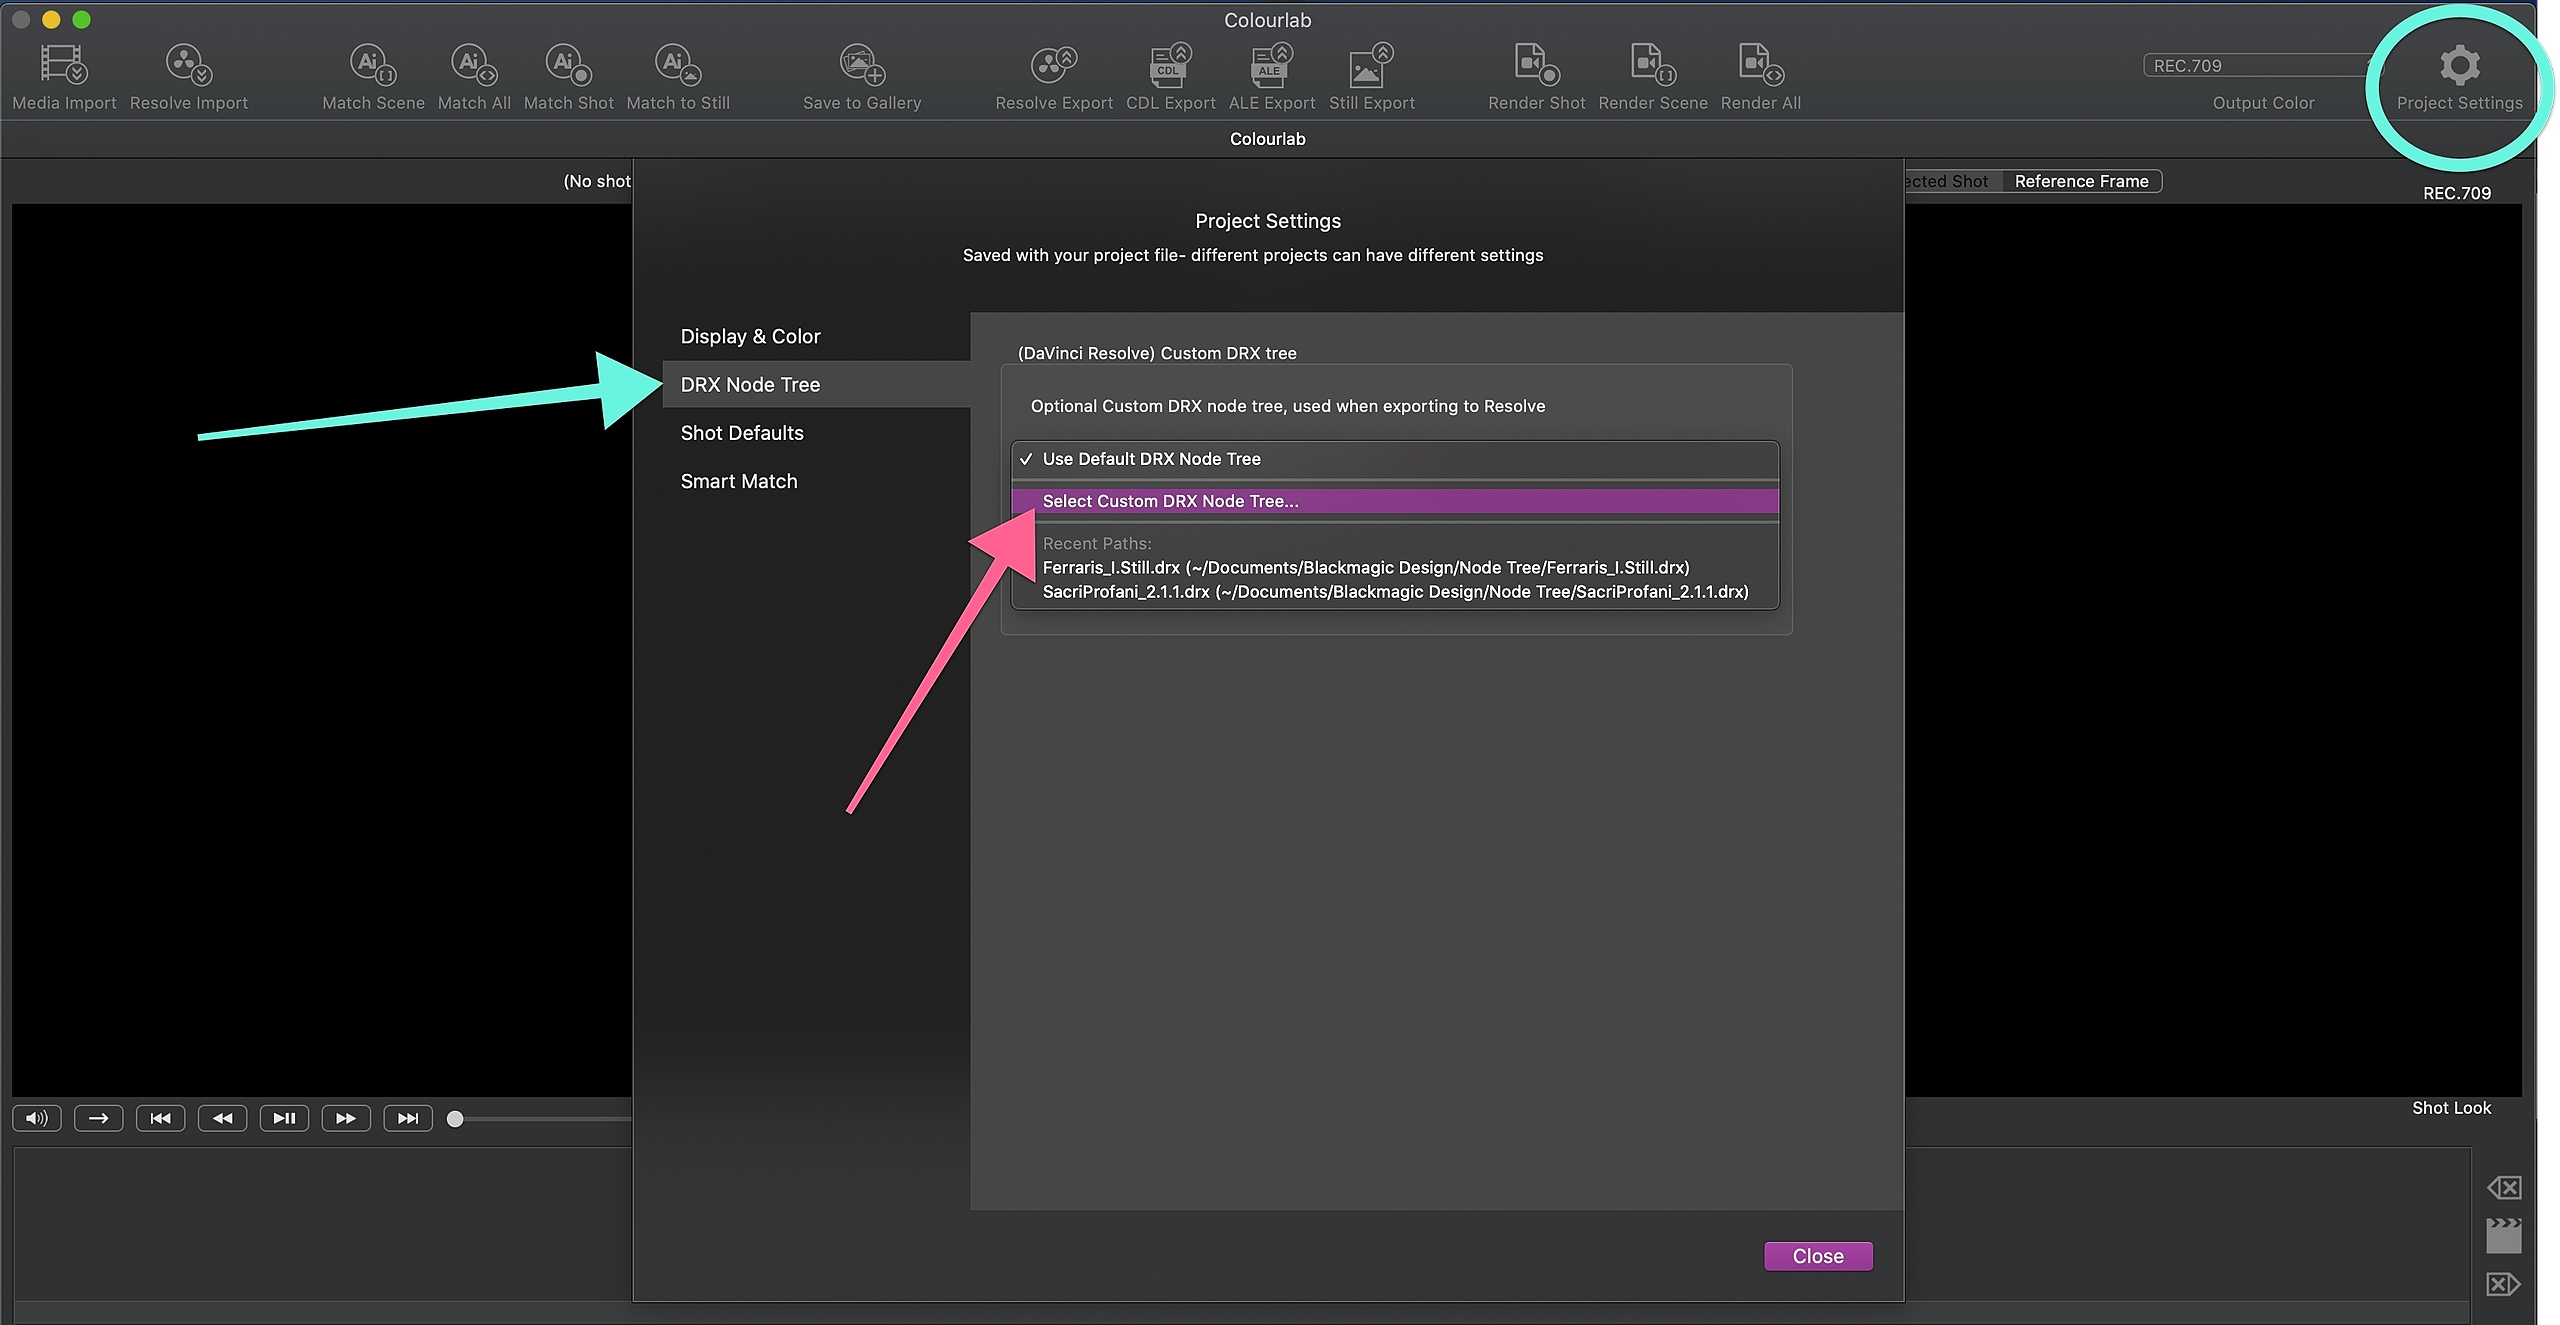
After that, we need to go to the Folder where we have saved our DRX file,
Select the DRX file you want to use and then press OPEN.

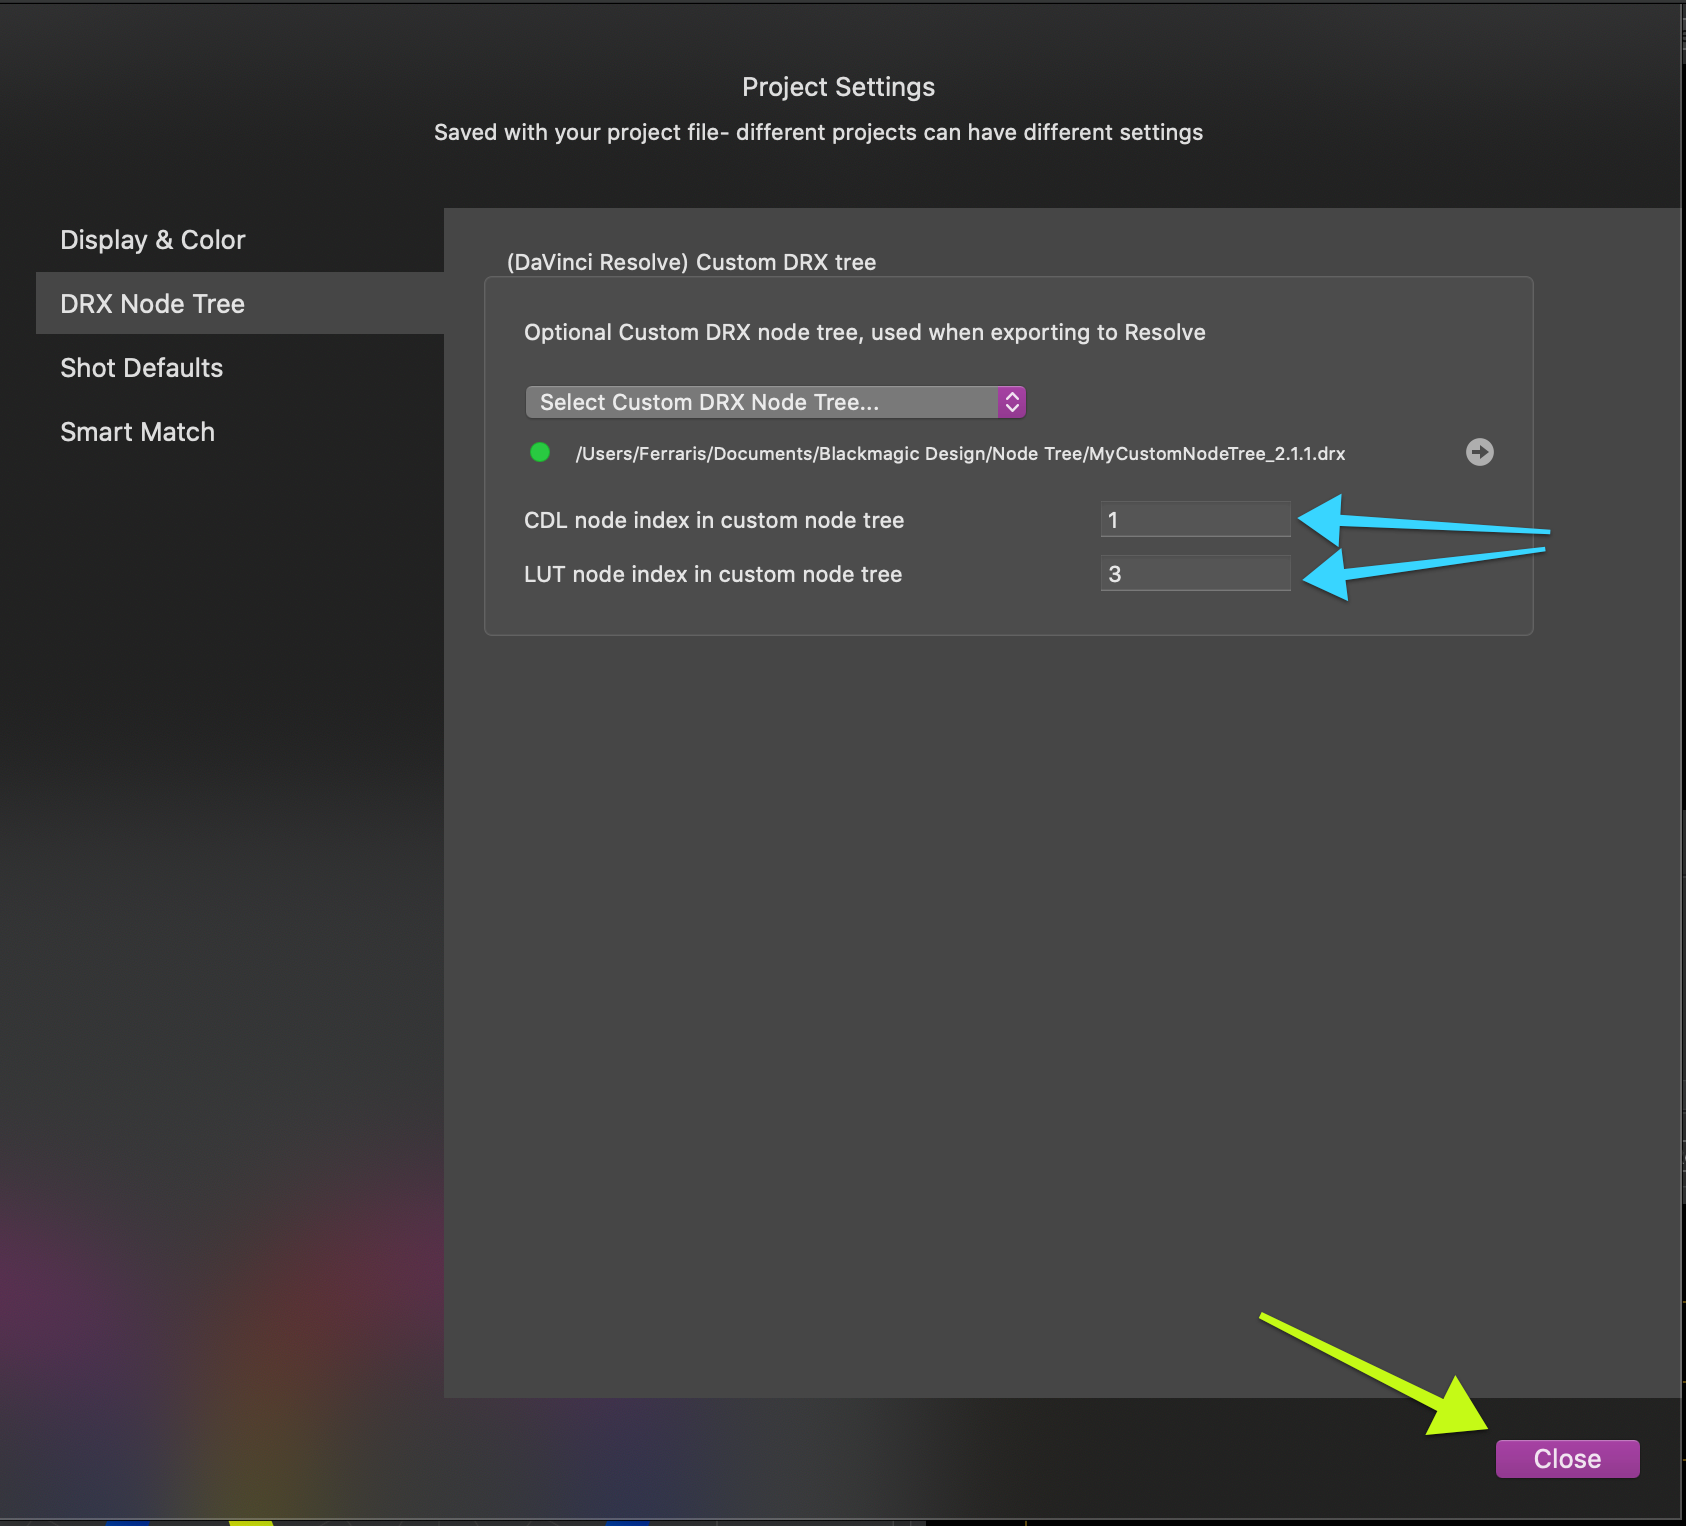
4.Set your CDL and LUT node number in Custom Node Tree
Now you can set the number of the node in which there will be the CDL and the one where there will be the LUT when you come back in Resolve.
Remember to click CLOSE to confirm the changes.
We hope this tutorial has been helpful to you.
If you have other questions please contact