0.Presentation
Grainlab is designed to blend grain deep into the texture of the digital camera negative. The resulting image is behaving to film scans as it has a texture applied before any color correction. All of the processing is GPU accelerated and real-time in HD and 4K.
Please use it only on your timeline or group pre/post clip as it will not perform optimally just as a clip node.
1.Select the right Camera profile
First of all, based on the footage you are using, you need to select the right gamma profile.
It's very simple to do it, click on Camera selection, and choose the gamma profile that fits for you.
1.1.List of currently supported Log Curves
Below there is the list of currently supported Log Curves on Grainlab
709
Arri Log C
BMD Gen 4
RedLog3G10
Slog-3
Vlog
2.Select the Grain
Grainlab generates grain based on the frame’s content, making its appearance closer to the real film grain.
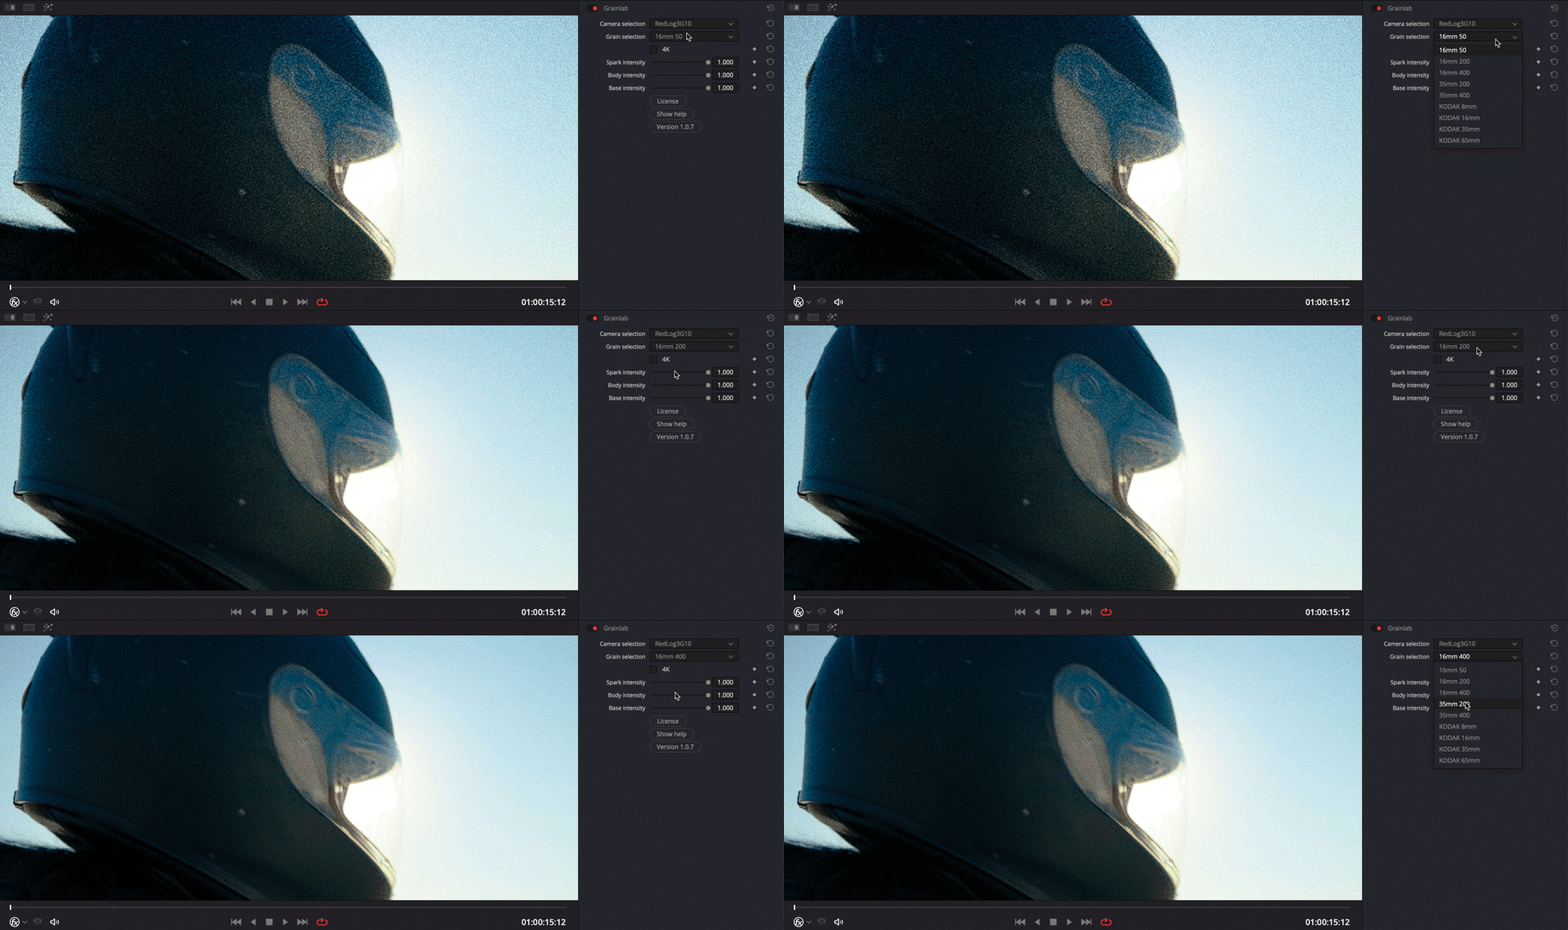
Clicking on the Grain selection drop-down menu, you'll have a large selection of different types of Grain.
If your footage is on 4K, you can check the relative box to adapt the grain to the video.
Below the list of different types of Grain you can use with Grainlab
16mm 50 ISO
16mm 200 ISO
16mm 400 ISO
35mm 200 ISO
35mm 400 ISO
KODAK 8mm
KODAK 16mm
KODAK 35mm
KODAK 65mm
3.Blending Controls - Fine Tune Grain
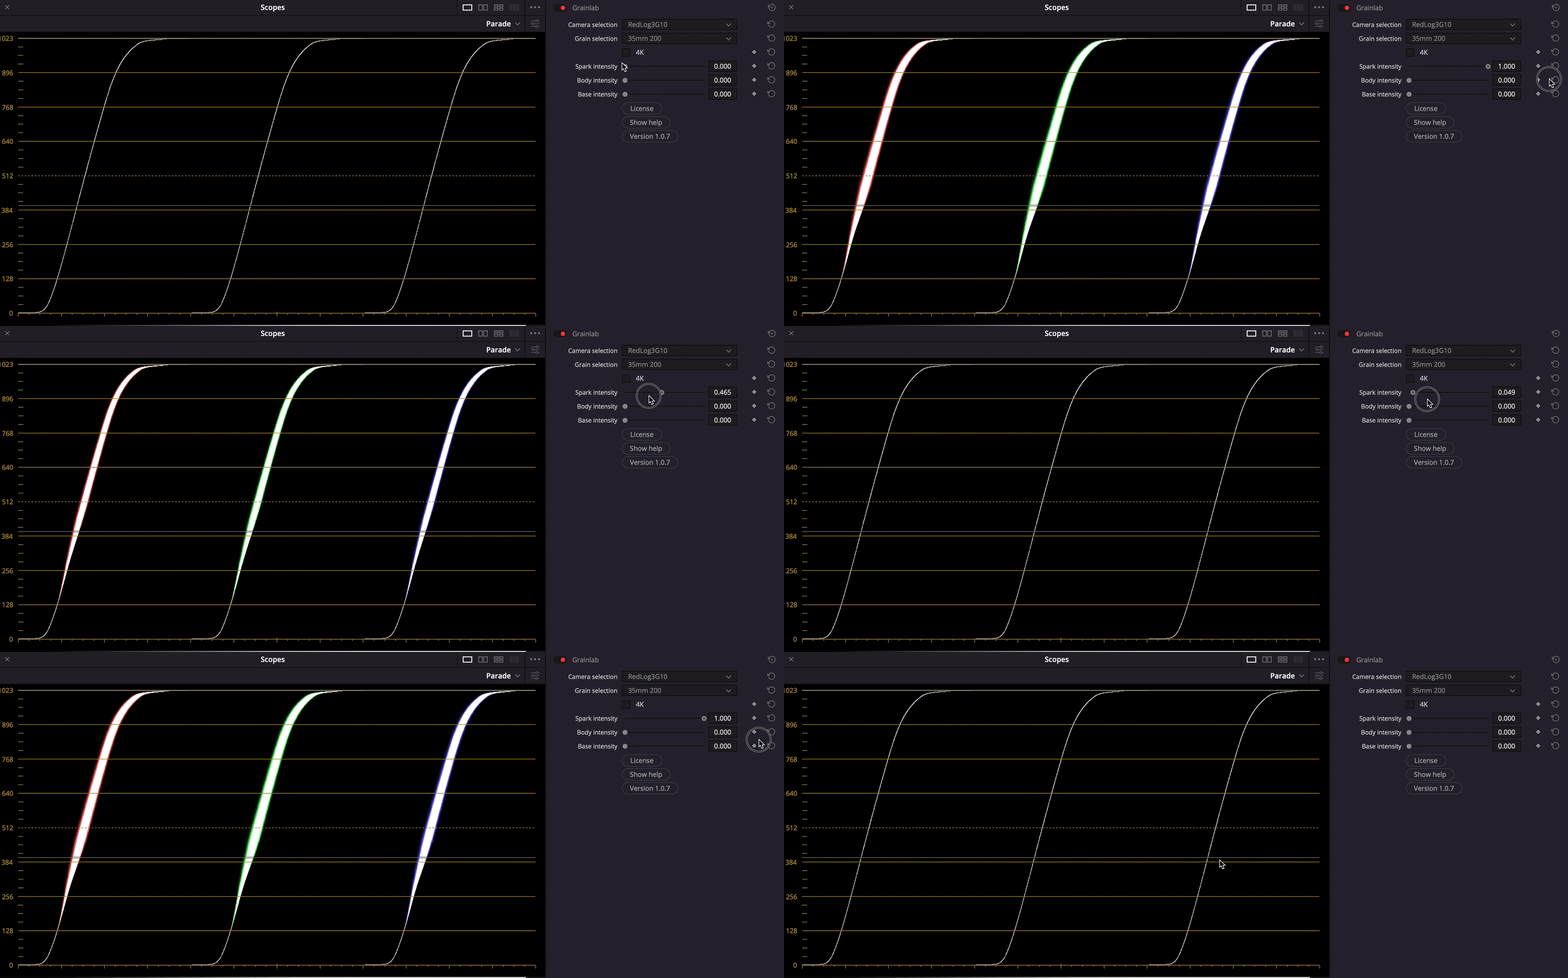
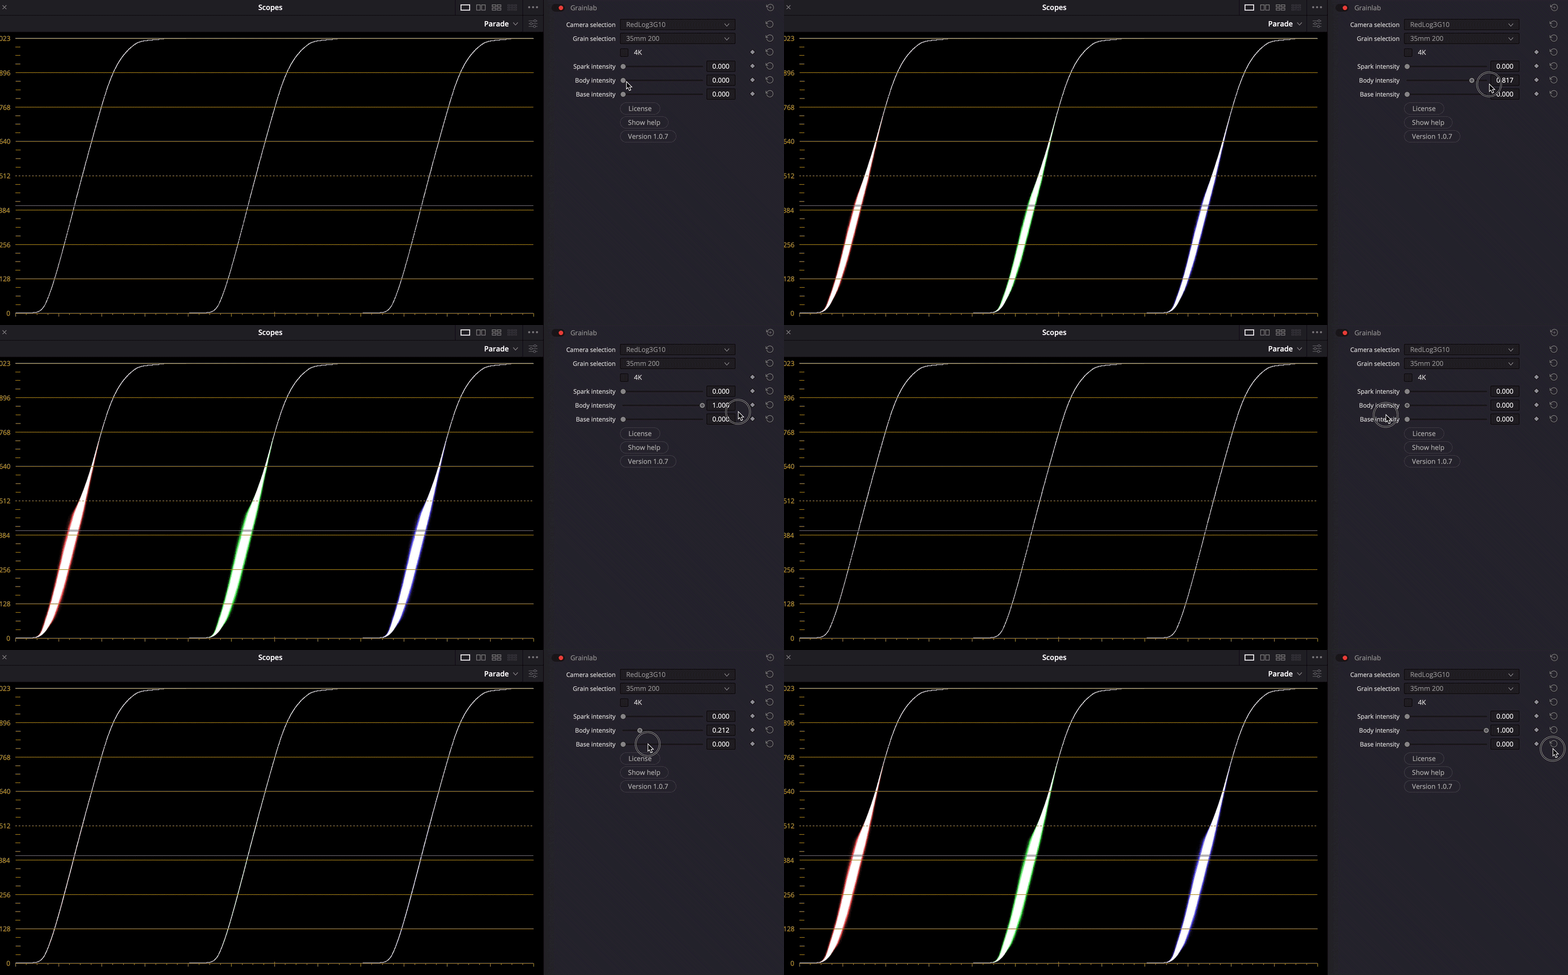
After applying the Grain, you have three control sliders to fine tune the Grain:
Spark Intensity - The Spark works with high frequencies, so this parameter allows you to control the amount of grain you want in the Highlight/Specular zone of the Grain.
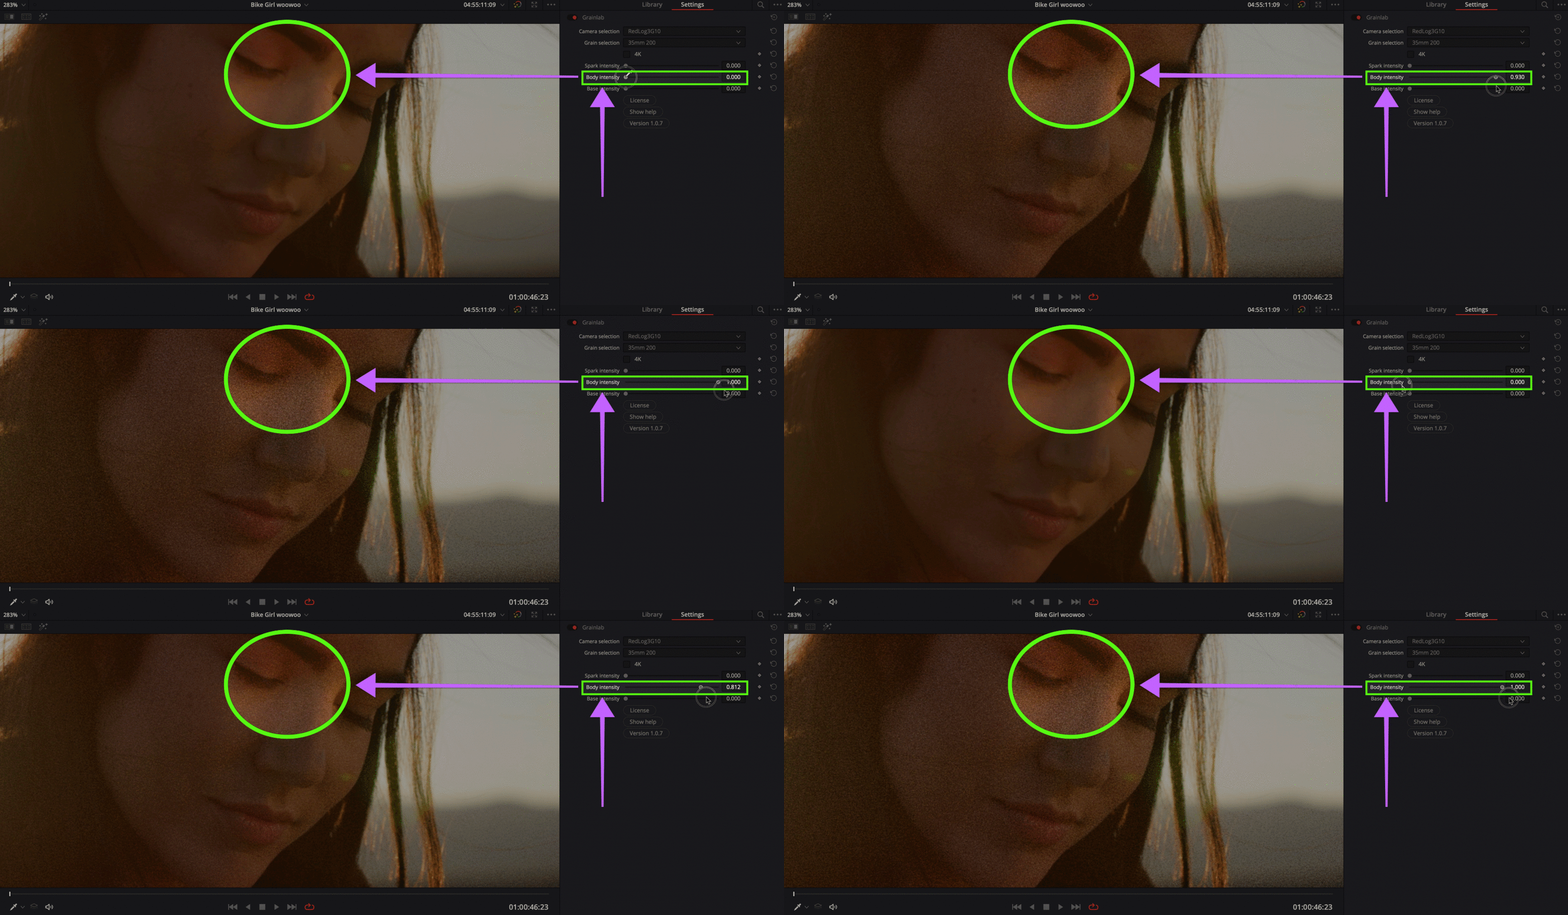
Body Intensity - The Body, as the name suggests, is the main part of our Grain, and you can see it working in particular on the Skin and in Midtone.
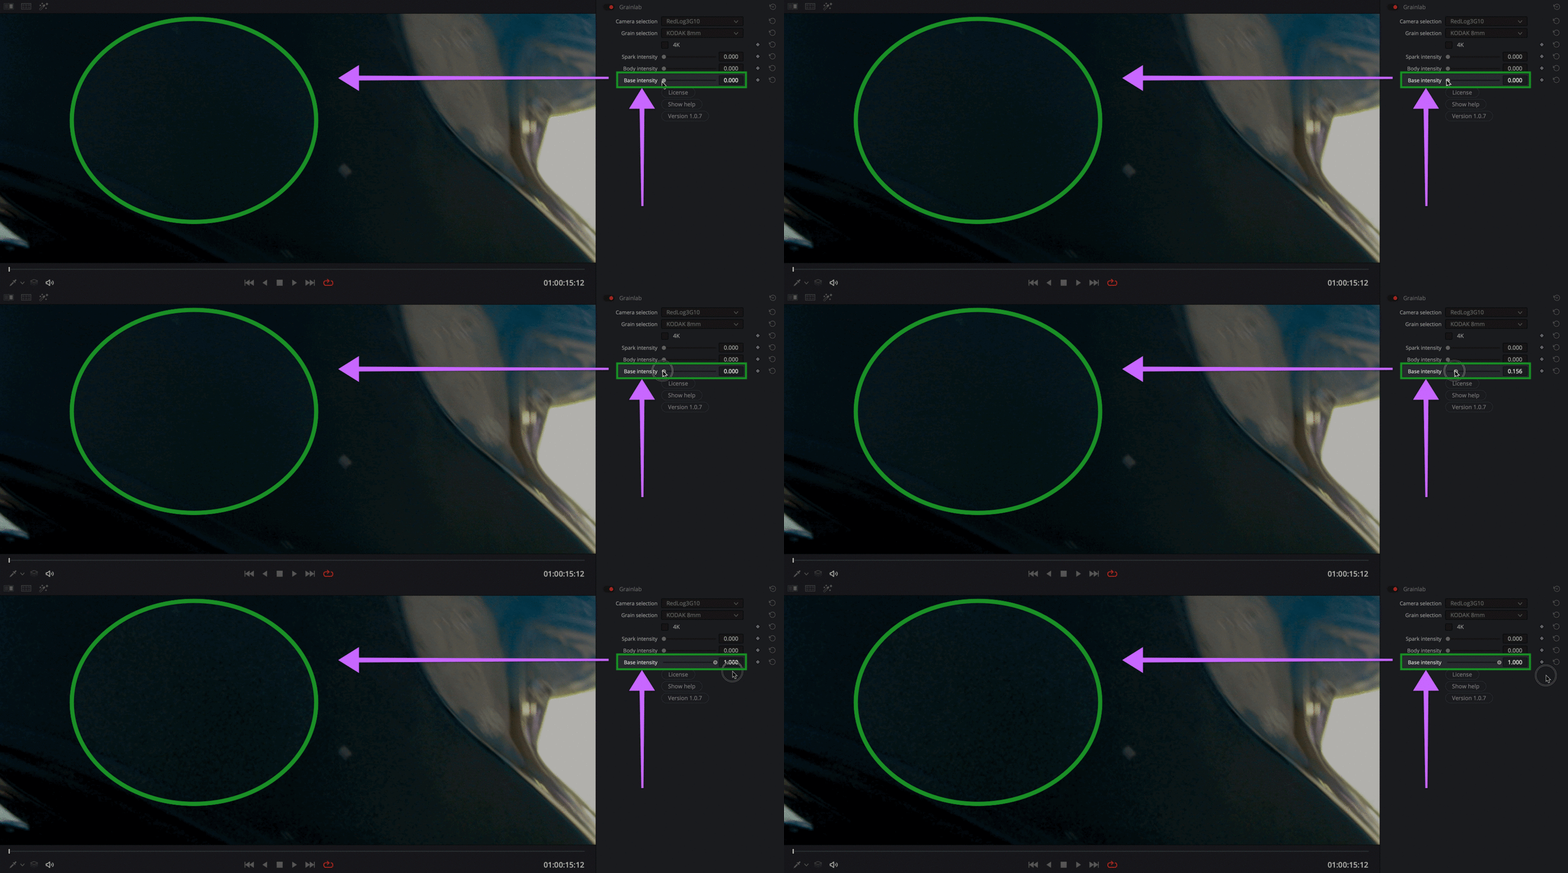
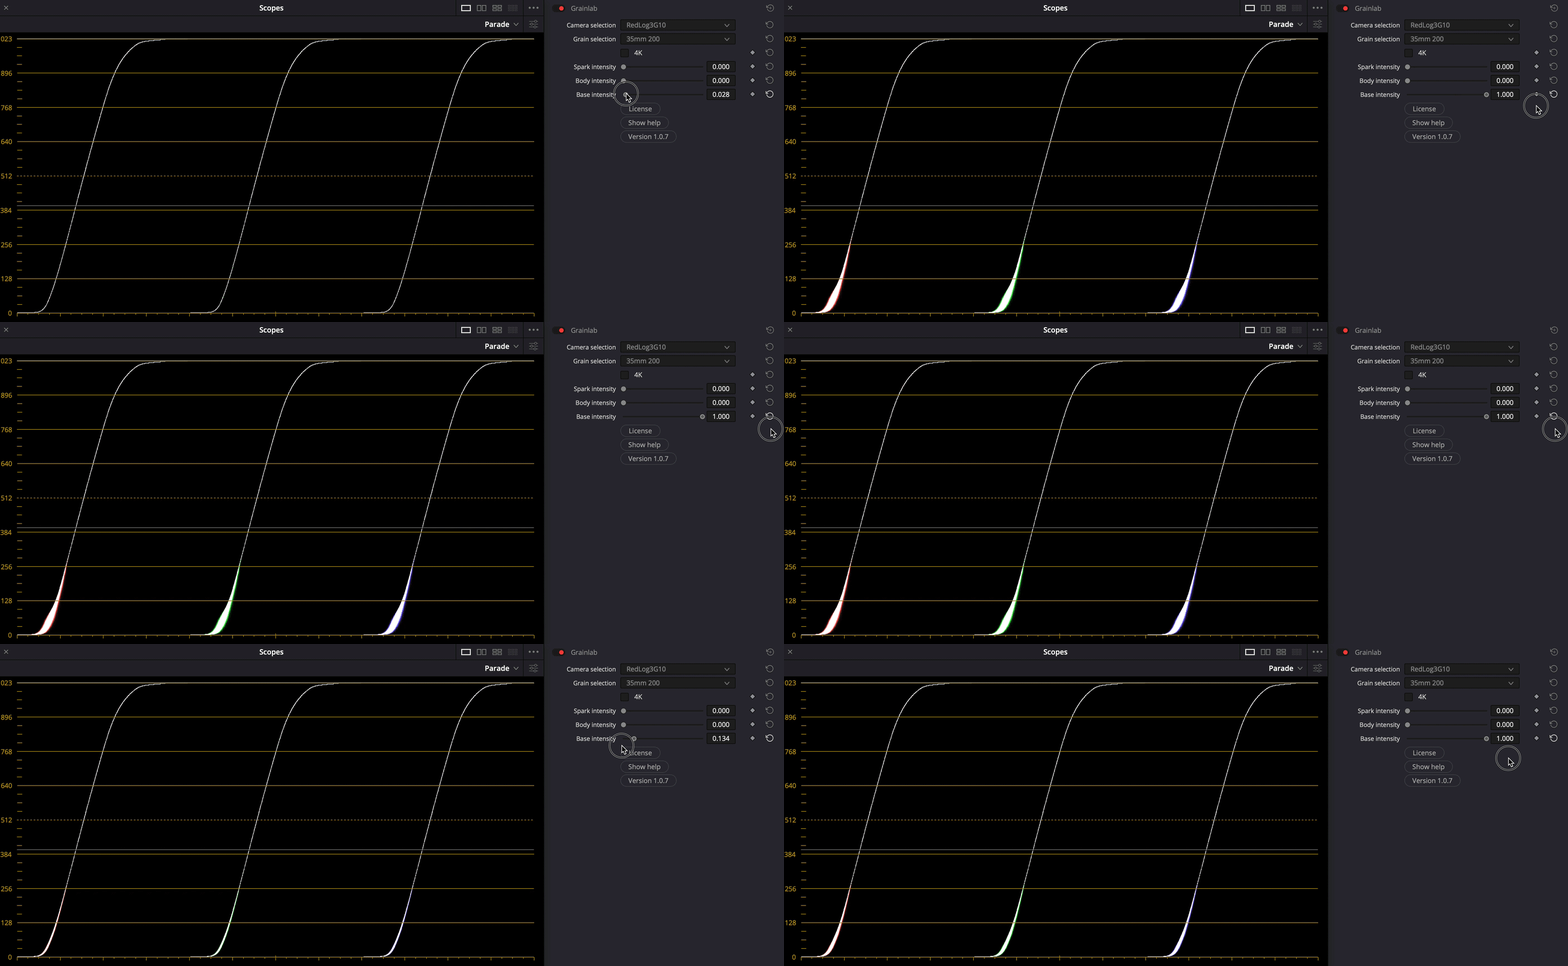
Base Intensity - The Base goes to work on the Blacks area of the Grain.
We hope this tutorial has been helpful to you.
If you have other questions please contact


