1.Save your grade into the Gallery
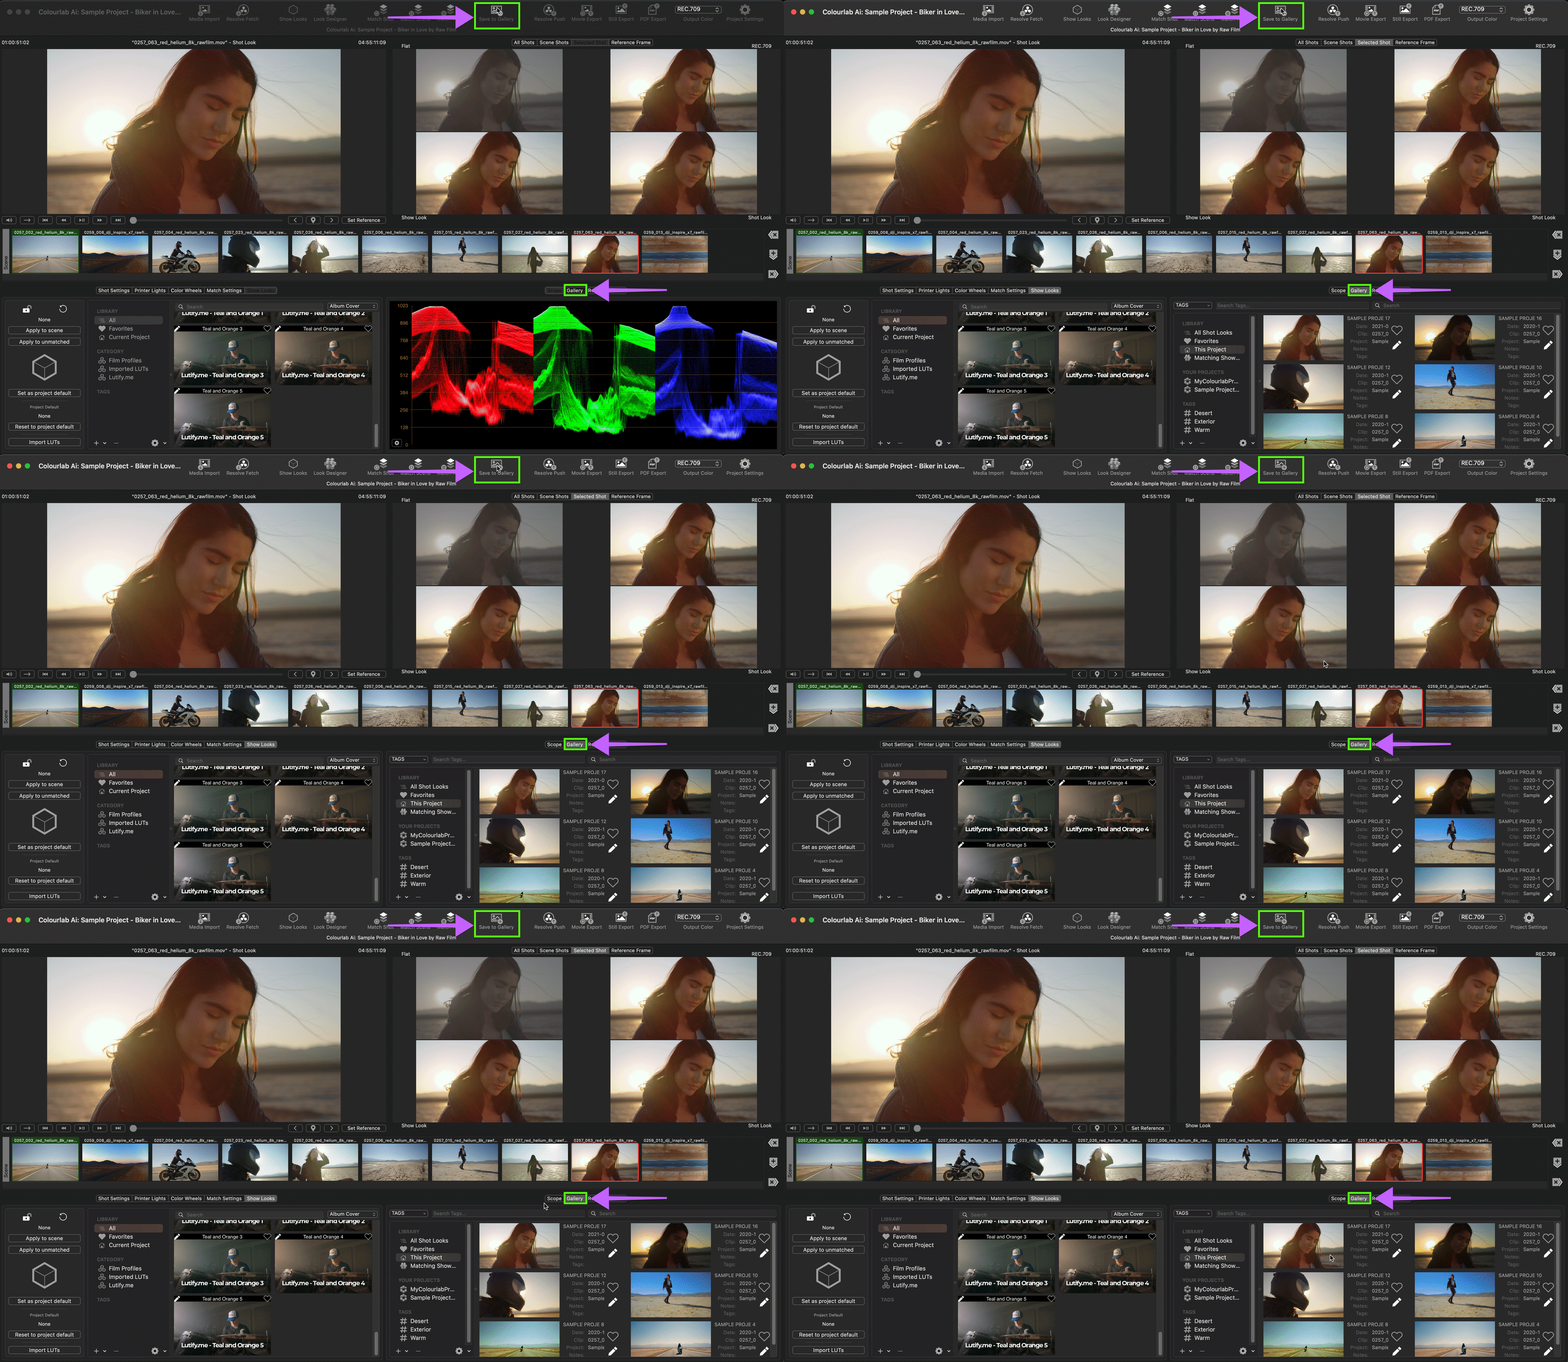
One of the most interesting features of Colourlab Ai is the possibility to create your Shot Look from your footage and use it as a model, so you can build your own reference Shot Deck to use it as you want.
First of all, choose the graded frame you want to save in the Gallery, then click on the Save to Gallery button, or more easily press the shortcut G on your keyboard and your Shot Look will be automatically saved into the Library of the Gallery section.
2.Grading with one click
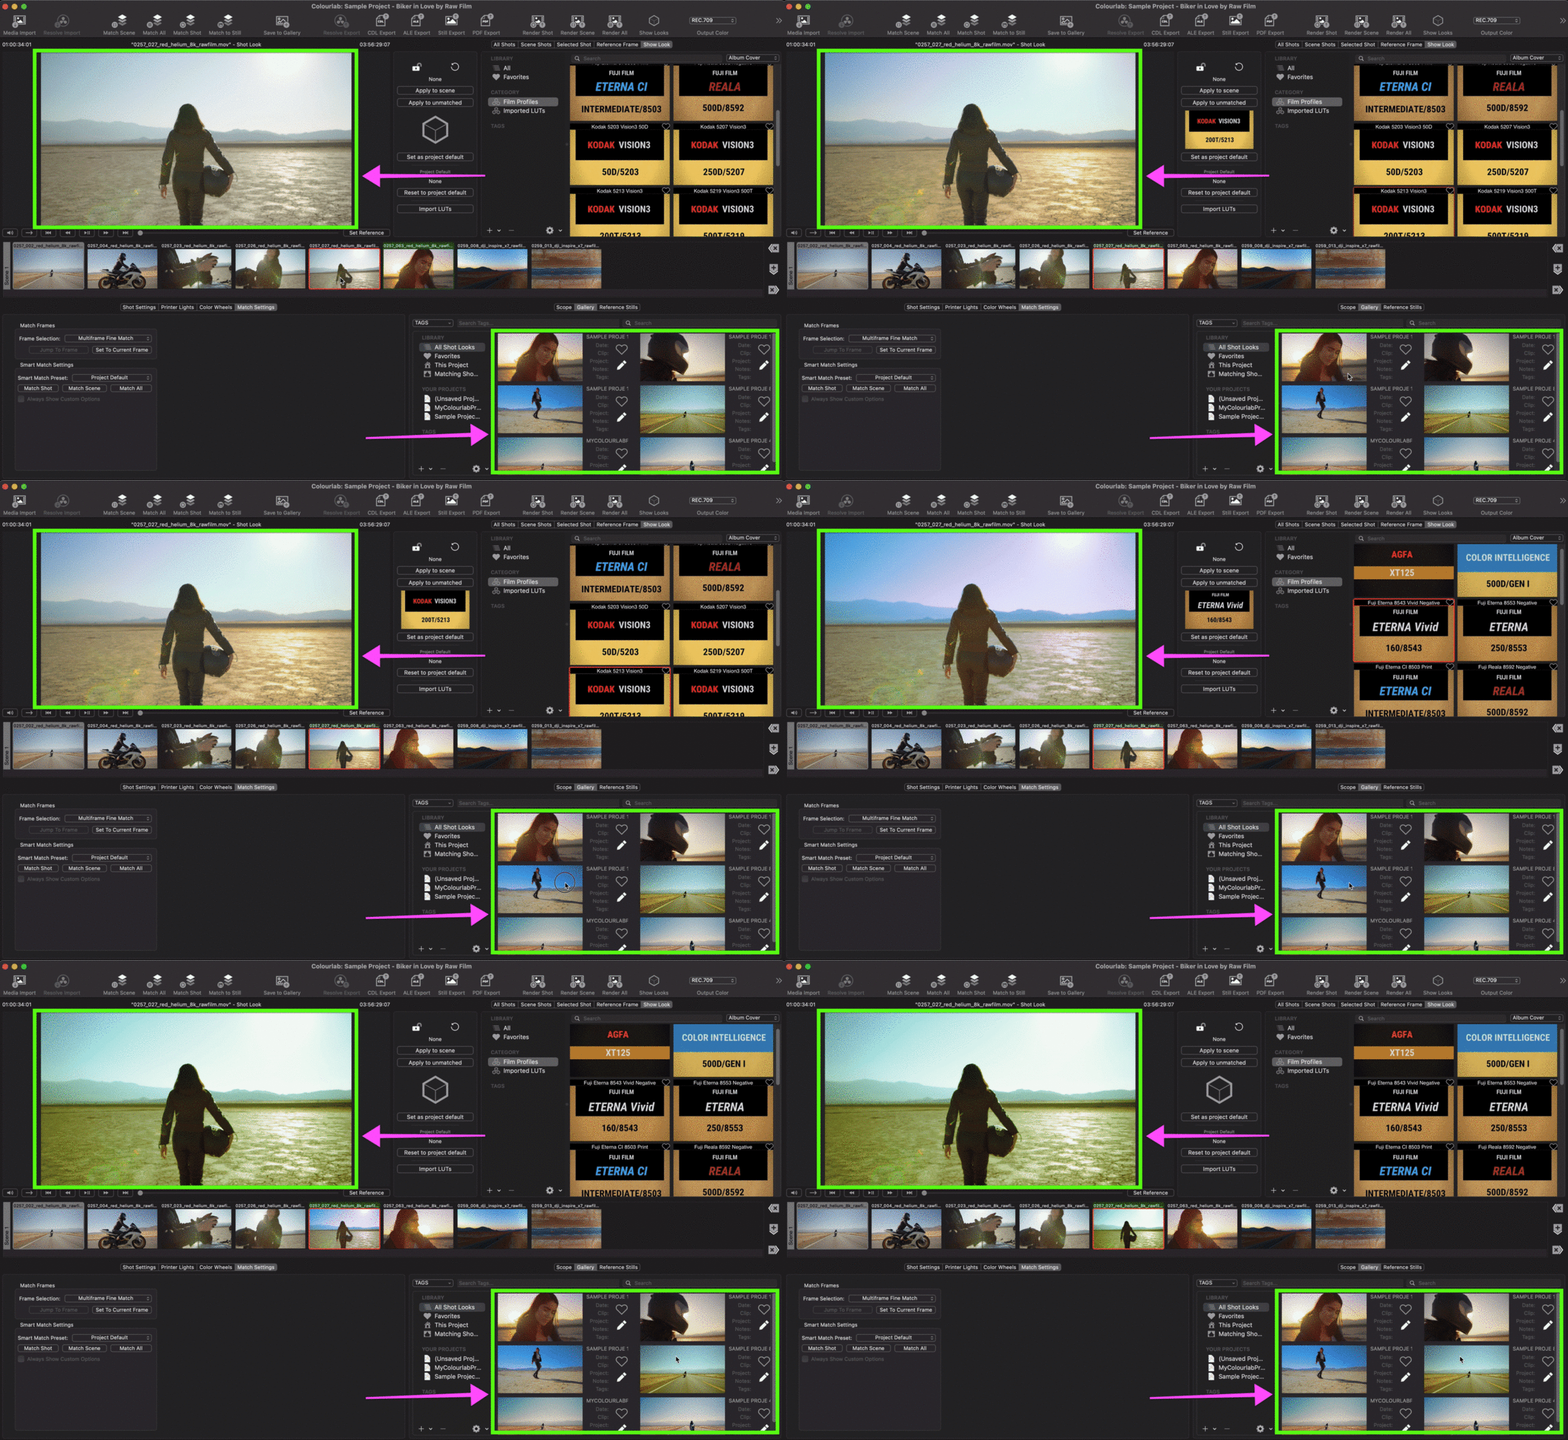
Once you created your Models, you can use them for grading your footage on the timeline simply by clicking on it, the process is immediate.
It's like Voodoo.
3.Manage your models in the Gallery
You have a lot of options to manage and organize your Shot Look.
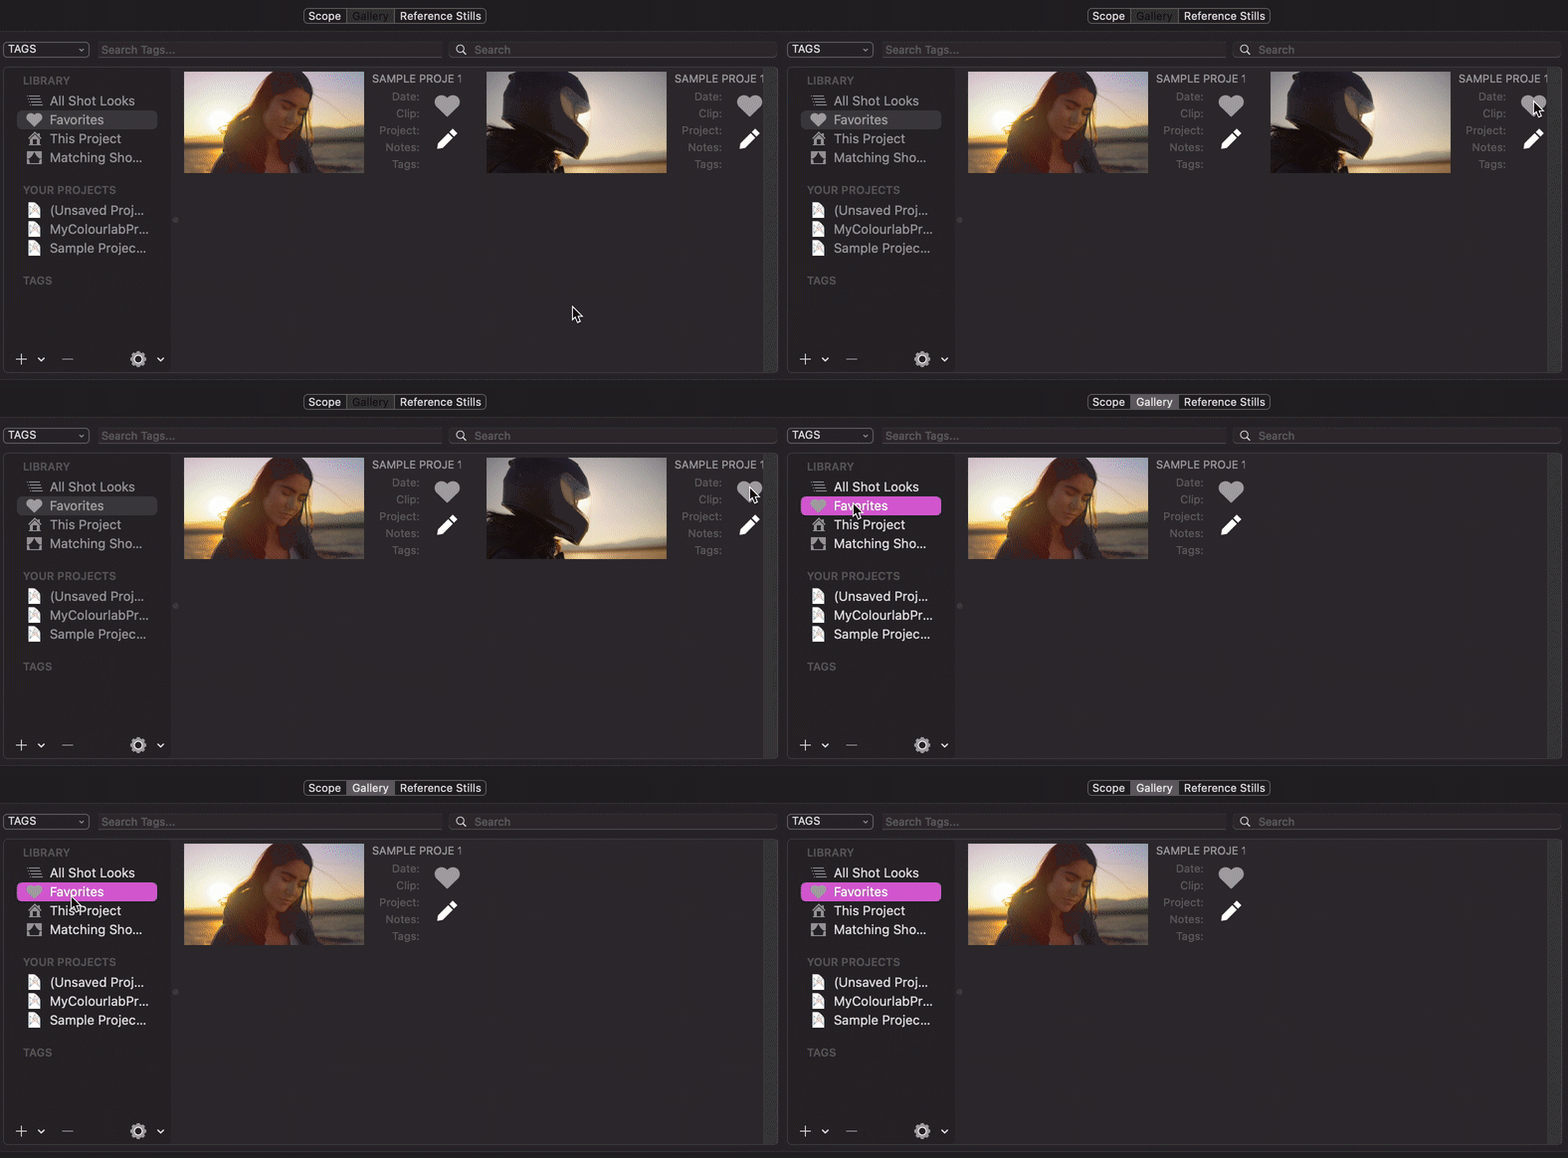
3.1 Add and remove Shot Look from Favorites
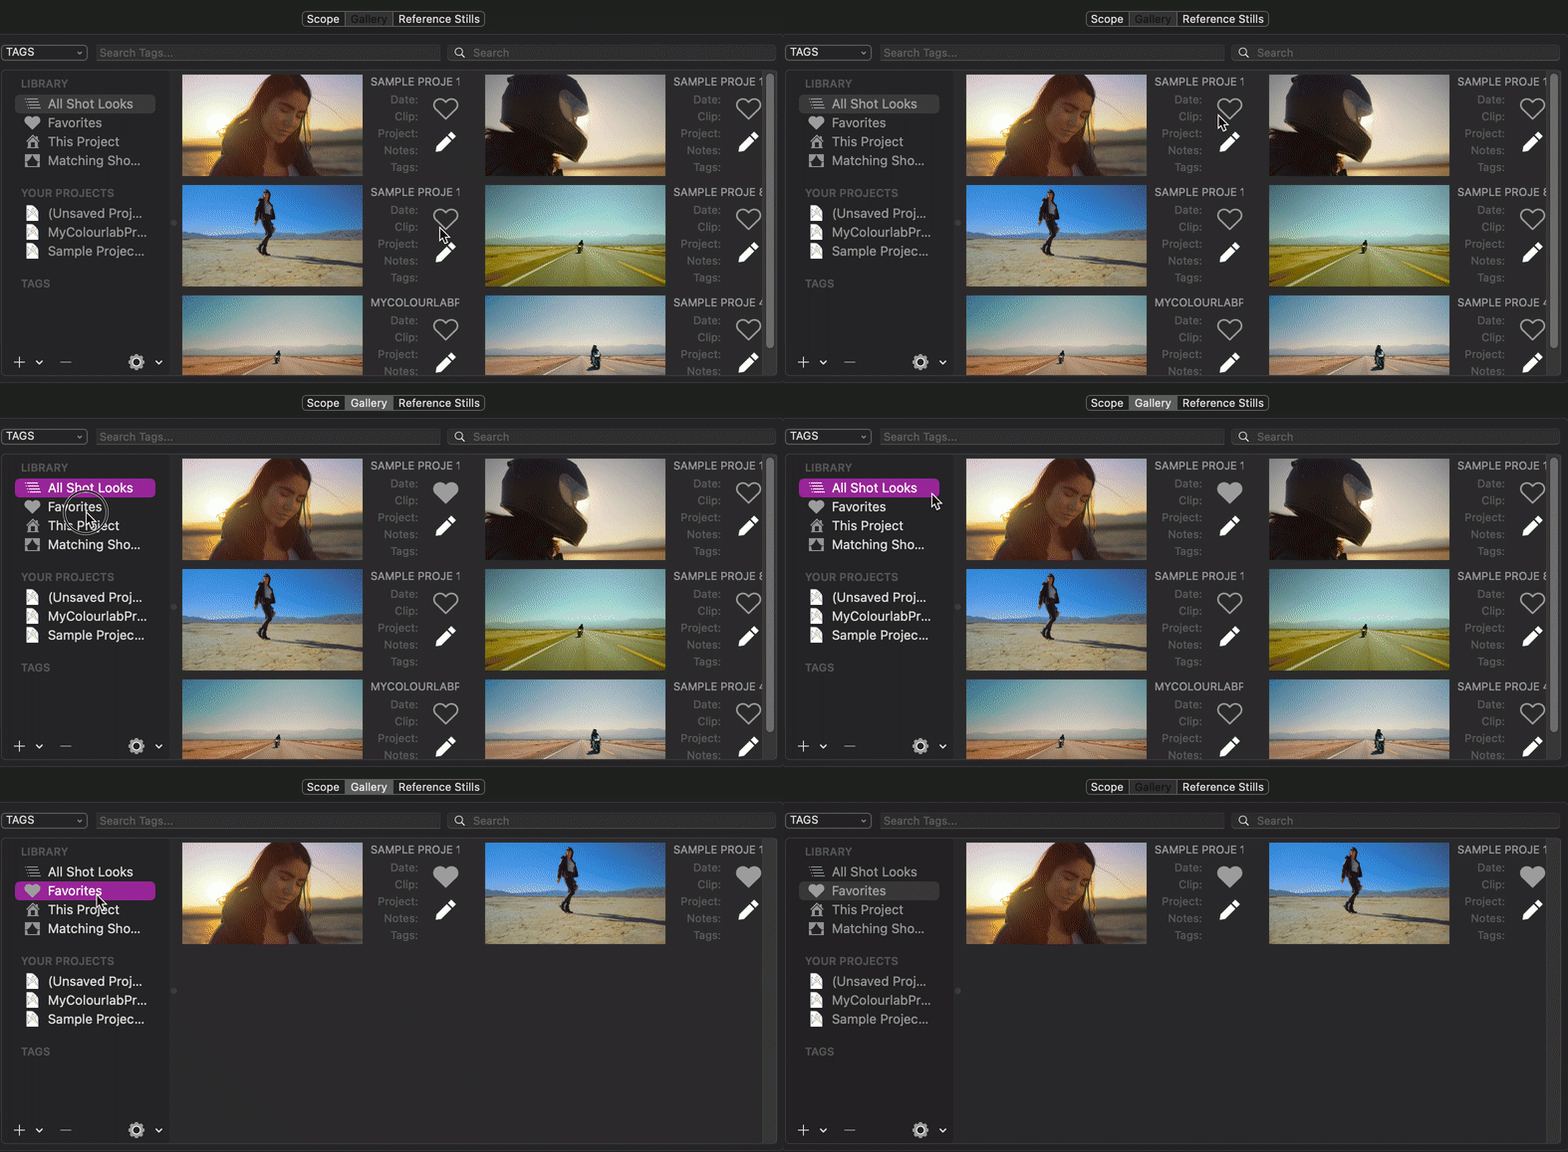
You can add it to your Favorites simply by clicking on the Heart Icon at the right of the Thumbnail
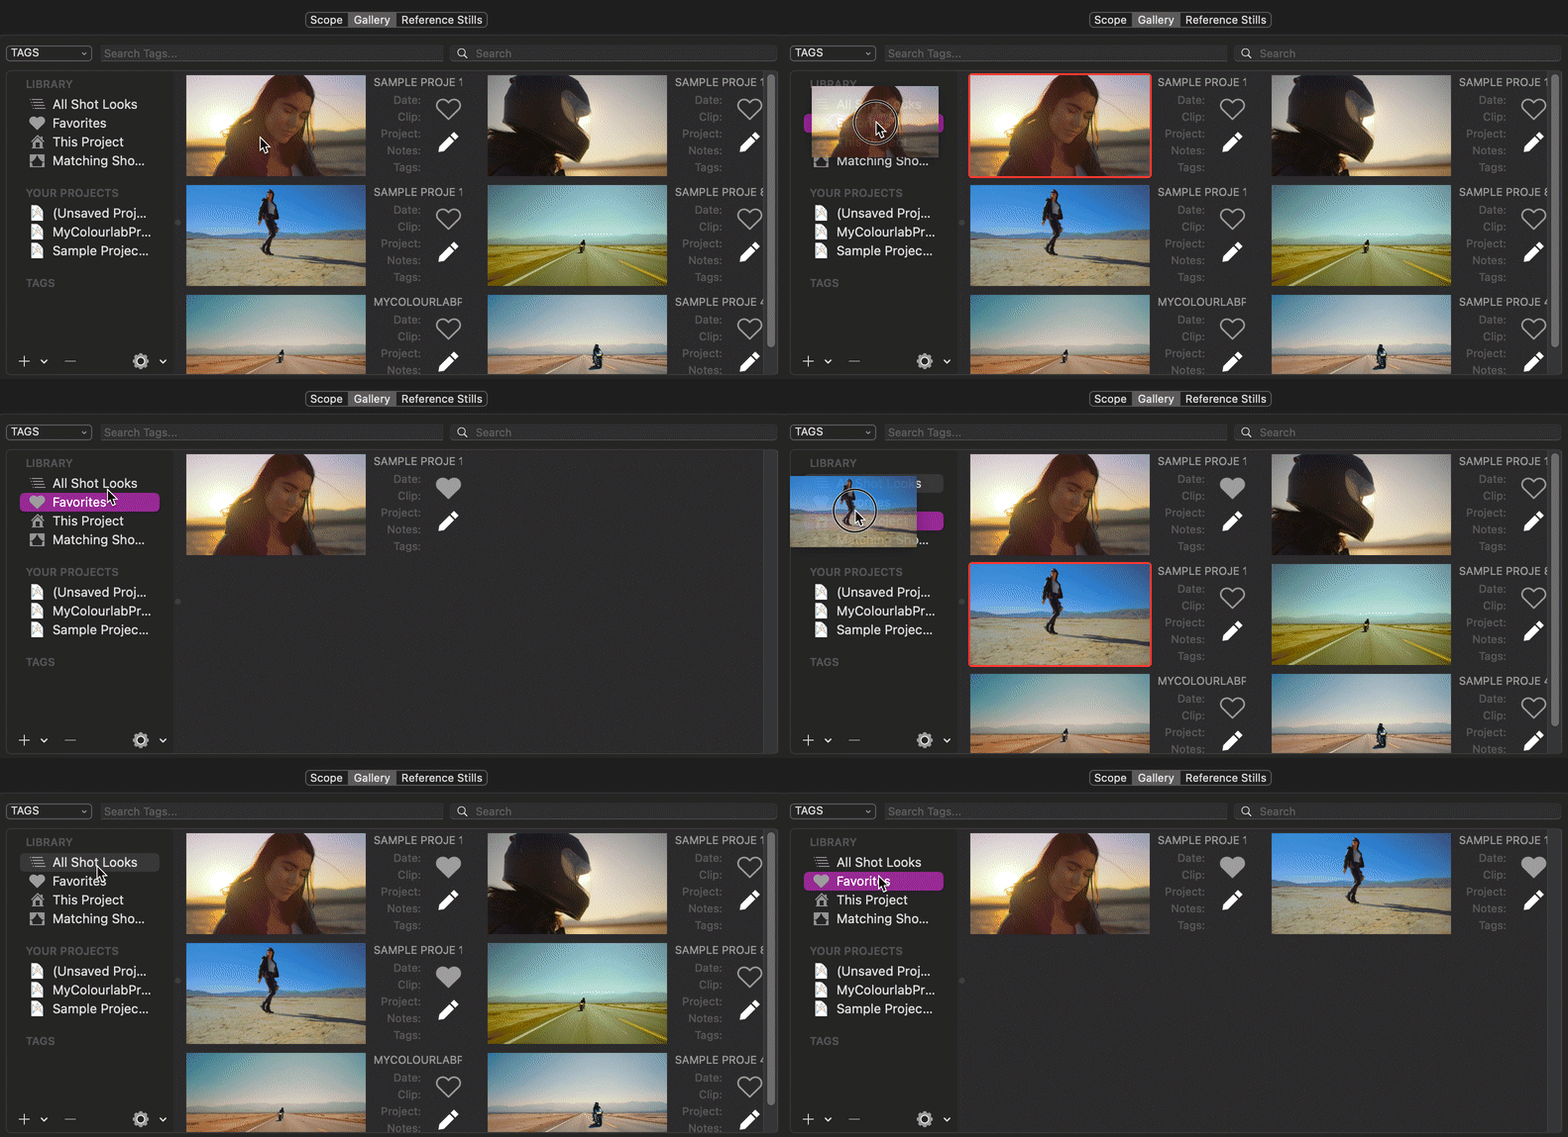
Or you can Drag and Drop it to Favorites Folder
You can remove it by clicking again on the Heart Icon
3.2 Add Information to your Shot Look
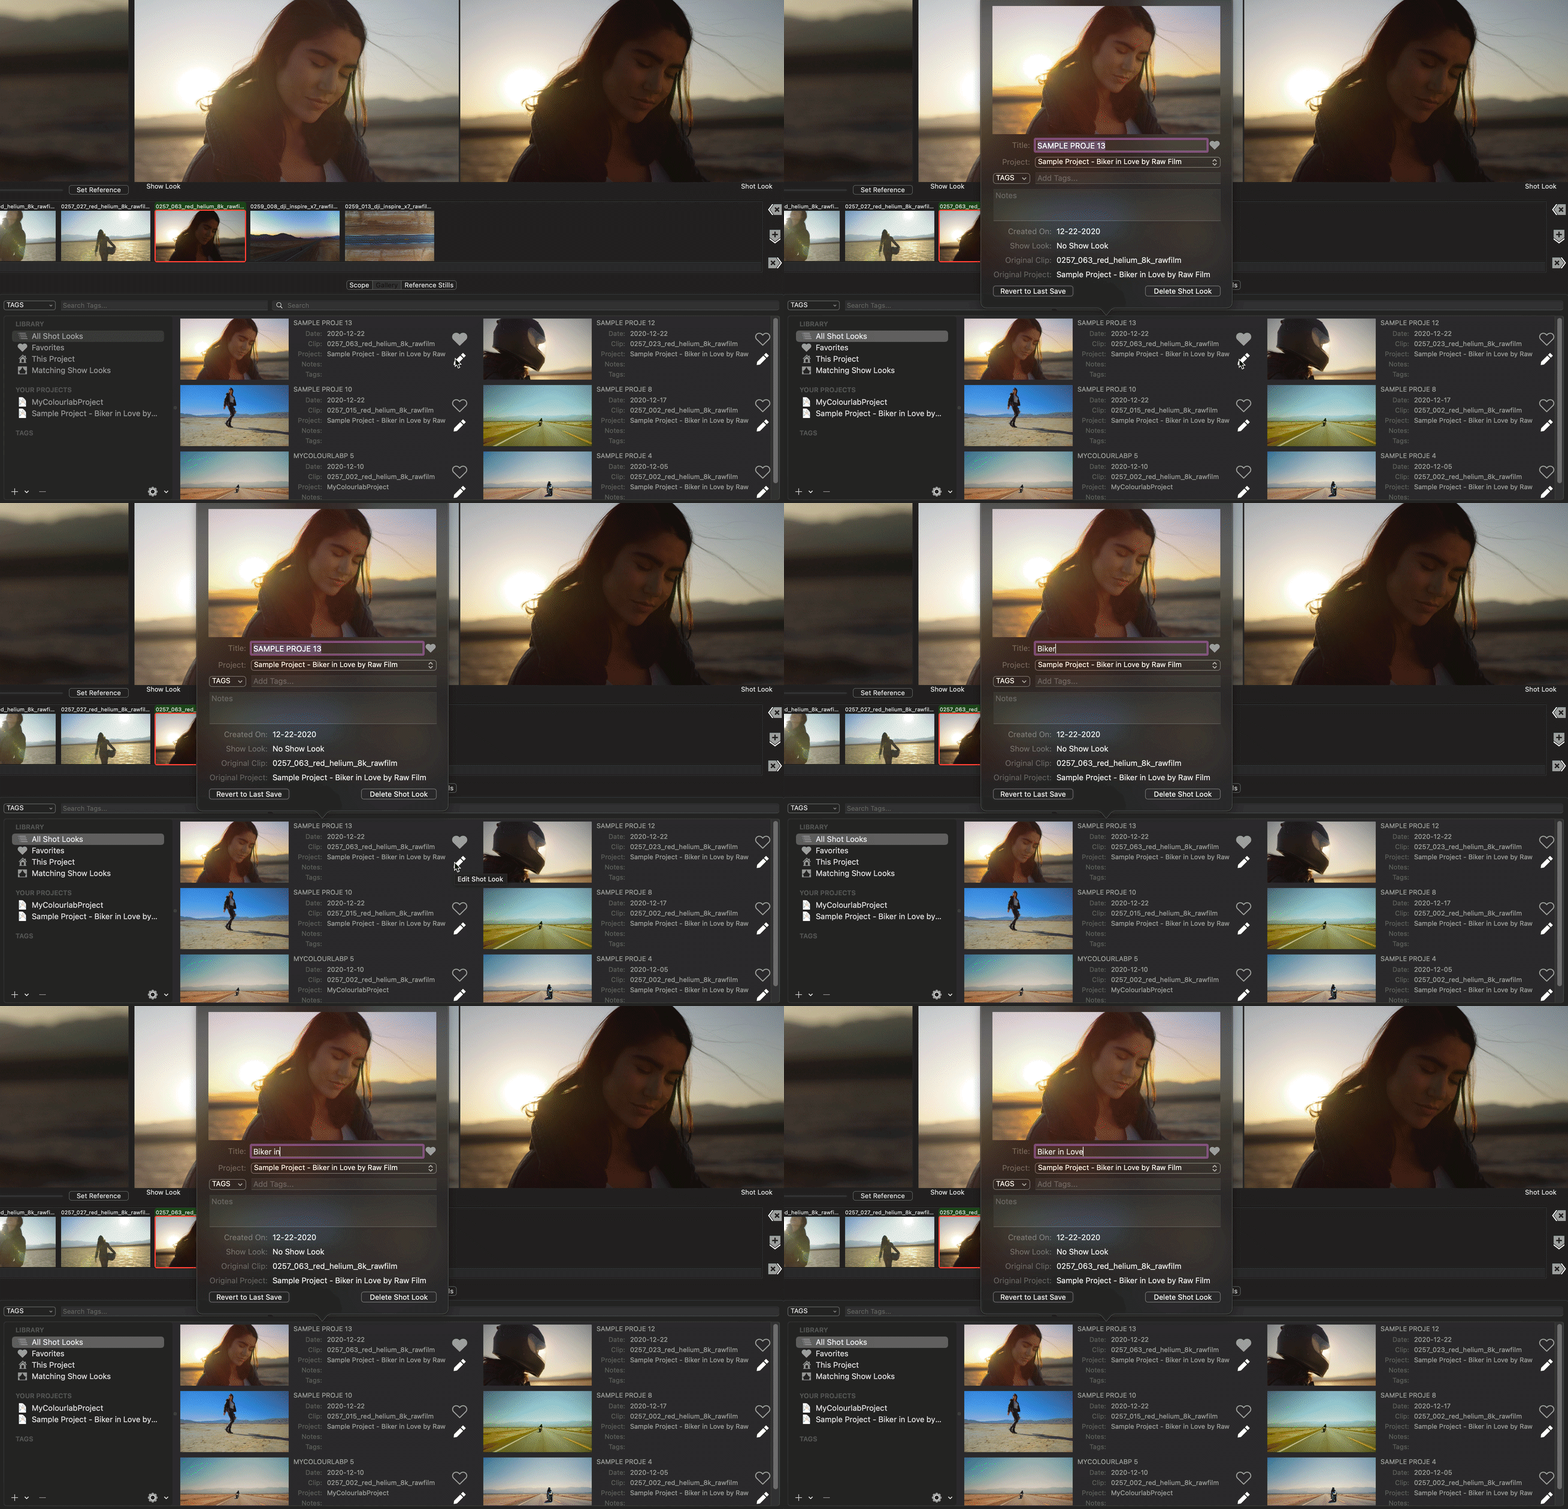
By clicking on the Pencil Icon a window will open and here you can insert all the information you need to better catalog your model.
You can rename it, add TAGS, add notes, and if you need to move it to another saved project
See the below how to rename it
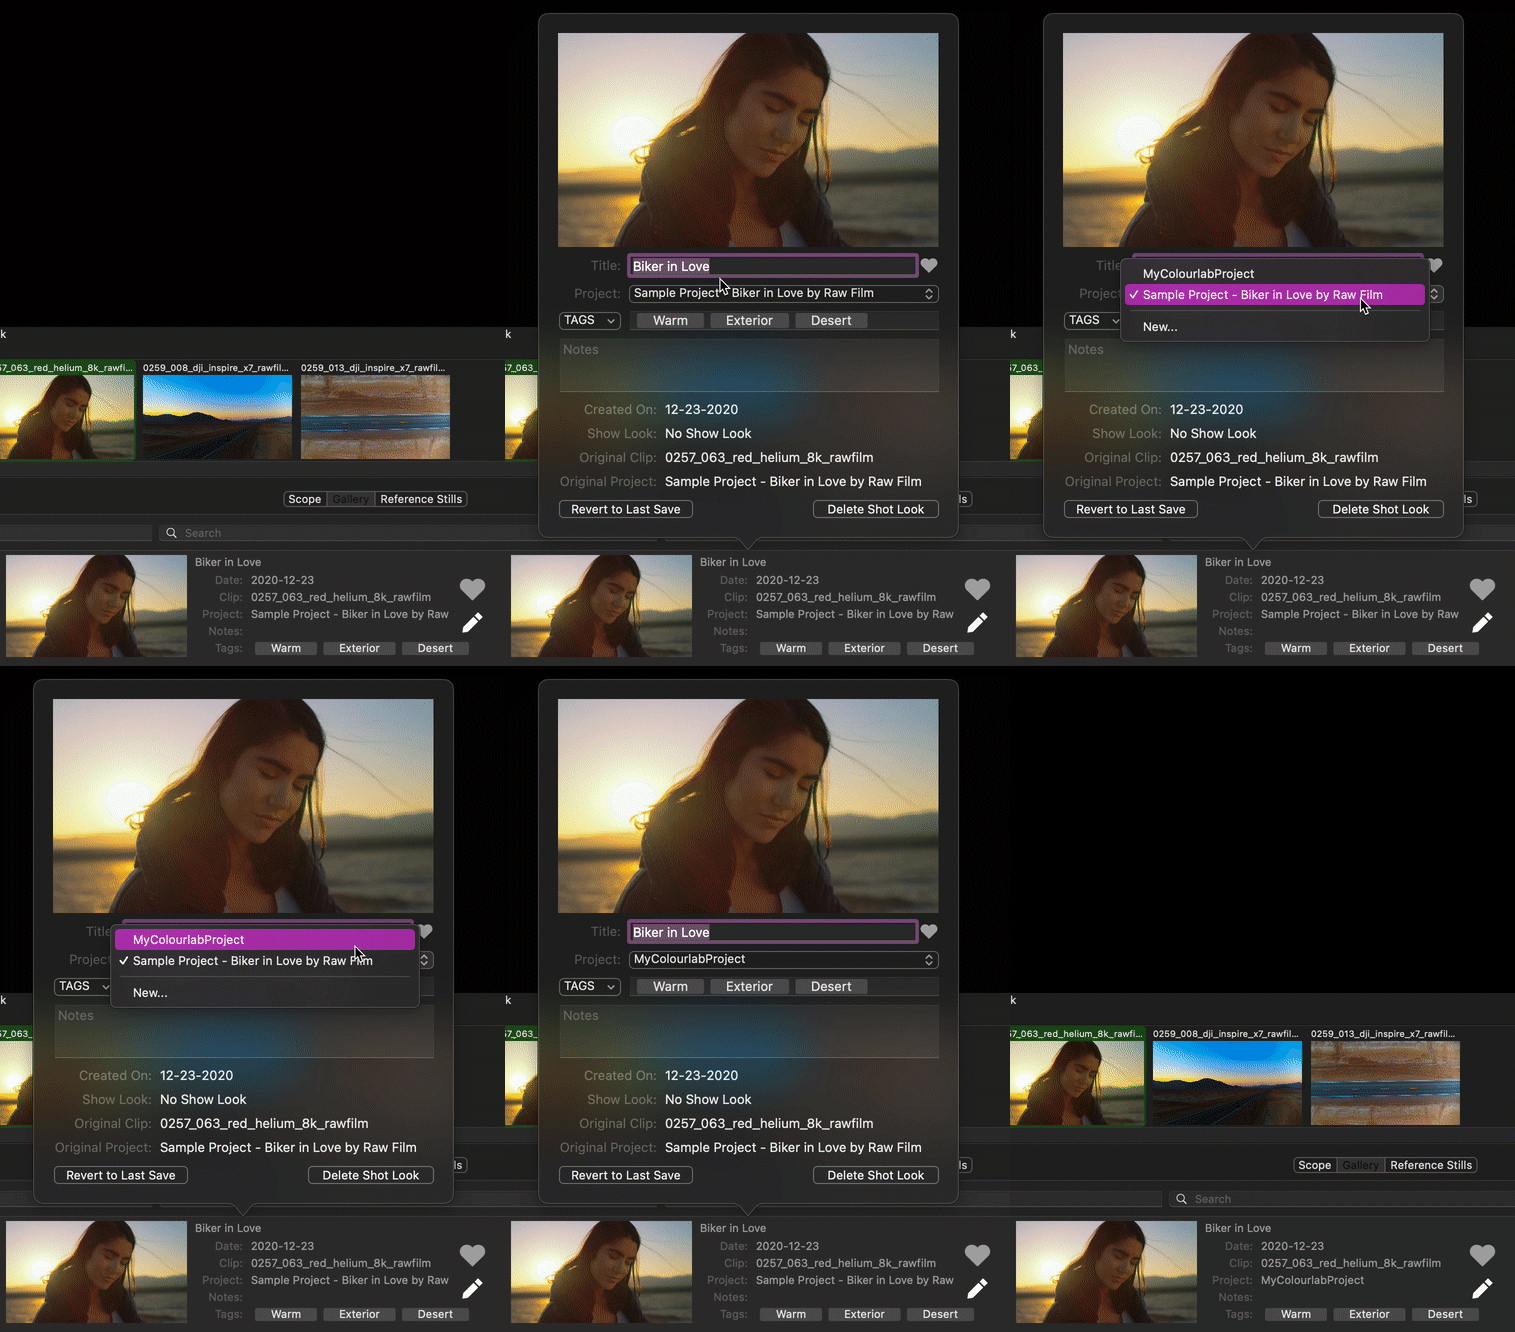
If you want, you can move it to another saved project or to a brand new project.
You can do it by simply clicking on the Project drop-down menu and choosing your destination.
You can also Drag and Drop it into the Project you want.
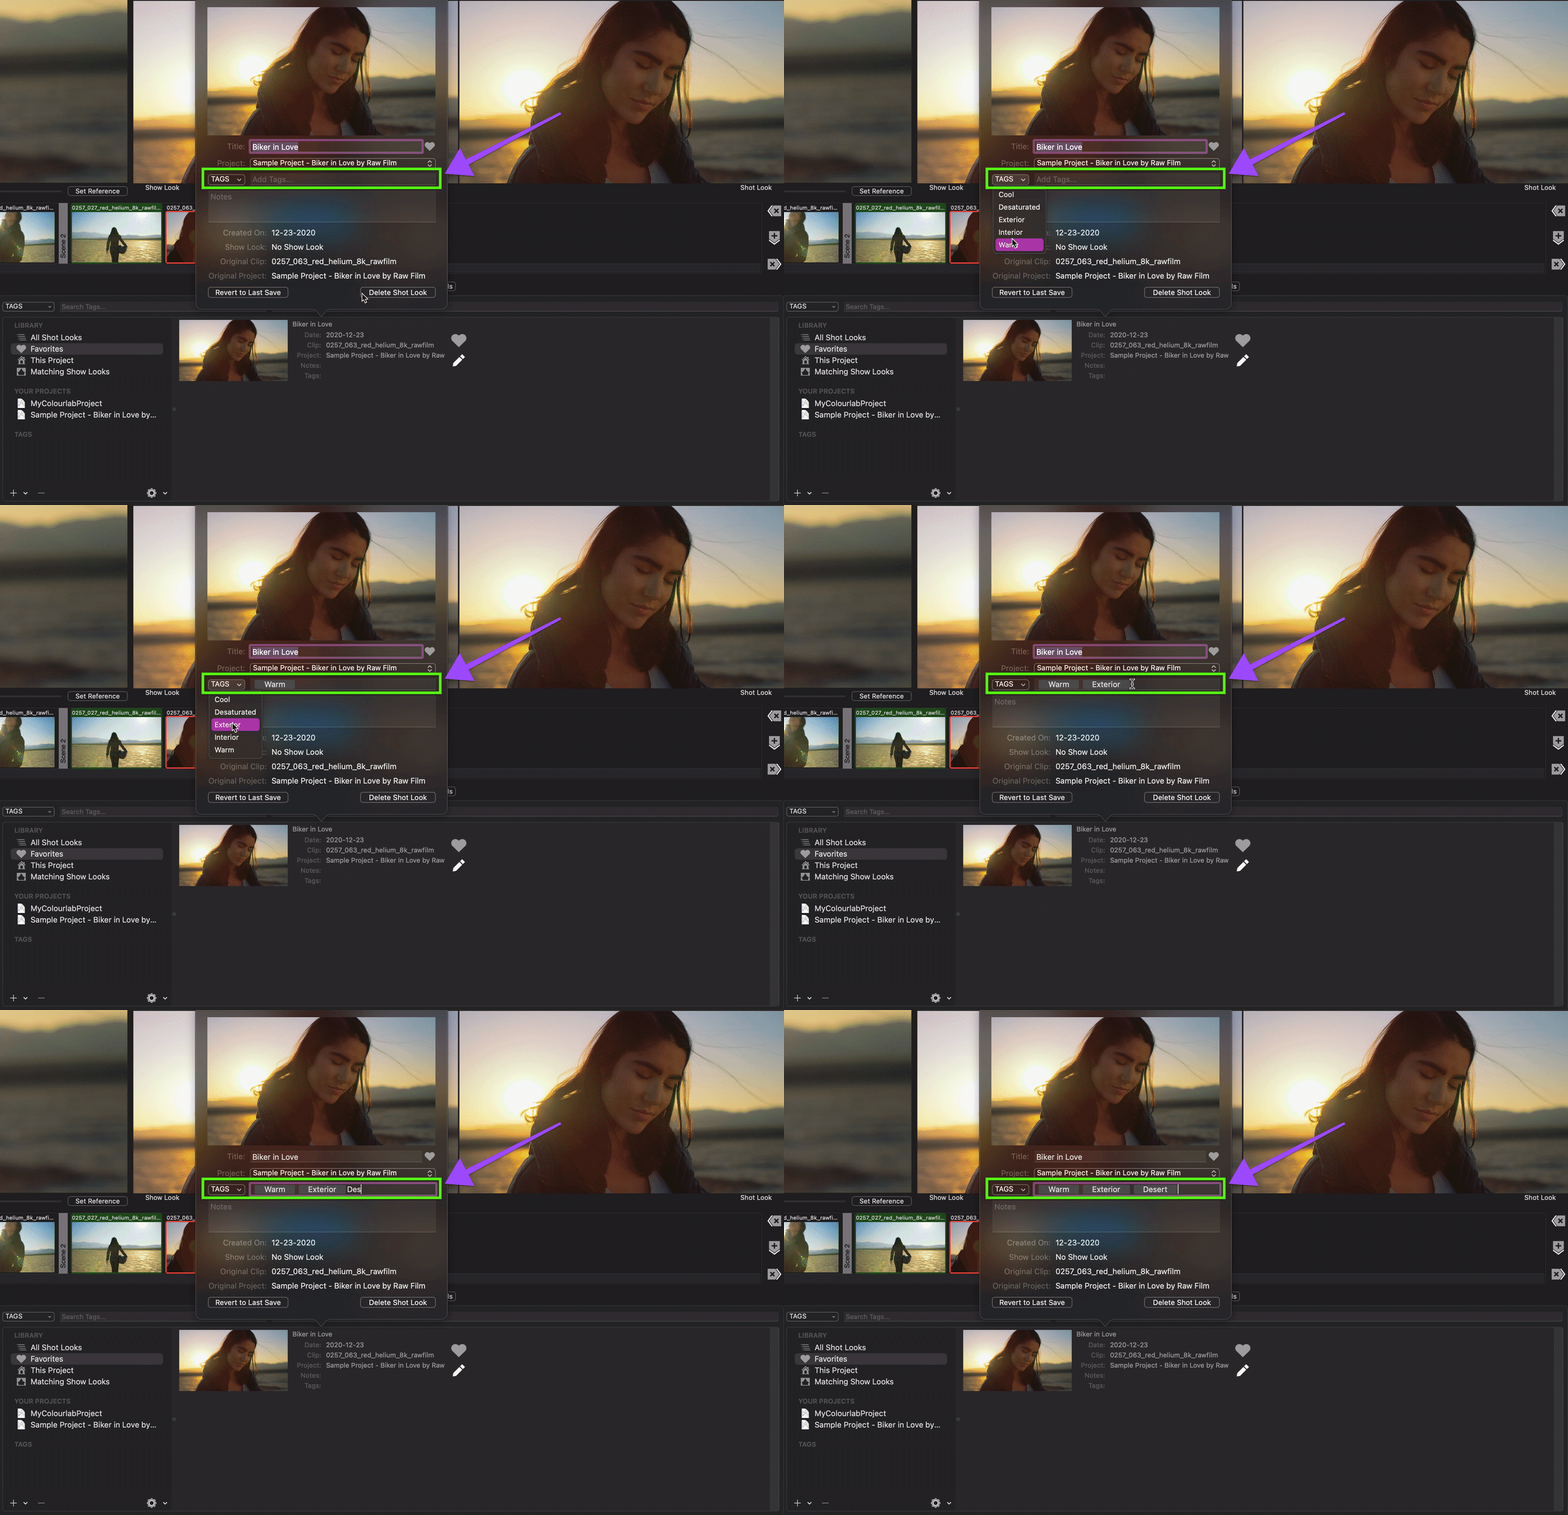
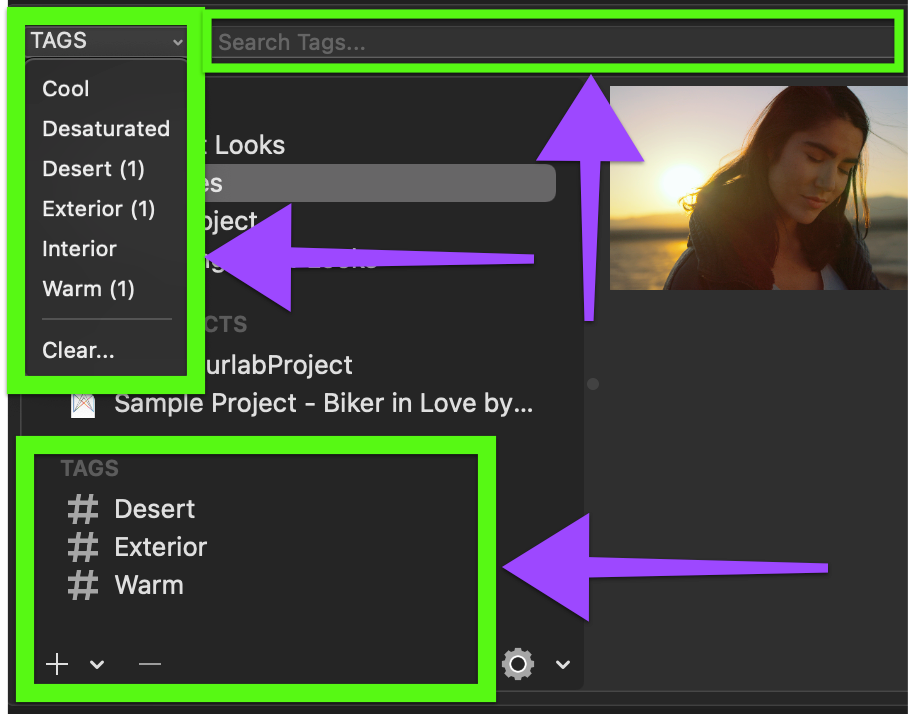
You can add TAGS by using the TAGS drop-down menu or by typing your custom TAG.
Automatically the used TAGS will be added to TAGS drop-down menu and in the tab TAGS.
You can also manually search for tags by using the Search Tags... bar
Clicking on the selected TAG you can see all the Models which have that TAG.
Once a TAG is visible on tab TAGS you can add your footage to it by simply drag it inside the category.
You can also Revert to Last Save or Delete Shot Look by clicking on the respective buttons
We hope this tutorial has been helpful to you.
If you have other questions please contact


